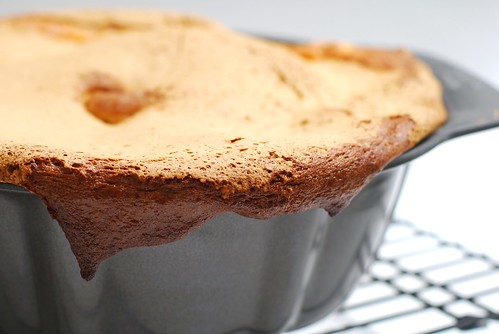
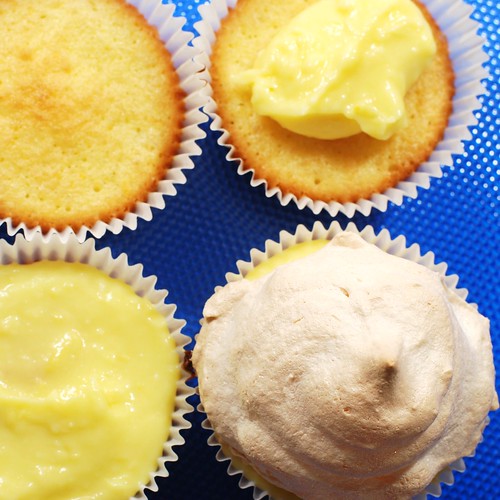
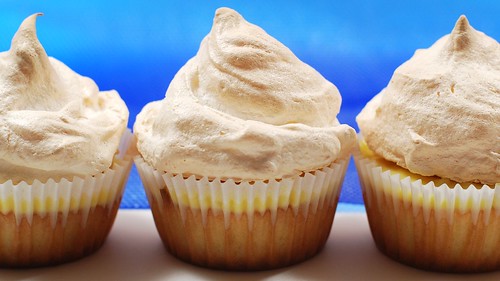
Amazing idea last week: lemon meringue cupcakes. I could make a lemony cake part, then bake a meringue right on top! No need to frost, super easy recipe! I mean look at these. Ladies, how cute would it be to show up at the next get-together with a cheerful tray of these? And guys, how funny would it be to challenge societal gender roles with this kind of delicious underlining your defiance?
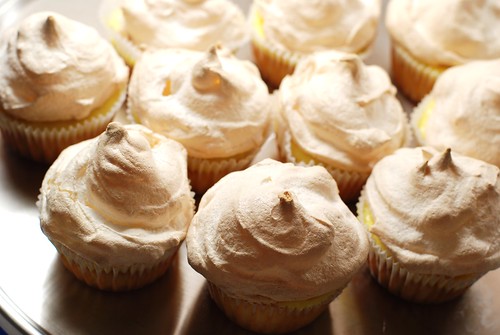
And to boot, these are 165 calories apiece. Not health food, but far lighter than one would expect from such a tall cupcake.
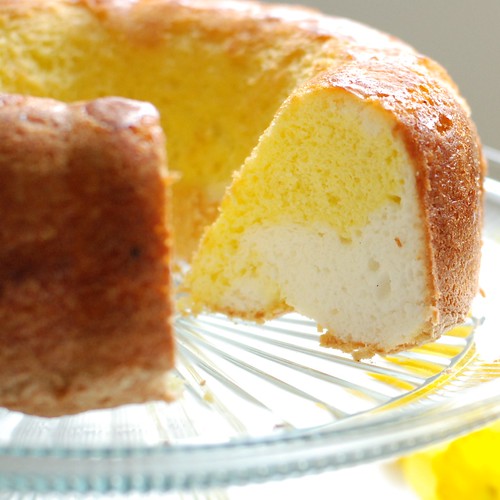
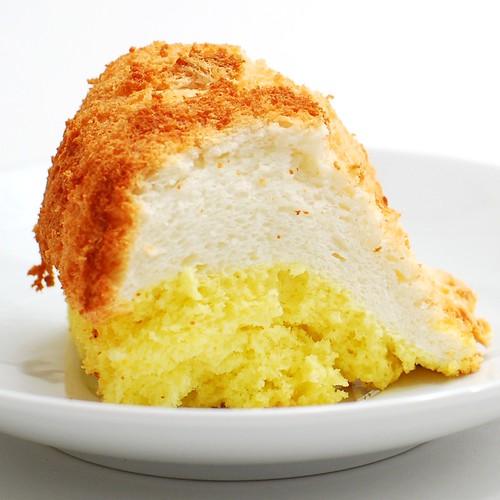
While the above does appear to be what I described, it is not. No, this recipe has undergone about ten revisions, and unfortunately, that is not fantastic hyperbole. I don’t have pictures of the process, but it boils down to the fact that the pH of the batter is important, and turns out meringue will not hold its shape if baked upon a proper cupcake. And if you bake lemon curd atop a cupcake, the whole thing will taste weirdly sulfuric for some reason. So the final recipe is more involved than I wanted it to be, but the cuteness factor paired with the actual deliciousness is well worth the effort, which in itself is effectively the same as making cupcakes and frosting from scratch, except two frostings. Which is admittedly not the same thing at all.
There are a few “specialty” tools required for this recipe. Nothing too specialized—you should be able to find in your grocery store—but I generally avoid these things because in the past I always tried to work around them: a hand mixer, parchment paper, cake flour, food scale. The mixer is really just for the meringue, the parchment paper for baking the meringue, the scale for measuring the cake flour, and the cake flour because All-Purpose Flour is a misnomer, as it is not good for cakes. I think this recipe is lenient enough to allow you to substitute all purpose flour for cake, but can’t be held accountable for the resulting texture. In the worst case your texture is off, but you will still end up with something yummy if not presentable.
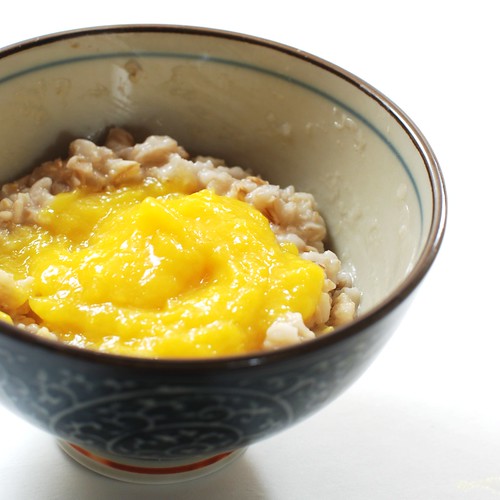
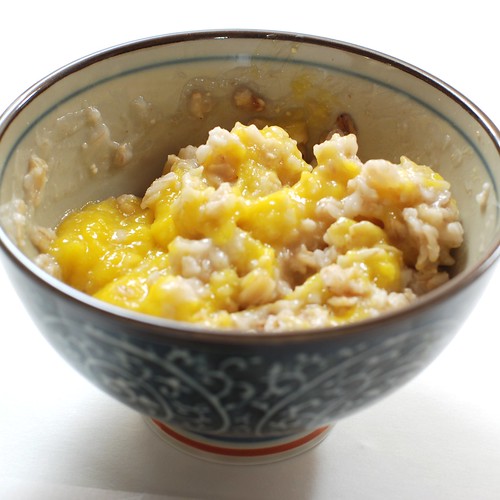
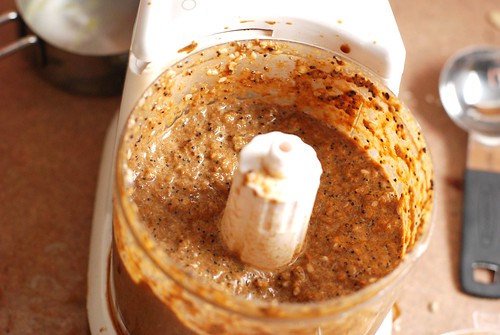
Start with the curd so it has time to chill while all that other stuff is going on. Have you ever had this stuff? I saw it all over left-coast food blogs back when Meyer lemons were in season, but since citrus is um, never in season in Massachusetts, I hadn’t really any good occasion to create a curd until now. And it’s a surprisingly quick (5 minute) ordeal with HUGE payoffs. I could spoon this into my mouth all day, and I hear people put it on toast and things like that. I don’t need to remind you that I put it on cupcakes. By itself, it’s a delightful frosting too!
This isn’t a bad time to go over how to zest a lemon. The white rind is bitter, while the nice sunny yellow part is what offers the bright lemony flavour, so grating away at the skin until you hit the poor lemon’s pulp is exactly NOT the way to do it. My strategy is to shoot for exactly one pass over each bit of the lemon’s surface exactly once. Remember, this is not a sheep-shearing contest, so there’s no need to get every little bit of yellow off the lemon. Just zip your micrograter or zester right along and don’t spend too much time on it.
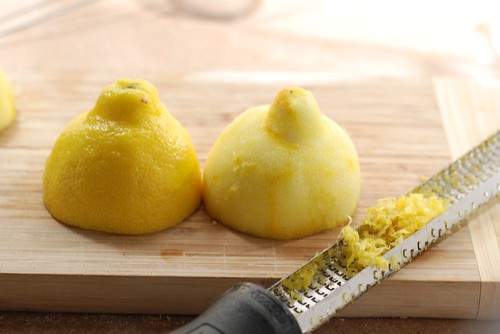
Also, isn’t that lemon HUGE? My god, it’s like Monsanto’s answer to the lumpy F-cup boob job.
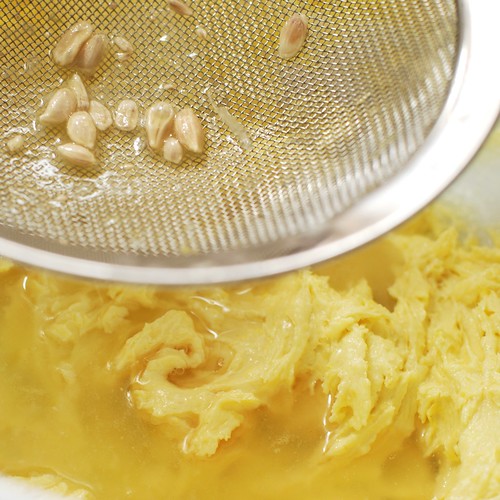
Speaking of lemons, for both the curd and the batter, I recommend straining your fresh lemon juice. I find that when I leave lemon seeds in my desserts, people never seem to go back for seconds.
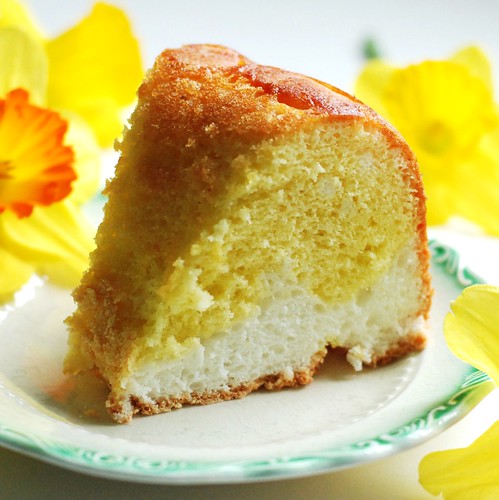
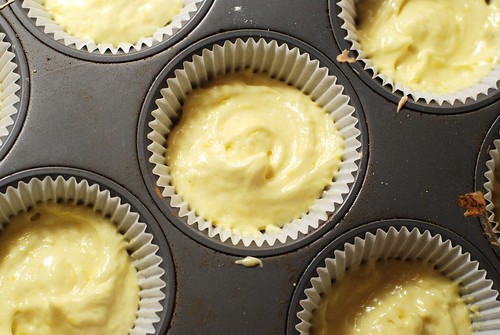
The batter has this subtle speckle of lemon rind yellow. Gorgeous.
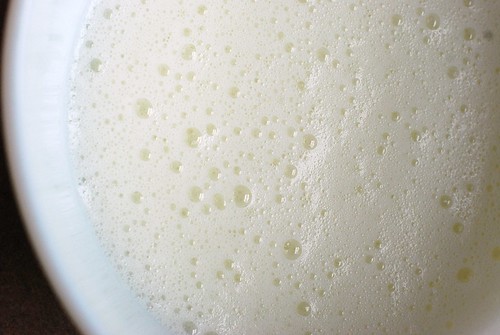
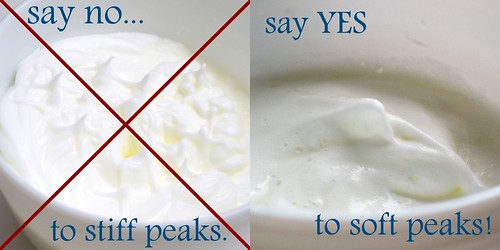
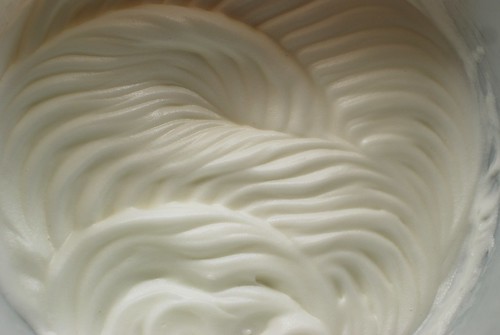
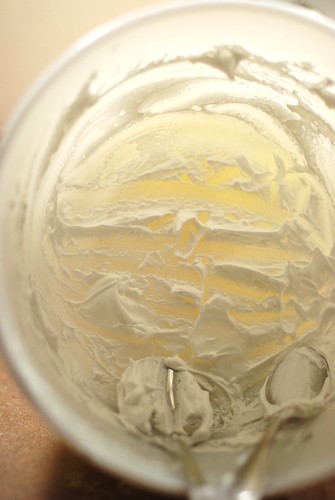
While that’s in the oven, we make our way to the third part: meringue. This is what it should look (roughly) like right before you start adding the sugar.
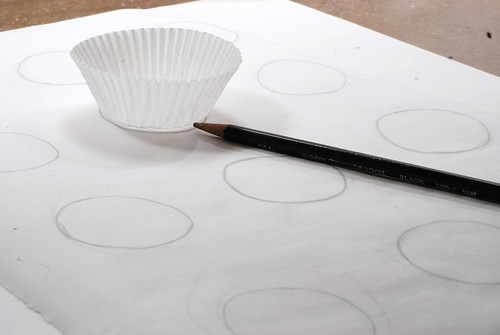
Now we need a way for the meringues will fit the cupcakes. I use the liners as a guide and trace out circles on the BACK of the parchment paper upon which I shall bake the meringues.
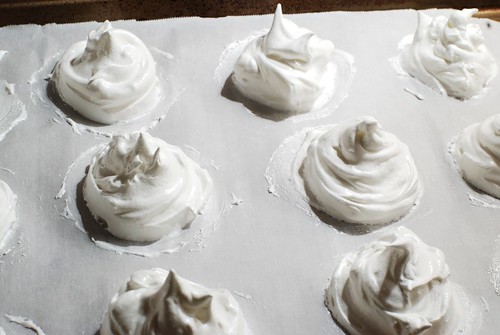
Then I spoon the meringue onto each dot and smooth it out to the circumference of the paper circle, then around in a spiral to make that nice swirly peak. To do so, I washed my hands very thoroughly, then used something kicking around to smooth and swirl. I can’t remember what right now, but it definitely wasn’t my finger if that’s what your thinking. I mean, if I DID use my finger, I did wash my hands very thoroughly, but I wouldn’t use my finger because that would be very uncouth.
And now that everything’s all squared away and set, let’s assemble!
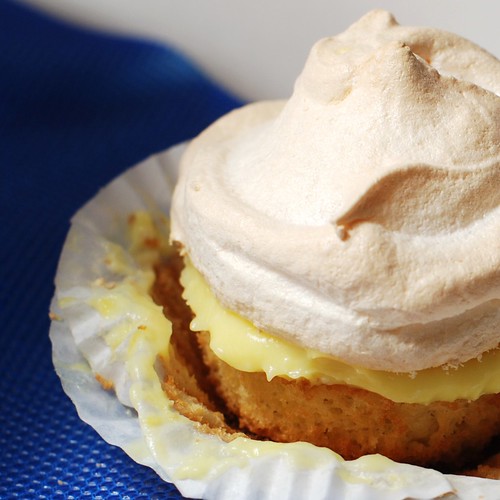
I cannot get over how successfully adorable these are.
And luscious too.
Lemon Meringue Cupcakes
an original recipe, in three acts
Prologue
Heat oven to 350o
Act One: Lemon Curd
2 eggs
1 lemon: zest of & juice of (about 2 tsp & 3 tbsp, respectively)
2 tbsp sugar
1/4 c butter (4 tbsp), chopped
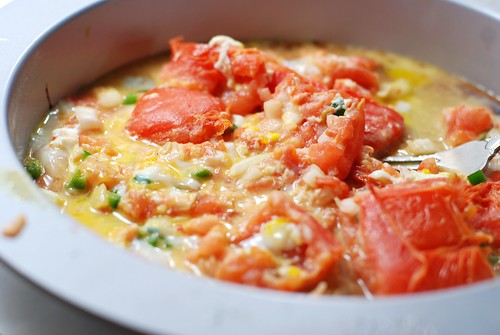
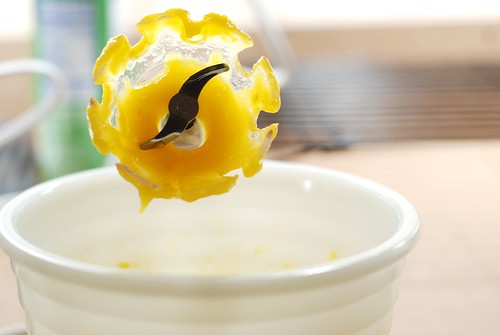
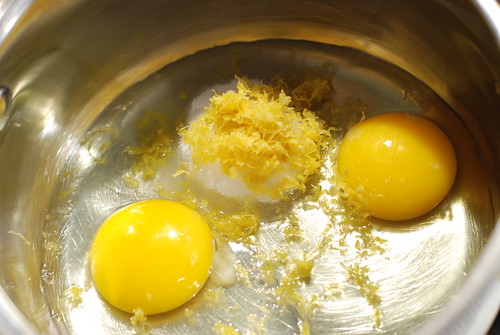
Whisk eggs, lemon zest & juice and sugar in a small saucepan, no heat. Add the butter bits, then bring to a boil over medium heat, whisking all the while. After three minutes or so, you’ll begin to see the bottom of the pan here and there as you whisk, and the mixture will almost instantly thicken. Remove from heat and chill in fridge until needed.
Act Two: Cupcakes
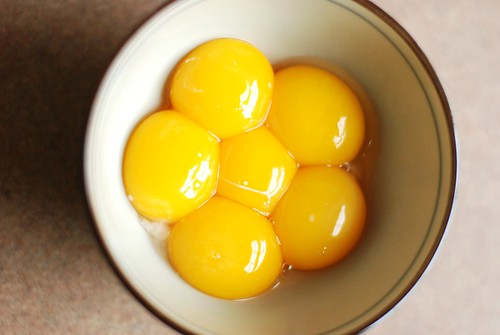
2 egg yolks
1/4 c sugar
1/4 c butter (room-temp is best)
1 lemon: zest of
1/2 c sifted cake flour, or 64g if you’re able to weigh (best method). Feel free to try all-purpose and let me know how it goes!
1/2 tsp baking soda
1/2 tsp vanilla
1 lemon: juice of
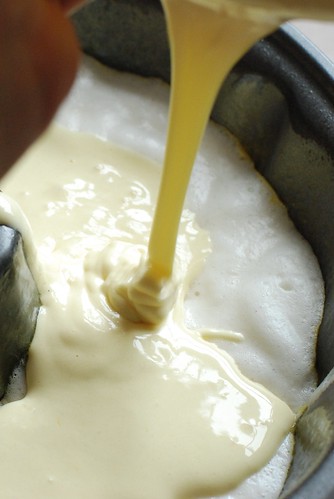
Beat egg yolks. Add sugar, butter and zest, and mix until creamed. Sift flour and baking soda, then mix until combined. Lastly, add 1/2 tsp vanilla and strain 1 lemon’s worth of juice, then stir to combine. Nimbly scoop batter into 12 cupcake liners (quicker is better). Bake for 15 minutes.
Act Three: Meringue
Beat on high until stiff peaks form (about 3-4 minutes):
2 egg whites
1/2 tsp cream of tartar
1/4 tsp vanilla
pinch cornstarch
Add in a continuous stream, beating on high all the while:
1/2 c sugar
On a piece of parchment, use a cupcake liner as a stencil to draw 12 circles. Flip liner so the drawing is face down (in contact with the cookie sheet), then spoon 1/12 of the meringue into each area.
Wash your hands thoroughly. Use the circles as a guide for what the meringues should be sized, then using a finger, swipe around the glob of meringue to give it a shape. You’ll have to play around with this, as it will be slightly different for everyone, but what works for me is to pat down the meringue to roughly the intended size, then swipe around with a damp finger to make it as circular as possible. Then I spiral inward, and once at the center, lift finger to create a peak.
Bake at 350o for 15 minutes. Do not open the oven while baking, unless you smell something burning or something. Remove from oven to wire rack, let cool 1 minute, then with a metal spatula, pop each meringue from the parchment so it does not stick there while it cools completely (which you must do before moving onto the next step).
Assembly
Spread about a tablespoon of lemon curd upon each cupcake, then top with a meringue. Ta da! Lemon Meringue Cupcake! Store in an airtight container, and for extra crisp meringues, don’t top cupcakes until ready to serve.
nutrition summary: (for 1 of 12 cupcakes) 165 calories, 9g fat, 0g fiber; about 3 weight watchers points