

halloween/christmas recipe: chocolate cherry mice
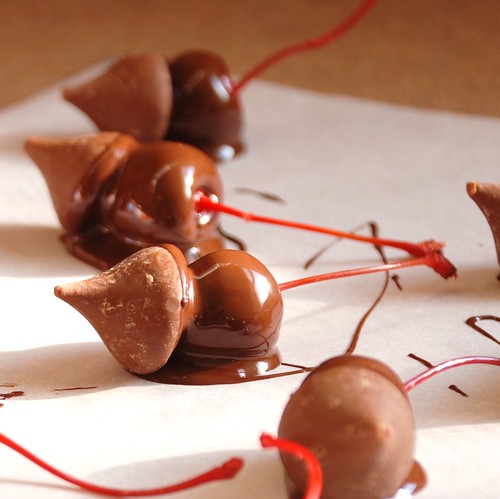
I present to you: that eleventh hour, absolutely perfect finishing touch to your Halloween spread.
Once you’ve gone through caramel apples & popcorn balls, pumpkin bread/cookies/cupcakes/whoopie pies and cider donuts, it’s hard to be all that original without making something that looks like something else. Alas, the very concept of making a dessert that is appealing only insofar as its resemblance to a mummy’s finger or a cat’s litterbox is kind of like saying you would feed those things to your guests if only they were edible just because it’s Halloween. On the other hand is the risk of creating something that just doesn’t quite hit the mark. It’s bad enough that I have to explain my costume (look, I didn’t think Anne Boleyn was all that arcane a reference), to have to explain “See? They’re little ghosts” adds some serious insult to injury. And from a culinary perspective, it’s a little gimmicky and a little lazy and definitely trashy.
Despite the general tackiness of food-that-looks-like-something-else, when done well I can admire such a masterpiece for its cleverness. A couple years ago I came upon this idea somewhere (and if it was yours, please do tell).
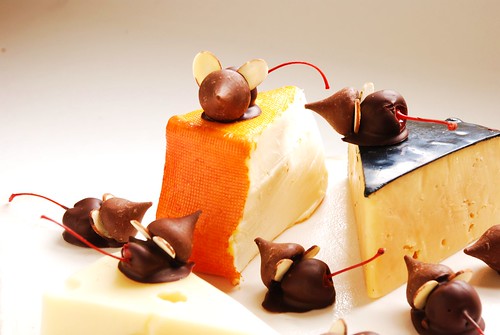
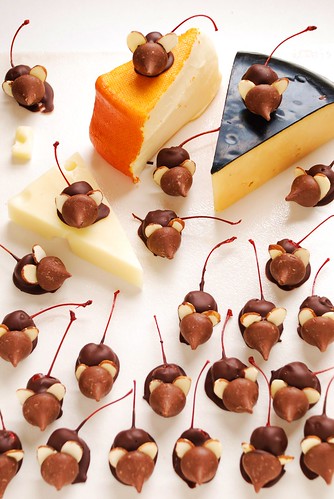
Recognizable, right? It’s like a trick AND a treat all wrapped up in one adorable little package.
The last time I made these little guys I was sorely disappointed by a mushy final consistency to the dipping chocolate, so I took the time this year to learn how to properly temper chocolate at Cooking for Engineers (dot com). Theirs is a great article to consult for a broad discussion of methods and the science involved, and entire books are no doubt available on the subject. I will be detailing only as much as applies to this effort.
But first! Preparations are at hand. Ever shucked corn? Oh good, today you’ll be shucking Hershey Kisses.
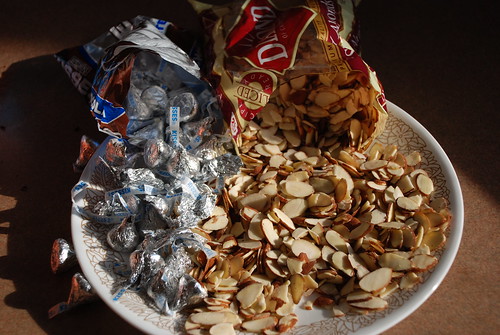
You DO want to do this in advance of getting going with the chocolate, because it is way more of a pain in the ass to unwrap these as you go. You also want to sift through your giant pile of almond slices to pull out the pieces that are complete and have a nice look/size/shape to them. It seems obvious in retrospect, but at the time it didn’t seem as though so many of these slices would be so . . . unsuitable. Also, once the chocolate is on, it’s go time, and it’s not going to stop until you’re done.
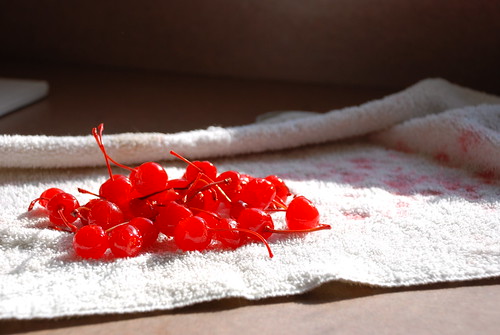
Now drain the cherries,

then pat them dry in a towel. I made a little hobo bindle with my kitchen towel and rolled them around in there to dab ’em dry.
Previously I was under the impression that tempering one’s chocolate was too difficult to attempt unless you were a chocolatier, figuring that even a chocolate that has seized still tastes pretty good, and as such never bothered. Turns out it’s not actually all that hard, though maybe I just had good luck today.
You will need a thermometer, but no super high heat candy thermometer necessary–a meat thermometer will do nicely. The easiest way to mess up your chocolate is to get water in it, which is why I’d avoid a rainy or otherwise humid day to take this on. So if you’re good on timing and equipment, let’s goOOOo!
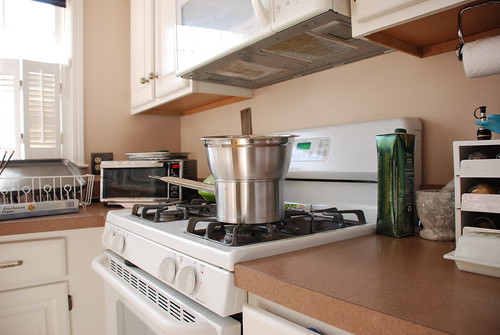
Step 1: Make a double boiler.
Take a metal bowl with a lip and place it on top of a pot with 1″ water, like so.
Step 2: Chop your chocolate.
I did not do this, but it would have helped melt everything more easily. One third is going in the pot and the rest is staying behind for later.
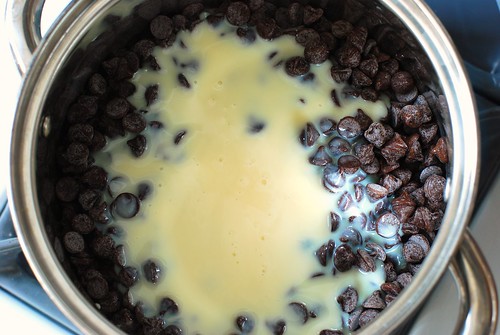
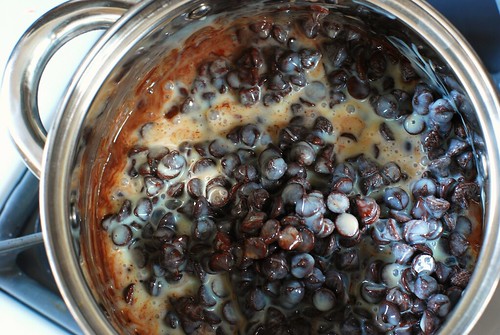
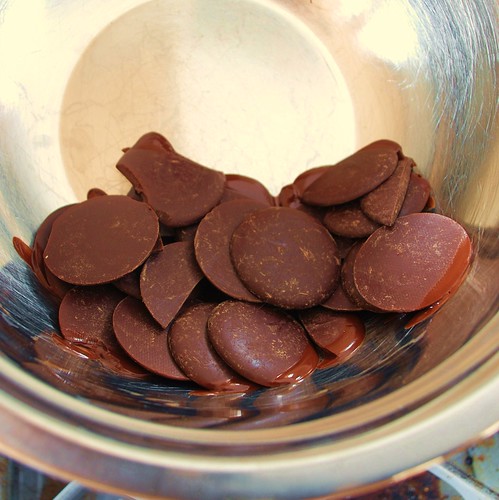
Step 3: Melt.
Put chocolate in bowl, set burner to medium high. Once the chocolate begins to melt, reduce heat to medium. Stir the whole time with a rubber spatula until the chocolate’s temperature is near 115 oF (46 oC) (for semisweet chocolate chips, if using milk chocolate or white chocolate 110 oF (43 oC))
Step 4: Remove from heat
But leave the bowl in the pot for the next part.
Step 5: Seed.
Take the remaining ounce of chocolate and stir into the molten stuff. Stir continuously until temperature is between 88 oF and 90 oF (for semisweet chocolate chips, if using milk chocolate or white chocolate 86oF and 88 oF).

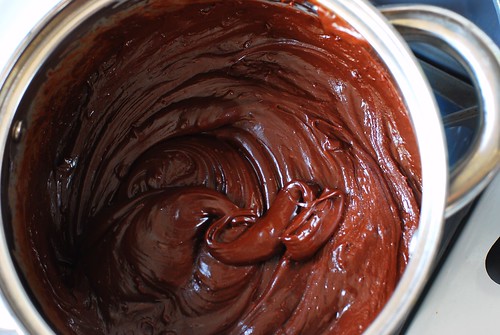
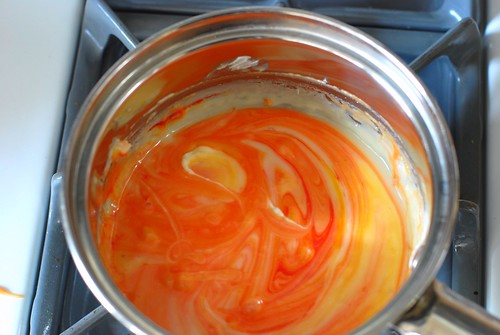
And that’s tempering chocolate, ta da! Here’s how beautifully smooooove it looks.
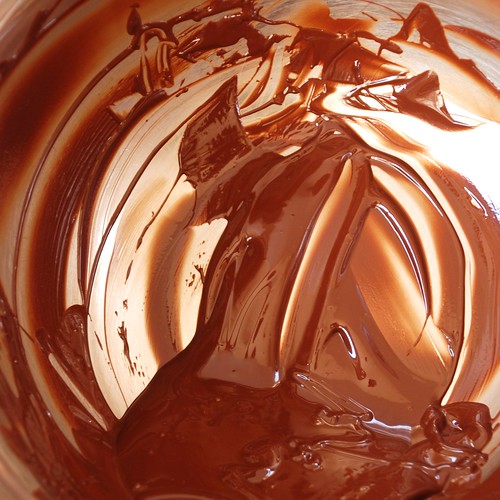
Keeping the bowl at an angle helps with the dipping process (i.e. there’s more to dip into and it holds its heat better).

Lay out on parchment paper or wax paper.

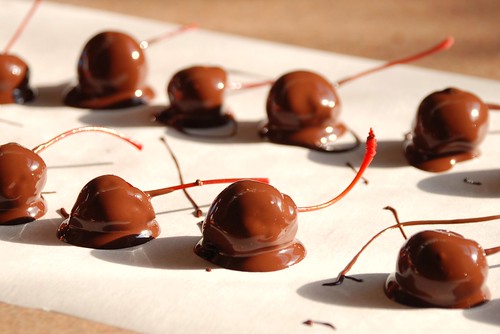
Dab on a Kiss.
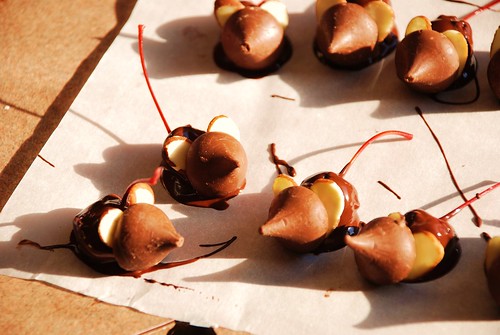
And ears.
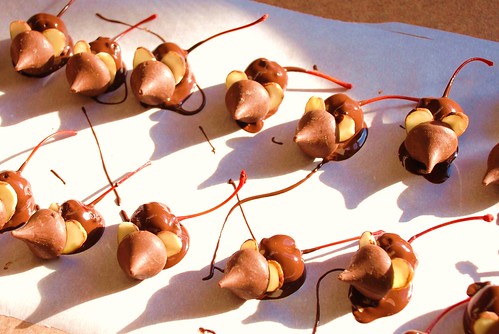
See how well-tempered my mice are? My, Aleta, you are positively . . . punning tonight, bahuffhuffhuff.
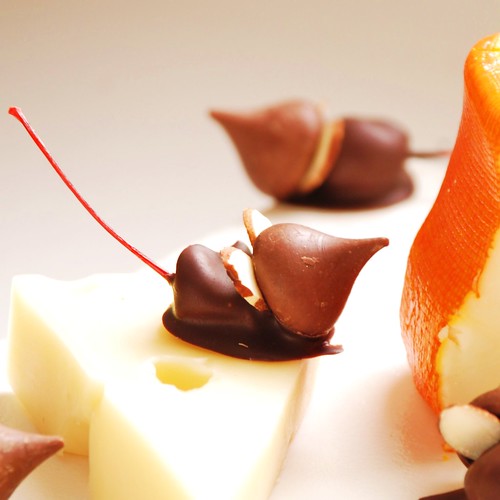
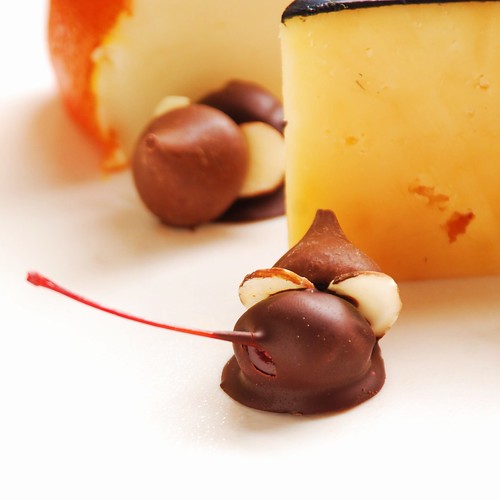
These little guys don’t look like much all stacked together on a plate, but I felt pretty clever sticking them on a cheese plate. Get it? Cuz they’re mice? Oh Martha Stewart, you have some counterculture competition coming your way.

Cute enough to make up for illustrating what in true practice would actually be quite disgusting. I’m calling it a win. When made lovingly, personalities will emerge. There’s the ambitious one.
The so-frugal-it’s-downright-stingy one.

And the one with a really undeniably cute butt.
Chocolate Cherry Mice
Small batch (makes 25)
1 small jar Stem-On Maraschino Cherries (10oz; ~25 count)
1/3 bag Hershey Kisses (4oz; 25 total)
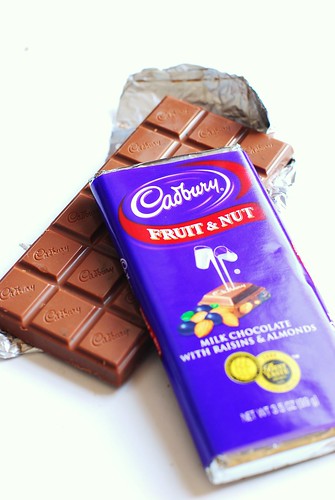
4oz chocolate (avoid chips if possible; semisweet, dark, or milk as desired)
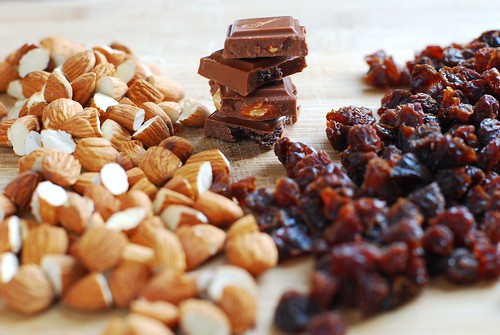
50 almond slivers (you’ll need to pick through a lot to get this many, so I recommend starting with a large bag, at least a cup)
Large batch (makes 75, safer in terms of chocolate temper)
1 LARGE (10 oz, ~50 count) jar Stem-On Maraschino Cherries
1 small (16 oz, ~25 count) jar Stem-On Maraschino Cherries
1 bag Hershey Kisses (4oz; 75 total)
12oz chocolate (avoid chips if possible; semisweet, dark, or milk as desired)
150 almond slivers (start with at least 3 cups)
Equipment:
Metal or heatproof bowl with lip
Meat thermometer
Rubber spatula. Word on the internet is no metal, no wood.
A sunny, low-humidity day best tempers chocolate, but rainy day mice will be just as yummy if not as shiny.
Drain cherries, do not rinse. Place a handful at a time in a kitchen towel, craft into a bindle and shake around to absorb as much moisture as possible. Leave in towel for now.
Unwrap all Hershey kisses and set on a platter for easy access.
Sort through almond slices until you have two nicely shaped slices for each mouse’s pair of ears.
Line 1 – 3 cookie sheets or cutting boards with parchment paper or wax paper. They need to be able to fit in your fridge!
Chop chocolate, reserving about a third chopped pieces (1.25oz for batch of 25; 4oz for batch of 75). If using chocolate chips, no need to chop.
Make a double boiler by placing a bowl with a lip over a medium pot/saucepan with about a half inch of water. Set burner to medium high, and once the chocolate begins to melt, reduce to medium. Stir continuously with rubber spatula. As soon as you can see no more individual pieces, check the temperature, and continue to cook until it just enters the appropriate target. Err on the side of removing too soon if the temperature is still rising rapidly as it nears your target.
Dark/Semisweet: 115 oF (46 oC)
Milk Chocolate: 110 oF (43 oC)
White Chocolate: 110 oF (43 oC)
Turn off stove, remove bowl from pot and place on a towel to absorb extra moisture. Add in remaining chocolate and stir constantly until temperature is at tempering range:
Dark/Semisweet: 88 oF – 90 oF (31 oC – 32 oC)
Milk Chocolate: 86 oF – 88 oF (30 oC – 31 oC)
White Chocolate: 80 oF – 82 oF (27 oC – 28 oC)
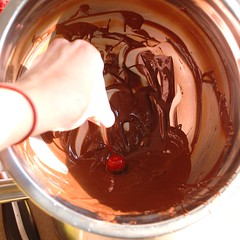
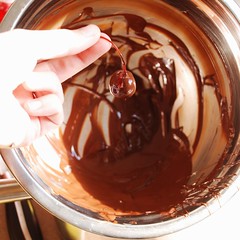
Holding stem, dip each cherry in the liquid chocolate, then set on parchment/wax paper. Set your mice about two inches apart to allow space for the Hershey Kiss and a little fiddling, and so no tails are caught in his neighbor’s warm chocolate.
Once all cherries are dipped, and starting at the beginning again, set a Hershey Kiss in front of each cherry to make a head. It helps to rest it on the cherry at an angle, as though the mouse is looking up. Aesthetically, an upturned nose is cuter.
Once all cherries are headed, and starting at the beginning again, stick one almond slice on either side of the head to make ears. Try not to touch the wet chocolate, but you can use the Hershey Kiss and the tail to help position these just so. If the chocolate is not tacky enough, wait a couple minutes and try again, but be careful not let it get too cool.
And finally, once your mice can hear you, set platters in fridge for 1-4 hours to firm up. To remove, seize the mouse by its tail. Squeak!
Serve on a cheese platter for maximum effect. Really, it’s so adorably cute.