online poker

Omnomicon

say it with me now, “om nom nom”

Subscribe to Omnomicon

Archive for the ‘vintage recipes’ Category

Welcome, October! People are already handing out free candy, and won’t stop until next year. And hey, why not? Bikinis are at least nine months away (assuming it stops snowing before May gets here), nothing’s in season except squash, and it’s cold—if we can get the kitchen toasty, hopefully some of the heat will drift into the living room and combat the chill emanating from the ill-conceived window door.

What I’m saying is, “It’s time to start baking again.”

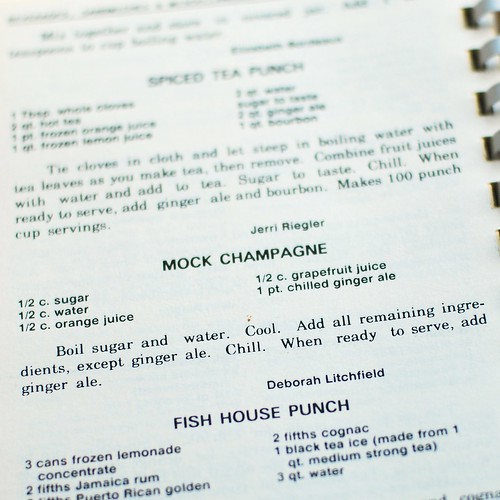
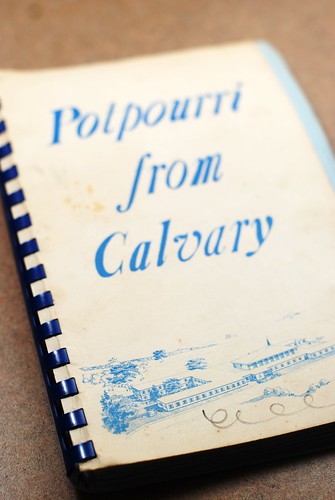
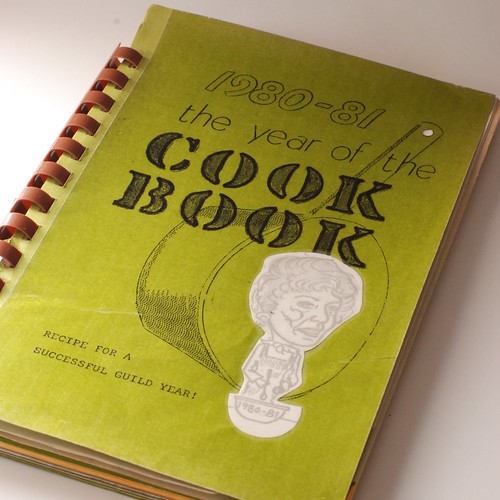
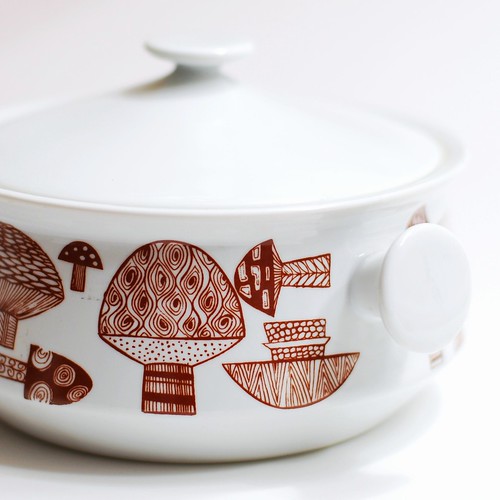
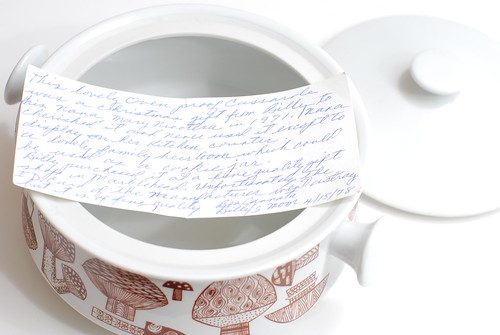
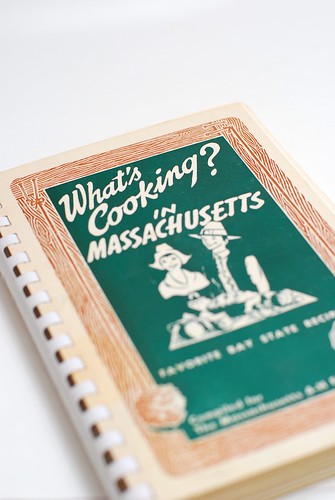
I think the Worcester County Homemakers would agree, so I consulted their 1961 tome.

homemakers do it...at home

As per usual, I have an opinion.

I heart Worcester

It’s true: I do so heart Worcester. I’m just so-so on Abraham Lincoln, whose upper torso I found a bit out of place, but a mere moment of googling uncovered a visit to Worcester on September 12, 1848, earning him permanent fixture in the minds of Worcester housewives, even a hundred years later.

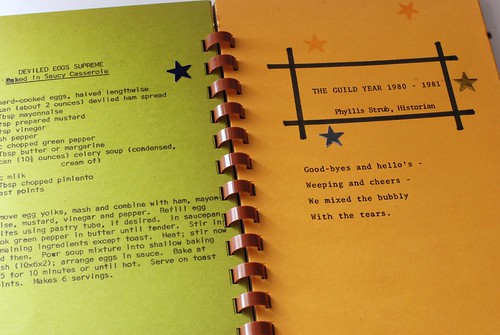
Amid such white trash classics as “Clamburgers” and “Baked Stuffed [with onions, carrots, shortening, day old bread, and evaporated milk] Hot Dogs” I came upon a most enchanting proposal.

butterscotch-pecan biscuits

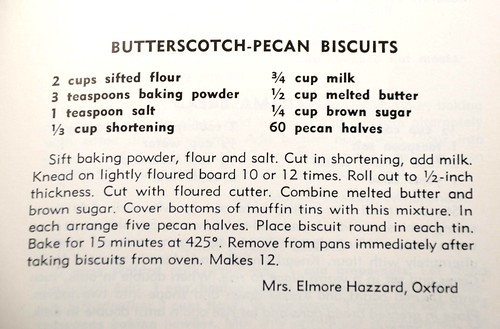
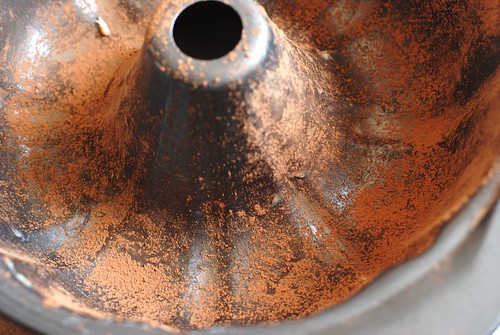
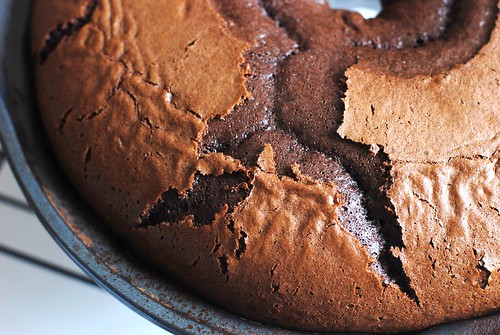
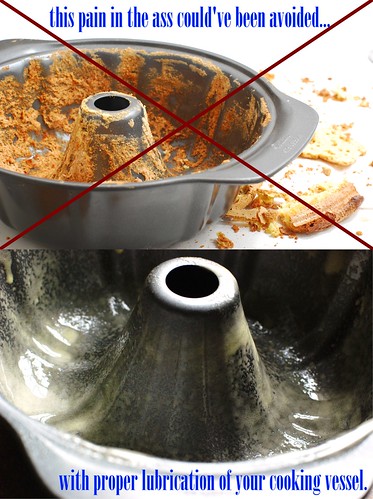
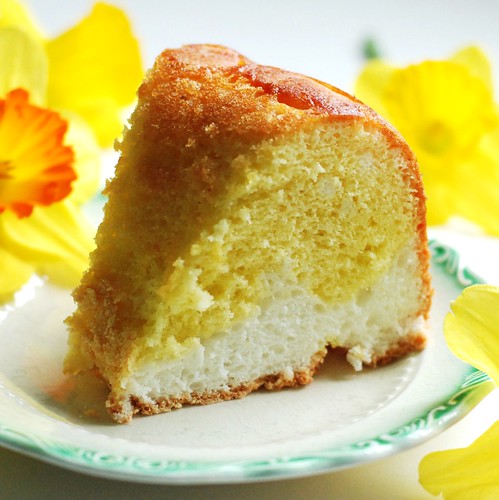
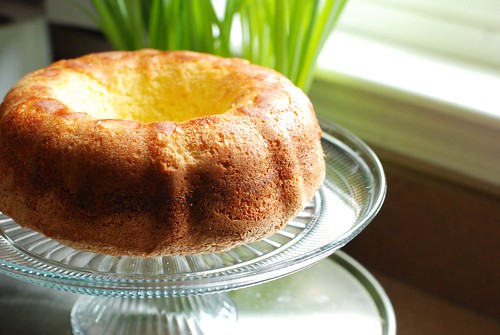
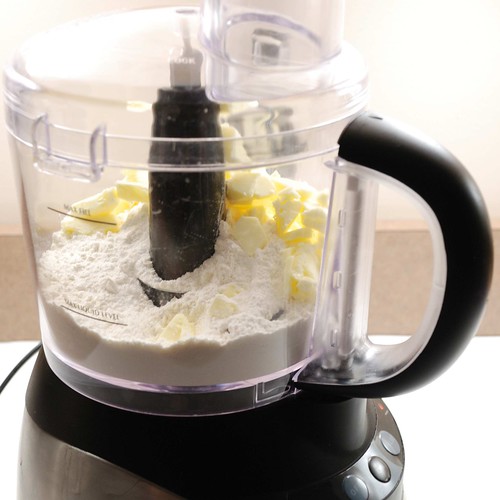
Butterscotch! Pecans!! Biscuits!!! Awww, and I bet they’re gonna be so goddamn cute too! Let’s do it. I drag out this clumsy atrocity for its sole function.

butterscotch-pecan biscuits

I love biscuits, but usually have to resign myself to drop biscuits because I hate kneading, likely because I suck at it. These, however, were extremely manageable, and are my new favorite thing to whip up for no reason.

circle circle

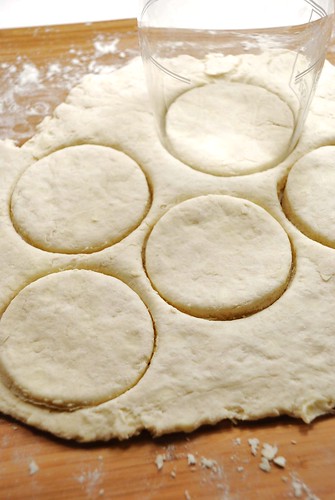
The biscuits are going just inside muffin pan cups, so scrounge about for whatever cylinder you have about that’s closest to the right size. In this case, I used this promotional wine glass that came free with the only wine tasting I’ve ever attended.

Inelegant uses for elegant items.

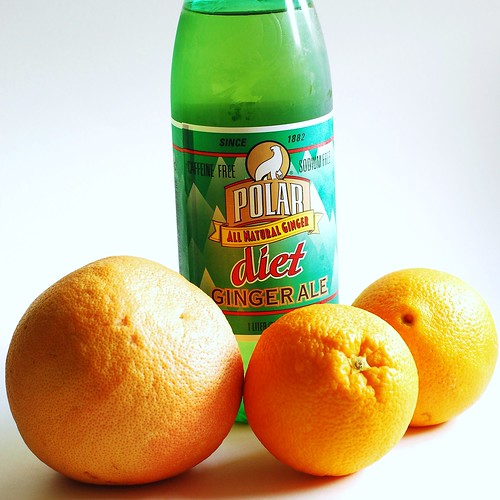
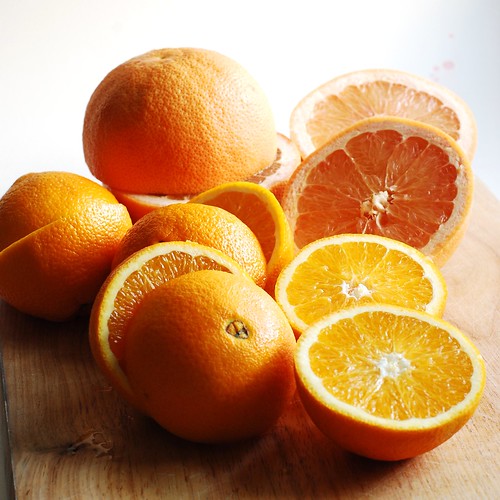
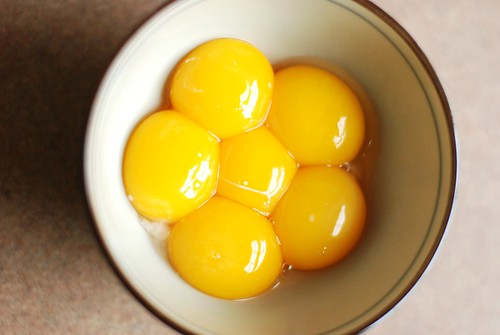
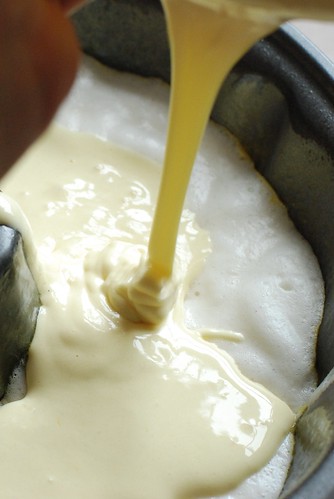
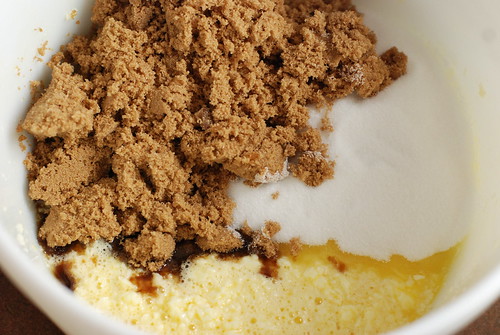
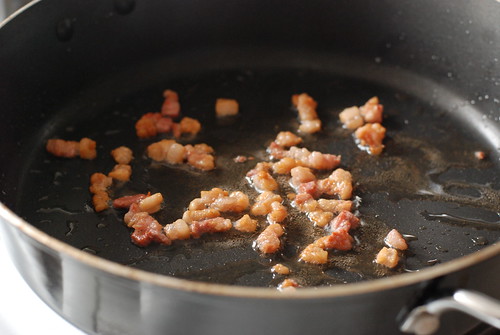
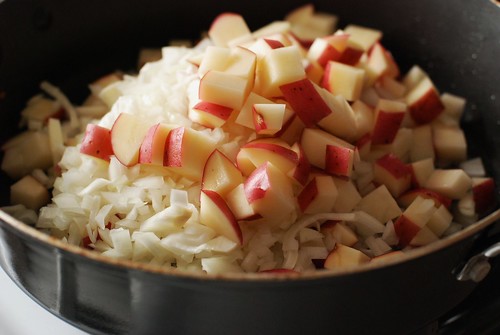
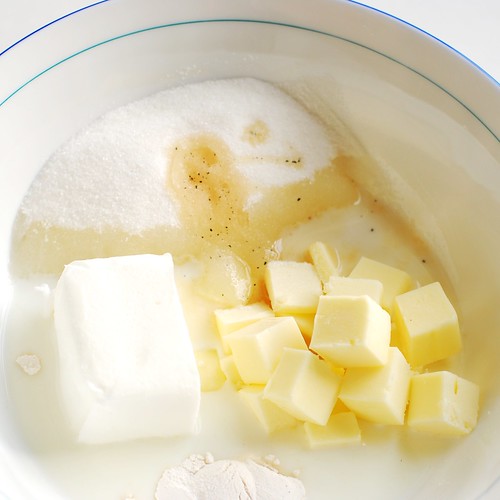
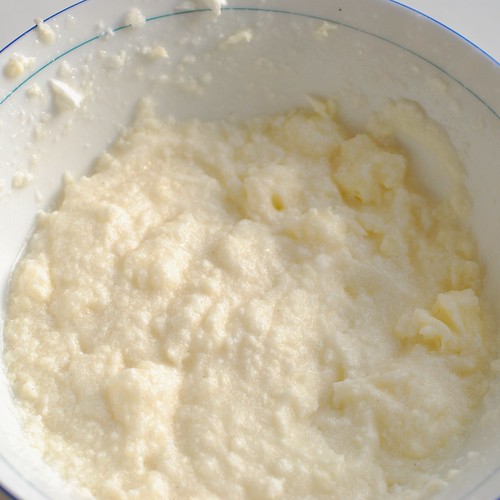
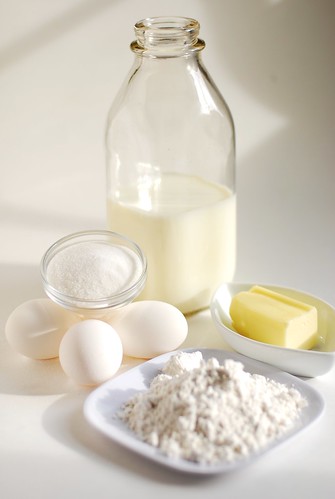
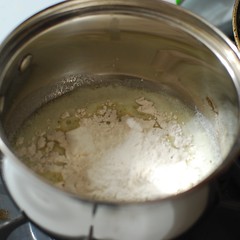
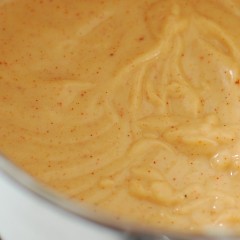
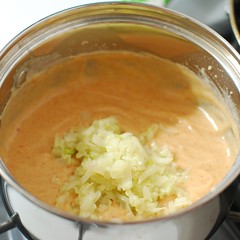
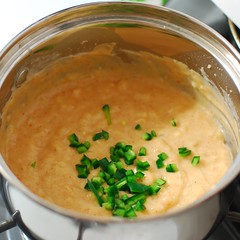
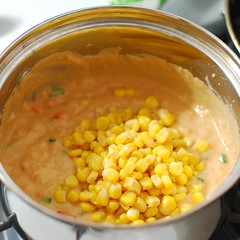
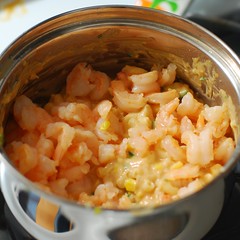
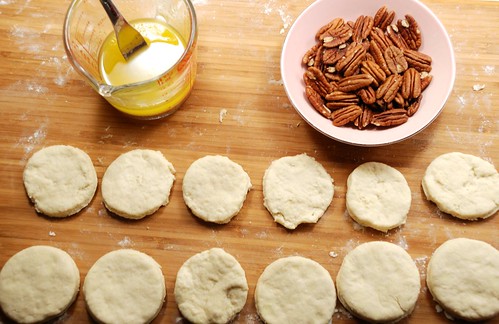
Get a little mis en place going strong…

polka dot dot dot

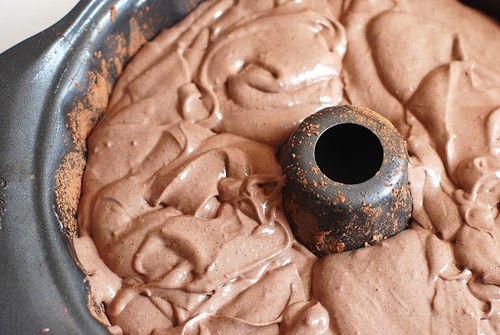
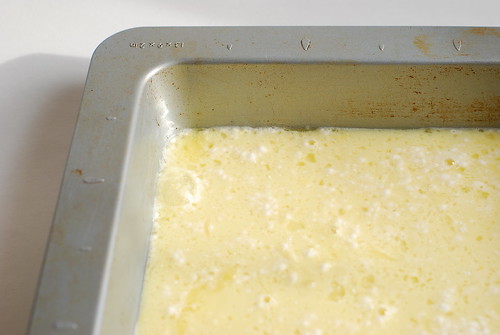
Now I did follow the recipe for this part. This time. Next time I will not be mixing the butter with the brown sugar because as I quickly discovered it doesn’t exactly make a suspension, and the levels in each cup were . . . variable. But then Math told me the good news: it works out to 2 tsp of melted butter and 2 tsp brown sugar in each cup, making the next part easy.

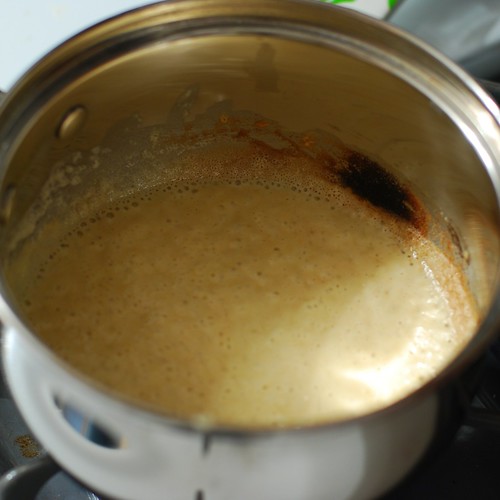
Just before starting on the dough, set the oven to 425o, cut 2 tsp (2/3 tbsp) into each cup and put it in the oven for a little bit. Keep an eye on that, you want the butter just melted and not sizzling. Once your biscuits are cut and ready, measure a solid 2 tsp of brown sugar into each cup and stir. I like using chopsticks for these kinds of things, and they’re also easy to clean/store.

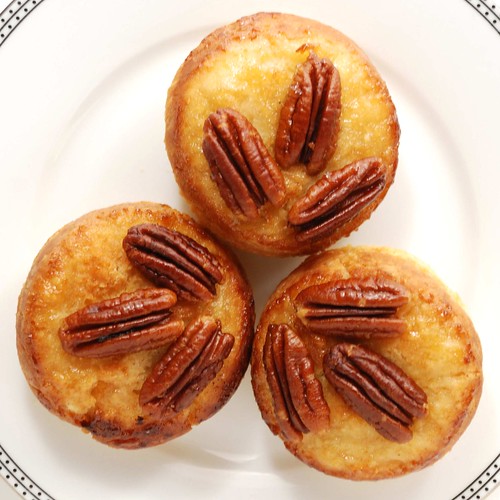
I also discovered only 38 solid pecan halves after dropping $5, so instead of 5 in each cup, I settled for 3, which arrange much more nicely than I imagine 5 might.

almost like little abstract plants

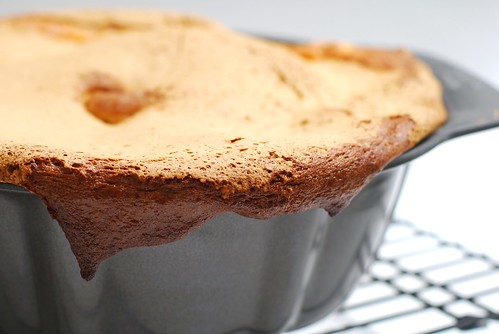
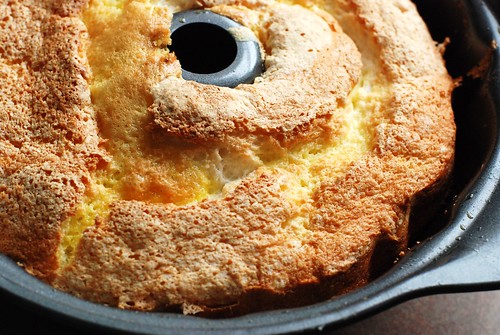
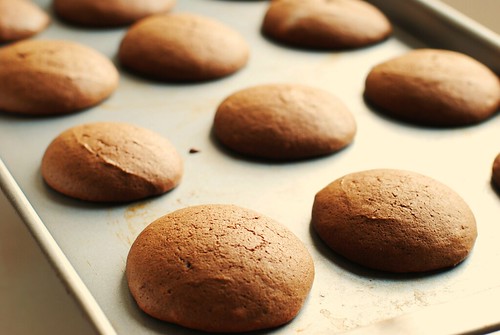
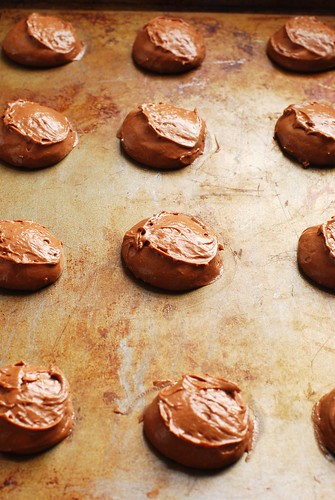
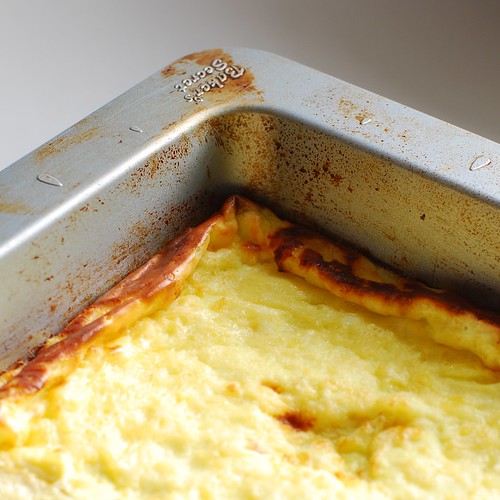
Set biscuits atop each cup and bake for fit-teen minutes.

putting the bisc in biscuit

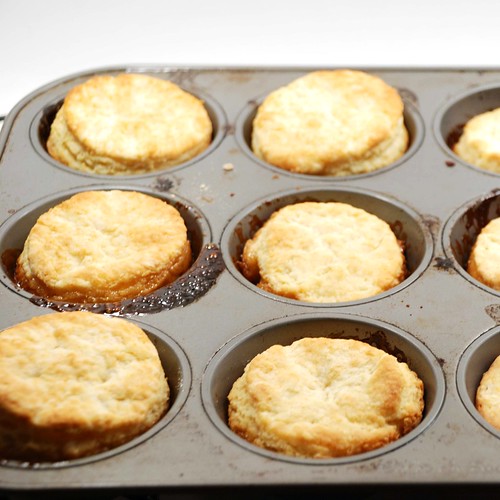
Now because I stopped to snap that, I really missed out on some delicious butterscotch that cooled onto the pan [that I later scraped out for a midnight snack], so unless you’re f’blogging, pop them out toute de suite. I promise they will not be as syrupy as you expect, but a little bit of parchment will go a long way just in case.

Such brass!

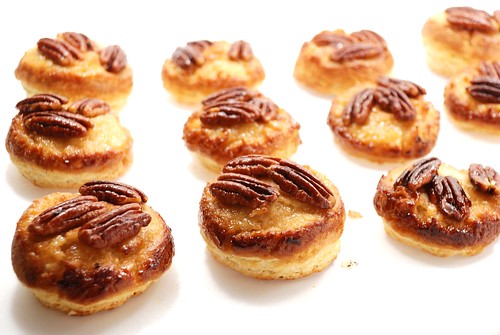
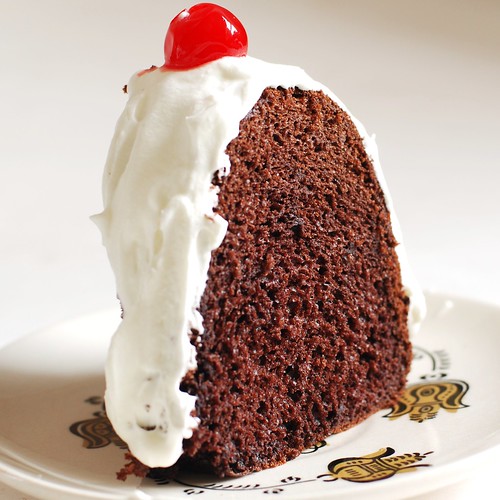
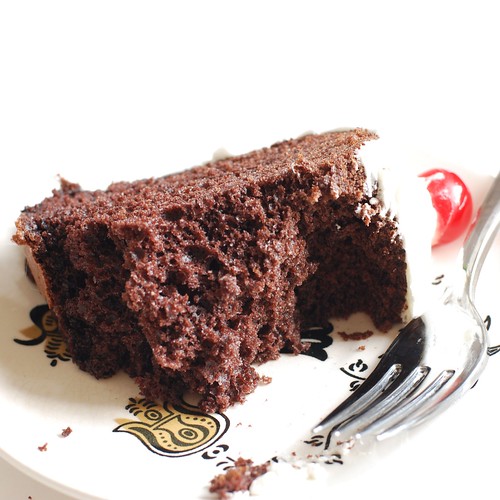
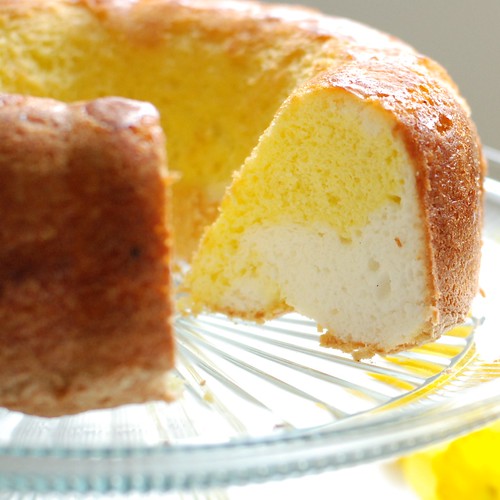
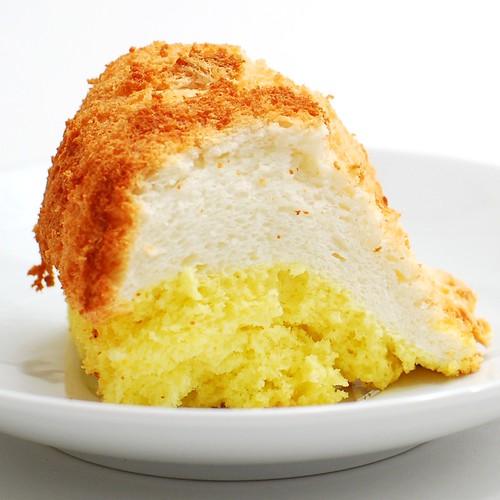
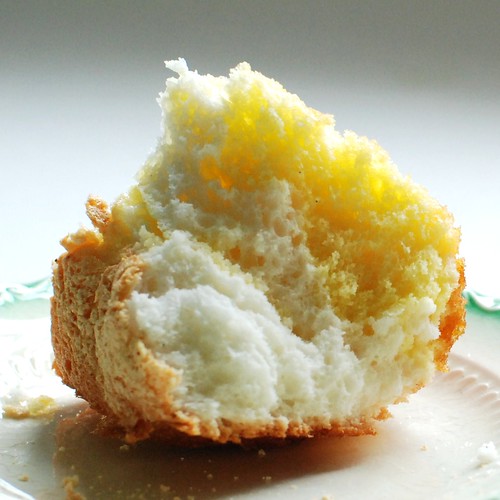
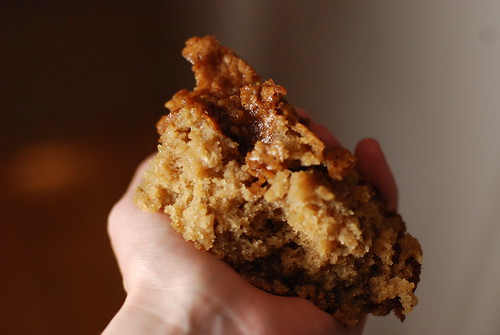
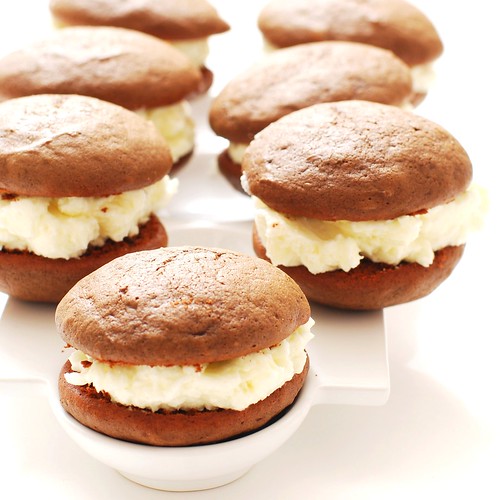
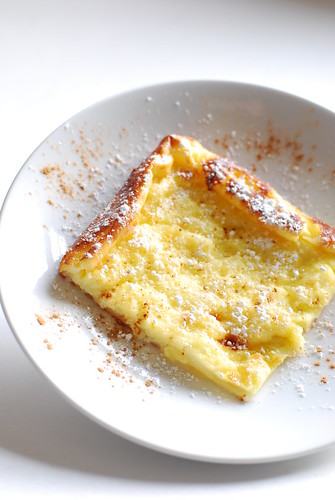
And then eat them. Eat them as soon as they will let you.

and now they're arrows.

Butterscotch-Pecan Biscuits
adapted from Worcester County Homemakers Cook Book (1961, Home Department Advisory Council, Worcester County Extension Service, Worcester, Mass.)

1 stick butter, sliced into 2 tsp (2/3 tbsp) bits
2 cups flour (248g)
1 tbsp baking powder
1 tsp salt
1/3 c cold chopped butter (5 1/3 tbsp)
3/4 c milk
1/2 c packed brown sugar (50g)
36 whole pecan halves (1 c)

Drop 2 tsp butter in each cup of a muffin pan and put into oven as it preheats to 425o. Keep checking as you work on the biscuits, and pull out as soon as it is *just* barely melted; do not let it bubble.

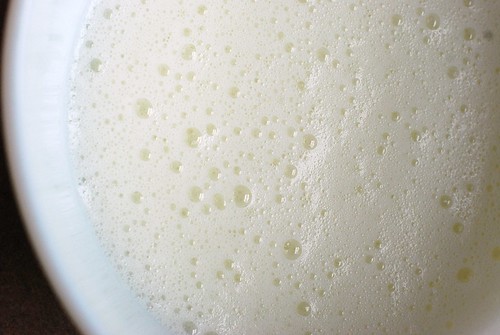
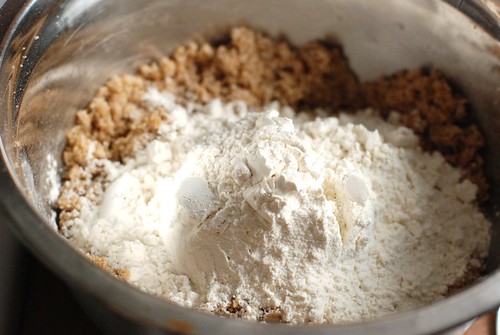
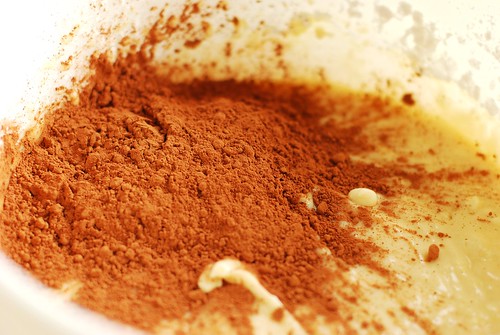
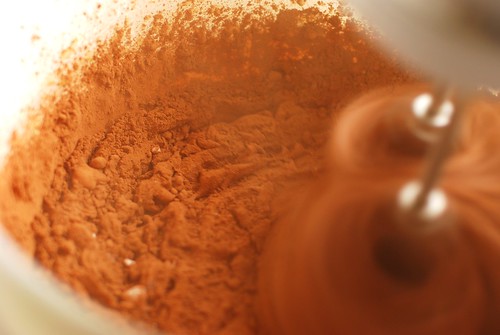
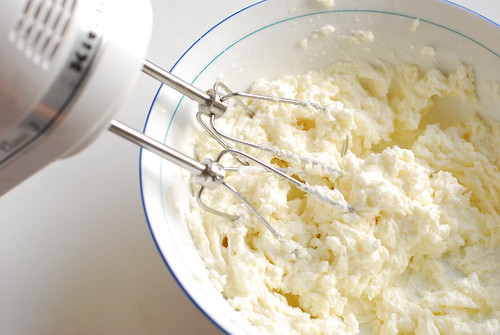
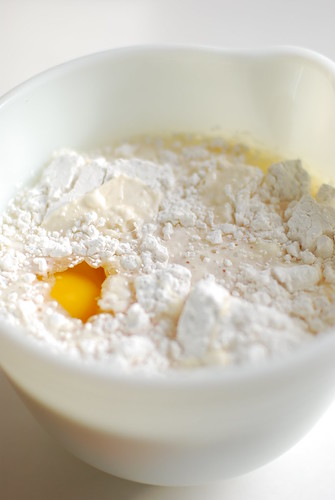
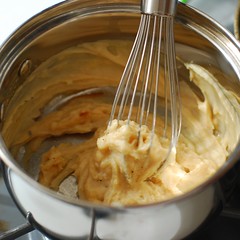
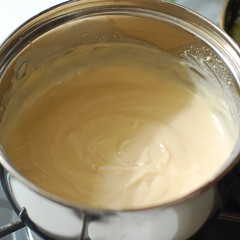
Squizzle flour, baking powder and salt in food processor real quick in lieu of the traditional sifting. If traditional, poor, cheap or have a tiny kitchen, sift into bowl. Cut/pulse in the 1/3 c butter, and once you have coarse pebbles, add milk, work into a ball, and turn onto a floured board. Knead 10-12 times, roll out and cut 12 circles-cum-biscuits (see wine glass notes above).

Your butter should be melted by now, so measure 2 tsp brown sugar into each cup and stir with a chopstick. Plop a biscuit atop each cup, bake 15 minutes.

Flip onto a cutting board covered with parchment immediately upon removal from the oven. Let cool and just try to resist.

cairn.

The mimosa. A delicious blend of fruit & alcohol that transforms even the most mediocre of brunches into an experience nothing short of magical. But alas, there are times where maybe perhaps a little bit of drinking might not be in the cards. Perhaps your hangover dictates brunch, but the thought of another drink, well, let’s just say you don’t want to think about another drink.

The solution is simple: Faux Mimosa. In addition to the dilemma above, it can be applied to a number of other problems as well. Perhaps you have that teetotaler friend, or worse, a decidedly non-teetotaler friend who gets whiny and annoying. Maybe you have a sister or niece *just* shy of 19 and you want to be the cool older sister (or cool aunt) without all the baggage of being arrested for serving alcohol to someone underage. How cool would you be to have her pals over, as you bemusedly observe the pitch and slurredness of their gossip rise over the course of the evening, so sure they are that this is the real deal. I would warn that you might end up providing crash space.

So imagine my delight in finding this recipe:

Faux mimosa.

Side note: while the Fish House Punch looks like it might be pretty good, you’d think they could come up with a better title. Really. Or just run with it and garnish with fish heads.

This gem comes to us via that 1977 classic Sharing Our Best, a collection gathered by the Devil Worshipping Green Mountain Deputies Association of Vermont. The Devil Worshipping part isn’t explicitly addressed, except for THAT HUGE UPSIDE-DOWN PENTACLE ON THE COVER, which couldn’t possibly be a gross oversight.

Faux mimosa.

We begin our Champagne Mocktail odyssey.

Buy local . . . soda.

I like to buy local whenever possible. Turns out Polar makes its soda, like, 10 miles that way, so it’s extra fresh and better retains its vitamin content. That’s how that works, right?

I decided to squeeze my own orange and grapefruit juice, since I really don’t drink these things anyway and didn’t want to surrender the fridge space. These are also locally-grown oranges and grapefruit. I just love going orange-picking, they have this great farm right in Westborough.

Citrus. Decidedly not local.

I’m just kidding. Citrus plants don’t grow in New England.

In an awkward proportion, to get a cup each of orange and grapefruit juice, it took 3 oranges and 1.5 grapefruit. I think this probably changes depending on season, specific varietal and origin of your oranges, though the grapefruit proportion seems as though it would be a little more reliable. As a frame of reference, 1 orange = 1/3 c juice and 1 grapefruit = 2/3 c juice.

The remains.

The easiest way to get juice out of citrus is with a citrus reamer. They’re cheap, extremely effective, and feel like way less of a pain in the ass than one of those little cup things. Also, you can strain the juice as you make it, which is convenient. Just poke it in your fruit there, mess up the insides, then let the juice drip into the sieve, and presumably the bowl underneath. Last step is to squeeze the orange/grapefruit around the reamer and rotate.

How to ream out an orange.

Get out your finest $5 Ikea pitcher.

I actually do love this thing.

And pour your non-alcoholic champagne.

Ginger ale.

Faux mimosa.

Faux mimosa.

Looks like a nice witbier, eh?

Faux mimosa.

Pour into your completely inappropriately-shaped glass.

But mimosas are for girls. Girls with names like Kelli and Brittany. Let’s girl this up a bit, shall we?

A 3 on the girly scale.

Well, that’s nice, but Kelli and Brittany would kinda feel like you aren’t trying. Put some fruit in there, bitches love that shit.

On the girl scale, perhaps a 6

Okay, we’re getting close. Let’s just go all out.

Kelli and Brittany would totally drink this.

Drink on, ladies, drink on.

This was a bit sweet for my tastes, so I recommend excluding the extra sugar—it just felt so sticky sweet, it was much more refreshing after I diluted a bit with seltzer water. I also think there’s a little room for experimentation here down the seltzer water path, it makes for a dryer-tasting “champagne.” This inordinate sweetness is why you’ll notice I went from making Mock Champagne to Mocktail Mimosa. It just describes it better.

Faux Mimosa
from Sharing Our Best by the Green Mountain Deputies Association (1977)

Feel free to make this low-sugar or sugar-laden according to your preference. Serves 8.

1 liter ginger ale
1 c grapefruit juice (1.5 grapefruit if fresh-squeezing)
1 c orange juice (3 oranges if fresh-squeezing)
1 c water

Mix. Chill. Text Kelli and Brittany and see if they’re doing anything.

nutrition summary (1 serving with diet ginger ale): 23 calories, no fat, no fiber; about .5 weight watchers points

If you’ve been following along, you’re probably aware that I collect cookbooks. Specifically, cookbooks created by New England civic organizations between 1950 and 1980 for fundraising purposes. With yard sale season in full swing, I find myself solvent with new recipe ideas, among them one I found in this vandalized and water-damaged collection.

No date, no address, not sure.

The picture on the cover somewhat suggests the architecture of Calvary Baptist Church in Easthampton, but I bought the book in Millbury and it has no date (I’ve never been to that Church, I just tried to do some due diligence in my googling). Nevertheless, it *does* include a chocolate cake recipe with a secret ingredient: ice cream.

Ice creeeeaaaammmm!!!

And hey, no cake flour or fancy measuring required, because we’re using cake mix.

The mix.

I let my ice cream soften by scooping it up into small chunks and letting it sit a few minutes. At teaspoon size, your mixer will take care of any further softening required right quick.

Mix together.

The recipe calls for greasing & flouring a tube pan. Since I’m making chocolate cake, I dusted with cocoa powder instead of flour so my cake won’t look dusty. In fact you can do this with any chocolate cake, with the added bonus of a little extra kick of chocolate, and hey, that’s the name of the game, right?

Dusting the tube pan.

After 4 minutes of beating, the batter kinda just looks like . . . well, melted ice cream.

Whippie.

This is one of those situations where a process shot gives a much clearer picture of the character of the dish than the final picture can. Connie Aubuchon, the contributor of this recipe, assures that the cake is “very moist, rich and chocolatey.”

Mmmmmmm.

She was right. This is about as moist as a cake gets without being outright wet, and it even has this spongy noise as you cut into it. In short, it is the most delicious chocolate cake you ever had.

Connie was right.

I wanted to see just how chocolatey I could make this, so I stayed true and made a chocolate cake mix with chocolate ice cream. But I was *thisclose* to trying chocolate cake with mint or ginger ice cream, and other combos that come immediately to mind are vanilla mix with mango ice cream, yellow cake mix with strawberry ice cream, and funfetti with pretty much any ice cream. What combo would you make?


Chocolate Ice Cream Cake (but not like you think)
with thanks to Connie Aubuchon

1 box chocolate cake mix (or any other flavour)
1 pint chocolate ice cream, softened (again, any other flavour)
3 eggs
1 c water

Preheat oven to 350o. Grease a tube or bundt pan, then dust with cocoa powder.

Beat all ingredients together for 4 minutes, pour into pan and bake 45 minutes. Serve with a dusting of confectioner’s sugar, a thin icing, whipped cream or the frosting of your choice.

Done!


approximate nutrition summary (will vary depending on the brands used): 230 calories, 6g fat, 1g fiber; about 5 weight watchers points

I don’t have much to say about the Daffodil Cake other than it appeared in my What’s Cooking in Massachusetts! 4H cookbook, and a quick Google is telling me that it is an Eastery-Springy-type of cake. So I guess I just missed Easter, which is fine because something in me still resists holiday seasonality. My guess is I still haven’t outgrown that jaded teenager phase, where family stuff is stupid and cheesey.

Foamy.

In line with the Spring theme we accidentally have going here, this cake is EXTREMELY light—for cake. It’s similar to an angel food cake, except that you are not left with an inordinate amount of unemployed egg yolks. In this cake, the egg yolks are used to make a second batter, this one all yellow, naturally, and the result is a little two-toned cake that is not as cool a surprise as say, a rainbow cake, but still pretty neat! It can be served in a manner similar to angel food cake, and in that vein would be quite delicious with some strawberries and whipped cream!

Egg yolks that are busily not going to waste.

I made this bad lawrence twice in an attempt to fix major problems from the first go at it. I cite as evidence:

Exhibit 1.

You can see how including that particular photo might counter any culinary abilities y’all might have thought I had. The good news is that I only had to try this one more time to get much more satisfying results, and I identified my major issues here. The first:

Daffodil cake.

Let me just say up front that is not meant to be a dick joke.

The terminology in the original recipe says “beat until stiff.” Now I’m going to venture that, in this case anyway, stiff does not imply stiff peaks, because the first time around it took me damn near 45 minutes with a handmixer to attain stiff peaks, which even then were passable at best. And then my cake exploded out of my pan and burnt to the bottom of my oven in a smelly mess (see above).

The other big hint that something was wrong was when I tried to remove the cake from the pan and then had to kind of grope it out with my fingers. It was embarrassing.

Mess.

Perhaps in 1962, they had nonstick tube pans they don’t make like they used to, but my nonstick bundt could not handle that baby, and as you can see, this time around I was plenty generous with my cooking spray. That cake might be soggy coming out of the pan, but it’s coming out of that pan on its own, goddammit!

Here’s a rare Omnomicon action shot.

Two tone!

And the bottom was the most delicious part of this. If you aren’t big on presentation, I recommend eating the entire crust off the bottom, because the cake is moist and fluffy and once you flip it onto the bottom and leave it that way for a few hours, the delicious crunchy almost-meringuey texture becomes the texture of just . . . regular cake. Not as magical at all.

Nice bottom.

Interestingly, though you pour the yolk mixture on TOP of the whites mixture (which would logically put it on the bottom of the cake once flipped out of the pan), the yolk mix is denser and therefore sinks to the bottom of the pan. In this particular piece, it looks like a funky ying yang.

Cake Shui.

But when I overbeat the white mixture, the yolk stayed right where one would expect it to—to the top of the pan and bottom of the cake. I have to assume this is due to the increased firmness in a longer beat time for the white.

Daffodil cake.

So then I took some literal shots with a daffodil, which really don’t complement the visage of the cake very well, but I bought those flowers and by golly they’re gonna be in my pictures!

Daffodil cake.

The best way to describe the plush airiness of these, however, is with this shot, wherein I tore a piece of cake in half. Verily, I rent it asunder for the visceral pleasure of it.

Daffodil cake.

And then one more picture of daffodils. Just so I can get my money’s worth.

Just daffodils. No cake.

Daffodil Cake
adapted from a 60s era 4H fundraiser book: What’s Cooking? In Massachusetts

6 egg whites
1/2 tsp cream of tartar
1/2 tsp salt
3/4 c sugar
1/2 c cake flour
1 tsp vanilla

Preheat oven to 325o.Beat egg whites until foamy. Add cream of tartar and salt, and beat until the mixture can hold a little bit of shape, but not until stiff peaks form (it should take you about 5 minutes to reach this consistency with a mixer on medium). Briefly beat in vanilla. Sift sugar and flour four times (seems like overkill to me, but just to be safe I went ahead and did it), then fold into egg white mixture. Pour into well-greased tube or bundt pan and set aside.

Now it’s time for the egg yolks!

6 egg yolks
1 tsp vanilla
1/4 tsp salt
3/4 c sugar
3/4 c cake flour
1 tsp baking powder
1/4 c boiling water

Put about 2 c water on the stove to boil. You’ll want to measure your boiling water after it’s come to a boil instead of before (what with evaporation and what have you). Beat egg yolks 3 minutes, add salt and vanilla, then gradually beat in sugar. Sift the flour and baking powder four times (again, it couldn’t hurt) and add alternately with hot water. Pour atop the white mixture in the pan.

Bake 50 minutes, let cool completely (at least an hour) before removing from pan.

Serve by itself for a cottony delicious treat, or with fruit and the whipped topping of your choice for a more full-blown sort of dessert.

Fun variation:
So some versions of the daffodil cake include a lemon icing, and this one in particular calls for either vanilla or lemon extract in the yellow batter. My awesome idea is to dye the white part with lemon extract and the yellow mixture with vanilla. It will taste the same, and 90% of people won’t notice which is which, but it’ll be really funny for that one person with the particularly sharp tastebuds.

Daffodil cake.

nutrition summary (for 1 of 8 servings): 260 calories, 4g fat, 0g fiber; 5 weight watchers points

Apr-2-2009

fail: spent grain cake

Posted by aleta under recipe fail, vintage recipes

I have enjoyed some luck with used book stores and cook books that were sold to housewives for a fundraiser 40 years back. People share treasured family recipes that often turn out great (or are at least interesting enough to try to modify). However, for the record, I’d like to advise all of you against spending $5 on this ditto-machined little avocado number.

Recipe for a successful guild year.

I think that’s supposed to be Julia Child contact-papered to the cover there. Also, there were foil stars, one can only assume for extra pizazz, and a recipe for something awful titled Deviled Eggs Supreme that calls for cream of celery soup.

The guild year poem.

Here’s where the trouble started.

Where the bad idea began.

I thought for sure I could coax this cake into being an acceptable vehicle for the several pounds of spent grain in my freezer.

I call this one "Spent grain in pyrex" for lofty artistic reasons you aren't likely to grasp.

For the uninitiated, that there is a byproduct of brewing beer, and since it seems like everyone we know is a homebrewer, it’s plentiful and free around here. Spent grain is an all-natural high-fiber cereal, neutral in flavour, but similar in texture to cooked rice or oatmeal. You see why it might just work. Once upon a time I posted a recipe for spent grain cookies, but harvette did a much better job of the recipe by excluding peanut butter.

I took a picture of oatmeal too.

Oatmeal!

I have no good reason for sharing that other than it is a particularly nice picture of oatmeal, wouldn’t you agree? So anyway, I made two cakes tonight, one oatmeal, one with spent grain.

Brown sugar--always gorgeous.

More cakemaking.

. . . and while they didn’t look too bad . . .

Failed oatmeal springform.

Bundt grain fail.

They were best served like this . . .

Spent grain fail.

. . . directly into the trash can. This cake was way too sweet, never ever (ever) finished cooking, was super dense, and lacked any kind of complexity to its flavour, even after I bastardized the recipe (swapping shortening for butter, more flour, maple syrup, etc etc). Yuck. After just a couple bites I suddenly wanted to eat nothing but vegetables for the rest of my life.

So apologies to the faithful who check up on Thursday mornings, I have no recipe to share today because this one is too awful and people might actually expect to be able to eat it afterward, which um, isn’t really a realistic option. I am, however, just putting the finishing touches on an article with a really bad working title like Omnomicon: Special Edition: how to buy spices. I would like to get that post up tomorrow with not only that how-to, but also a recipe to test out all your new spices. Why? Because I would hate to disappoint anyone. I . . . I love you man!

fish chowder: a milky dish made with fish!

This weekend exemplified the yang and yin of Spring around here. Saturday was a gorgeous, sunny, “drive with the window open and wear flip-flops” kinda day; on Sunday a fog rolled on the pond all day, heavy and thick even at mid-day. Both days were beautiful in their own way, and even though I know we’ll get snow one last time, I sighed with delighted relief every one of those 48 hours.

And how convenient is it that Sunday was the perfect day for fish chowder? I used Haddock because it’s cheap, standard, and what 18th-century fisherman’s wife would put in her chowder, but any white fish (or combination of fancy fishes) would work. Salmon would work marvelously, yum!

Haddock.

I used salt pork, but please, don’t worry about the gross unhealthiness of this because there’s not much to begin with and it’s spread among 8 servings. Really. It’s mostly for flavour. Bacon would work just as well.

Salt pork.

The bulk of fish chowder is vegetables, assuming you count potatoes, which I only sometimes do. Also, the only other vegetable is onion.

Fish chowder.

What’s going on here (and you can’t really see, sorry bout that) is that we made a fish broth with some of the fish, poured that into the pan with the veggies, then steamed the fish chunks atop the potatoes and onions, which are submerged in fish broth. It’s a neat way to steam fish and cook potato at the same time.

Steaming the fish!

Eventually we need to move the chunky stuff to a pot, though if your skillet can handle the milk on top of this stuff, you can save yourself a pot by keep your chowder in there too.

Edible, but not done.

Fish is so low cal that it’s kind of a shame to serve it in a creamy soup, which defeats the purpose, right? But instead of loading up on cream, which is admittedly delicious in a chowder, I used a combination of low fat condensed and regular milk. The result is something creamier than using milk without adding any fat (which accounts for the bulk of calories in cream). I’m assuming it’s because there are more milk solids into the same amount of liquid, but my knowledge of food chemistry is slim, so I’m basing this on logic alone.

But in the end who cares? It’s a hearty and comforting way to watch the fog rolling around on the water.

Fish chowder.


New England Fish Chowder
adapted from a recipe by Margaret Woodworth D’Arcy of The National Society of The Colonial Dames of America in the State of New Hampshire . . . I’m not even kidding, I found this in the Society’s 1968 Cook Book

1.5 oz salt pork, diced
1 lb potatoes (about 2 medium), chopped into 1/2″ cubes
1 yellow onion, finely diced
1.5 lb haddock, about 2 fish or 4 fillets, cut into 1″ chunks
2 c water
1.5 c milk
12 oz evaporated milk
2 tsp salt
1 tsp pepper
2 tbsp butter
3 tbsp finely diced parsley, optional but quite effective

Place 1/2 lb fish (about 1 fillet) in a pot with 2 c cold water. Bring to boil and boil 10 minutes.

Once that gets going, fry up the salt pork over medium heat to extract all the fatness. Once the bits are crispy and brown, remove them and replace with diced potato and onion. Cook 5 minutes over medium-high, stirring frequently. By now the fish broth is done, so add it (and the fish if you like) to the potato and onion, then spread the cubed fish atop the veggies. Allow to steam (i.e. don’t stir) for 10 minutes, continuing on medium-high.

At this point, if you think your pan can’t comfortably handle an additional 3 cups of liquid, transfer the fish & veggies to a bigger pot. Add milk, condensed milk, salt & pepper. Bring to *almost* a boil (don’t let it bubble up big!) then reduce to medium-low, cover, and simmer about an hour.

Immediately before serving, stir in the butter, then ladle into bowls and garnish with parsley and additional pepper. The official word is that chowder is better the next day. I, however, suspect that old wives tale was created by a Mom Conspiracy way of getting us to look forward to leftovers.


nutrition summary (using 1% milk, fat free evaporated milk): 245 calories, 7g fat, 1g fiber; 5 weight watchers points

Now I’m going to tell you: my mother’s whoopie pie recipe is SO GOOD that I will often tell people that I don’t like whoopie pies at all, because I have yet to find another recipe that I actually like. Other people’s whoopie pies are too cakey, or too cookie-like, or (as is usually the case) the filling is pure frosting, which is WAY too sweet and totally the wrong texture altogether. My mom’s whoopie pies were famous in our circles, and she generously provided them whenever demanded, particularly when visiting my Uncle and Aunt in Maine for Thanksgiving and Christmas. I ate more whoopie pies in my childhood than cupcakes, brownies or cookies combined; they were a true and strong family tradition.

Antonia, a faithful reader, pointed to a NYTimes article about the Whoopie Pie and well hey, I’m not usually up to snuff on anything topical, and since I have an authentic family recipe on hand, I am suddenly compelled to showcase my (rather specialized) expertise!

A proper whoopie pie is not merely some cloying abomination of sugar and fat. No no, it is delicate in its way, the sweetness ever-present and yet subdued. Please do not compare them to a Devil Dog or Moon Pie. Please do not make them with cake mix and tub frosting. A whoopie pie is a very specific delicacy and there are rules.

The proper texture.

A proper whoopie pie “cookie” is a medium-brown shade, fairly dry (not all oily and moist like a Little Debbie’s snack), but still somewhat densely cakelike, maybe a vein or two where the scoop let go of the batter. They crack ever so slightly, but sometimes they don’t and maybe that has something to do with the barometric pressure. I dunno, they still taste right and seem to have the right texture, so aesthetics aside, it’s fine either way.

Okay, so maybe the filling is an abomination of fat and sugar.

The proper whoopie pie filling is made with Crisco (which, apparently, no longer contains trans fats), butter, whole milk, sugar, a tiny smidge of flour and a regular portion of vanilla. Did you notice that it has no Fluff in it? That’s because Fluff is for fluffernutters, not whoopie pies. You will also notice that the filling is not a frosting, but a creme. While eating, one will lose all the filling out the sides and must open the pie, collect up the creme that has splooshed out back onto the bottom piece, then recreate the sandwich, only to do it all again in the next bite or two. This is the proper way to eat a whoopie pie.

This process presented many lovely photo ops. Let’s take a look!

Where the chocolate comes in.

This one reminds me of a dusty construction site.

Cocoa construction site.

Ungreased cookie sheet...

The cookies can be removed from the cookie sheet almost immediately, but you really need to use a metal spatula and carefully scrap them off. I like the texture underneath, it gets a little crispy as it cools and it is so so satisfying to snack on the odd unmatched whoopie pie cookie before they’re frosted.

The underside.

The creme takes a convenient 10 minutes to make, which you can most likely complete between the time the first batch of cookies goes into and comes out of the oven. I’ve found it nearly impossible to make the creme without an electric mixer (stand or hand, your choice), and sometimes it takes longer than others. For the first several minutes of mixing, your creme will look like this: kinda gross.

Porridge?

And then you’ll hear a cherub giggle, and an angel wing will brush against your shoulder as suddenly the creme whips up into this glorious appearance. The texture is extremely creamy, but still looks like this.

As if by magic.

After a little assembly . . .
Mom's perfect whoopie pies.

Since I started making my own food, I’ve lived on these for days at a time. Not particularly healthy nor affluent days, but certainly enjoyable ones.

Well of COURSE I ate some as I went along.


Mom’s Famous Whoopie Pies
makes about 14 after batter & cookie sampling
brought to you by very fortunate family ties.

Blend Add
1/4 c Crisco 2 c flour
1 c milk 1/4 c + 1 tbsp cocoa
1 c sugar 1.5 tsp baking soda
1 egg 1 tsp salt
1 tsp vanilla  

Drop by the small tablespoonful onto an ungreased cookie sheet—a tablespoon-sized bakery scoop works best. Bake exactly 8 minutes at 375o, see if a toothpick comes out clean, and if it doesn’t, bake another 2 minutes (10 total). Upon extraction from the oven, remove from pan immediately to wire rack to cool.


And now the creme filling (reminder: it’s not frosting, guys)

1/2 c margarine or butter (room temp is best)
1/2 c Crisco (my mother is insistent that this MUST be Crisco and CANNOT be generic shortening, nor substituted in any way . . . but if you do get it to work with a substitution, please let me know!)
1 c sugar
1 tbsp  flour
1 tsp vanilla
1/2 c warm whole milk (20 seconds in the microwave should do it)

Beat with a mixer (stand or hand, your choice) for-freakin-ever. It will start out just like, well, lumps of Crisco floating in milk, then bits will get smaller and smaller, then it’ll slosh around for a little bit, and, much like the butter making process, you’ll be wondering if this will ever become anything or if you maybe messed it up somehow. Suddenly, about five minutes later, your mix will look weird for a second, and within moments your slushy mess will turn into a glorious white creme, smooth and perfect in a way rarely seen outside the confines of uber-processed food with chemicals you can’t pronounce that are not even available to the consumer in their pure form.


Assembly

As soon as the whoopie cookies are cool, match each whoopie with its closest brother in size—even if yours didn’t all come out the same size, evenly matched whoopies will look much much nicer. Spread some filling on the flat side of one, then place the second on top. Repeat. This does not need to be done immediately before serving, as the filling tends to maintain its consistency surprisingly well, and some (like my mom) would argue that a day-old whoopie pie is even better than fresh. I like them all.

No need to refrigerate, sealed plastic or plastic wrap will keep them fresh.

. . . and that’s it. Congratulations! You just made the best whoopie pies known to man.


Not like it’s diet food or anything, but these are not quite as totally terrible as I thought they’d be!
Nutrition Summary (for 1 whoopie pie of yield 15): 330 calories, 17g fat, 1g fiber; 8 Weight Watchers Points

Hola! Como esta? Bueno!

My Spanish isn’t what it never used to be, but guess who has two thumbs and just celebrated a 25th birthday.

->this gal<-, that’s who!

I received so many wonderful gifts from my closest pals, and I include among them the gift of everyone’s presence at my karaoke bash, which is all I really wanted anyway. But SOME people (yes, I am talking about you, Erin) are apparently way the hell too cool and just had to go out and make my birthday extra-special—and I guess I can’t complain because you guys,

Check

This

Out.

Absurdly awesome birthday gift.Absurdly awesome birthday gift.

Are you frickin kidding?! Totally adorable, funky, completely vintage and all mine. So I prefer family items because what’s vintage really without a good story, right? OH WELL HEY IT CAME WITH ONE OF THOSE TOO.

Absurdly awesome birthday gift.

This lovely oven proof cassarole [sic] was a Christmas gift from Billy to his Nana Mary Nicotera in 1971. Nana cherished it and never used it except to display on the kitchen counter. A lovely family heirloom which could be used as a cookie jar.

Billy purchased it at a fine quality gift shop in Marblehead. Unfortunately the ID card of the manufacturer went astray but it is of fine quality.
Bea Cannata
Billy’s mom 4/15/78

I can’t even believe that I have come to own a 40-year-old piece that may or may not have ever been used, but if it has, it certainly doesn’t show. So until I find a suitable cherry-popping recipe, I will cherish it and admire the class it brings to my kitchen counter.

Thank you, Erin, for sharing the most fantastic taste of anyone I know.

So this is completely unrelated to my birthday, other than I made it the morning of receiving The Great Gift. Finnish pancakes! There’s not too much in the way of ingredients, but they all pull their weight in a crescendo of souffle-like tastiness.

finnish pancakes

Man, that ingredient set is as white as Rhode Island.

In the mix.

I love the egg yolk peeking out from under there. Hello, little egg yolk!

What makes pancakes Finnish is, apparently, that they are pancaked in the oven rather than the stove top. This is a great way to serve a large number of people piping hot pancakes all at once.

PSA: Finnish pancakes are baked, not pan-fried.

Nice edges, *catcall*

Serving suggestions (2).

Elevation.

Sugar high.

Serve with love.

Finnish Pancakes
Courtesy of Massachusetts Poultry Association, Inc.
Buy lots of eggs!!!

4 tbsp butter, melted
4 eggs
2 c milk
1/2 c flour
2 tbsp sugar
1/2 tsp salt

Preheat oven to 450o, and pour the melted butter into a 9″x16″ baking pan.

Beat eggs until foamy but not whippy, until well-blended. Beat with milk, flour, sugar and salt. Pour into pan with butter and bake 20-23 minutes.

Serve any way you like! Serving suggestions pictured include powdered sugar & cinnamon and real Massachusetts maple syrup.


nutrition summary: (for 1 of 8 servings, made with fat free egg substitute & skim milk) 115 calories, 6g fat, <1g fiber; 3 weight watchers points

I decided that our household was long overdue for a good old fashioned surf and turf. Well I guess *kind of*. Our meal was old fashioned in that there was shrimp and there was steak, but I came upon a neat idea in this old 4-H fundraiser cookbook I found in a second hand store.

Heya good lookin.

The problem with vintage recipes is that they’re always bland and more often than not, they’re unapologetically gross as well. The shrimp bake recipe, upon inspection, is not a gross one (create a roux, add some milk, sprinkle some sparse spices in there, pair shrimp with macaroni), but it was . . . lacking. So I did a little magic in terms of additions and here’s what I came up with.

First, we make a roux. While the word is definitely a fancy-pants French one, it’s actually quite simple: melt some butter, pop in a bit o’ flour, whisk until nice and golden and yummy-smelling. For something so very simple, butter and flour smells awfully nice simmering on your stove.

Melty buttery.Roux step two! Flour.
Golden flour.
Don’t mind that scald mark, it was there to begin with. Ugh. My stupid dirty pans strike again!

The original recipe called for milk alone, but since I had buttermilk leftover from making butter, I substituted buttermilk for half of the milk. This added a zingy tang to the flavour, that coupled with a little bit of mustard powder, quite well imitates the cheese flavour in macaroni and cheese, without actually incorporating any cheese. I don’t know that the butter and flour method is exactly healthier, it’s just an interesting coincidence, probably heightened by the fact that basically macaroni + creaminess is always associated in my mind with mac n cheese (or “mackin’ cheese,” if you’re pimp enough).

Buttermilking it up.And now some milk.

And now, one by one, we add the flavourful parts. I won’t make you scroll for the next five minutes; here’s the consolidated view. I trust you all, as adults, to understand how to add one ingredient at a time here. [Editor’s aside: Apologies to the kiddos, here’s an explanation: add these ingredients one at a time. Thereyago!]

The spicy little detailsThis is what those onions were for.
Jalapeno!Corn!
And what is a macaroni casserole without macaroni?Shrimp time!

They are, in order: spices (paprika, mustard, salt), onions & garlic (sauteed lightly in butter first), jalapenos (1/2, diced finely, no seeds), corn (from a can, hey I like it that way best), macaroni (cooked), shrimp (explanation below).

Spice fearers, have no fear! There is very little jalapeno here relative to all else, and this dish is definitely not spicy, it just has this mild and comforting warmth to it. Spice lovers may wish to kick it up the proverbial notch by including the entirety of a jalapeno.

Now if you are fluent in italics, you saw the part about the onion and garlic being sauteed, no? Well obviously I did that first. And then in the same pan, while the macaroni was patiently taking in its first few minutes in the mix, I just added my raw, thawed, shelled, drained shrimp to whatever fat was left in the pan and lightly sauteed them. I’m talking like, *a* minutes here. I toyed with the idea of putting the shrimp in raw, since I knew fully cooked shrimp would get very tough after 35 minutes in the oven, but compromised on this consistency.

Lightly sauteing the shrimps.

Following my lead should result in the same delectable results I enjoyed.

Now it’s casserolin’ time! Use a glass or ceramic baking dish with about 64 square inches. In this case, I used an 8×8.

Shrimp and macaroni "Surf Bake"

At some point of the mixing of things, I included a tablespoon of jarred pimientos. It gives the dish a little bit of a Southwestern-looking flair, but didn’t add much taste, and it’s a little deceitful since this isn’t at all Southwestern, so I’ll be leaving them out in the future. The few sprigs of fresh parsley, however, did fresh things to my casserole (it’s okay, the casserole liked it).

Add some breadcrumbs, a little baking time, and voila! Surf and turf. This dish is really really REALLY good, but its unphotogenicness will probably scare some of you away, and Tastespotting probably won’t accept my submission. And I’m okay with that. Because if one, even one of you makes and enjoys this incredible dish, my foodie missionary work is done, and I shall surely dream of angels.

Shrimp and macaroni "Surf Bake"

Shrimp and Macaroni “Surf Bake”
serves 4 as a side

1 c cooked macaroni, just underdone (2 oz pre-cook)
1/2 finely diced onion
4 cloves minced or pressed garlic (less to taste)
4 tbsp flour (1/2 stick total, divided: 1 tbsp for sauteeing onions, 3 tbsp for roux)
3 tbsp butter
1/2 c buttermilk (substituting milk will be a-ok)
1/2 c milk
1/2 tsp paprika
1/2 tsp dry, powdered mustard
1/2 tsp salt
2 tbsp finely chopped parsley
1/2 finely diced jalapeno (seeded, whole jalapeno for the brave)
1/2 c corn (canned, frozen, fresh, you pick! I used canned)
8 oz small shrimp, thawed, raw, shelled, drained
2 tbsp breadcrumbs

First thing’s first: cook your macaroni a minute or two shy of the al dente recommendation on the package. While that’s on, sautee the onion and garlic in 1 tbsp butter. Dice the 1/2 jalapeno, finely chop the parsley, shell the shrimp and cut each in half.

Preheat oven to 375o.

Melt 3 tbsp butter in a medium saucepan over medium/high heat. Add flour, and whisk, continuously, until the mixture is a nice warm tan. If, at any point, this begins to smell like it’s burning, immediately turn down the heat, and you should be fine.

Take the roux off the burner. Add the buttermilk and milk (again, you can just use 1 cup of milk if you forgot the buttermilk) and whisk vigorously until smooth and unlumpy. Add paprika, mustard, salt, parsley, diced jalapeno, corn and mix thoroughly (the burner’s still off right here).

In the same pan you used to saute the onions and garlic, saute the shrimps for just a minute or two, until they have a little bit of colour, but before they’re fully cooked. Add to concoction.

Spread in an 8×8 casserole dish (glass or ceramic) and sprinkle the breadcrumbs atop it all. Bake for about 35 minutes. Serve with turf.

nutrition information for 1/4 batch: 325 calories, 3g fiber, 13g fat; 7 WW points