online poker

Omnomicon

say it with me now, “om nom nom”

Subscribe to Omnomicon

Archive for the ‘ethnic cuisine’ Category

Everyone knows those people who rants and raves about their Italian/German/Czechoslovakian/Whatever grandmother, her incredible cooking, and the totally amazing recipes that have been handed down for generations. Sadly, I have little to counter with. While the French French are celebrated the world over for their epicurean heritage, the French Canadian are not. Case and point: French Canadians eat frog legs, though on second thought, the French French eat snails, but they have the sense to do it with a lot more panache. My family hails (on both sides, originally) from farms outside of Three Rivers, that I cannot imagine were particularly profitable, seeing as my ancestors cascaded down to work long-ass hours for practically nothing in textile mills in New Hampshire and Massachusetts. Our culinary traditions reflect this reality, and we eat pauper food.

I have two Memeres. The differences between the two are easy to list: Memere Dubois grew up on a Quebecois farm, the daughter of mill workers; Memere LeBlanc grew up in Maynard MA, the daughter of a butcher. Memere LeBlanc has replaced her complete Pfaltzgraff set three times; Memere Dubois uses her oven to store boxes of Little Debbie. While they both can, by memory, trace roots back to Quebec, you can see how perhaps maybe their perspective on food might vary. Ever so slightly.

Okay, a lot.

But they, and everyone else in my family for that matter, can agree that Pork Pie is excellent, must be served at Christmas, and is properly consumed only with ketchup.

While Memere Dubois is a lot closer to the heritage, Memere LeBlanc is clearly the cook, which made it difficult to determine what recipe to use. Memere Dubois always buys frozen pies from some little old lady in Pinardville, and these have potato in them, which makes sense seeing as it’s a nice cheap filler. But Memere LeBlanc’s preferred recipe, naturally, called for two pounds of unadulterated pork. I decided to go with this version because it is based on an actual family recipe (the potato-pie version was definitely NOT the one Memere LeBlanc knew from memory), and pork is only $2.99 a lb, so really, it is modern-day pauper food, and thereby even more appropriate.

This is the recipe as written, though by the time this was handed to me, I already had the same pie in the oven. Boggle your mind on THAT, (or don’t…Memere gave me the recipe over the phone).

Today's recipe.

That size is a mite too small to read, but if you had crazy vision, you could see that it calls for pork butts ground twice, which is frankly unsurprising from someone who grew up around lots of meat. The tool I’d procured to follow this exacting direction really didn’t work out, so I had to settle with regular old supermarket ground pork. And the trick, she was done. Along with an onion, that pork is pretty much the only significant ingredient.

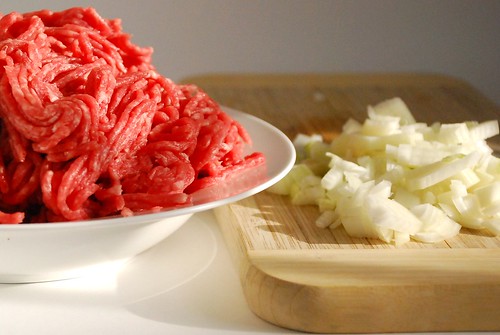
That's uh...most of the ingredient list, actually.

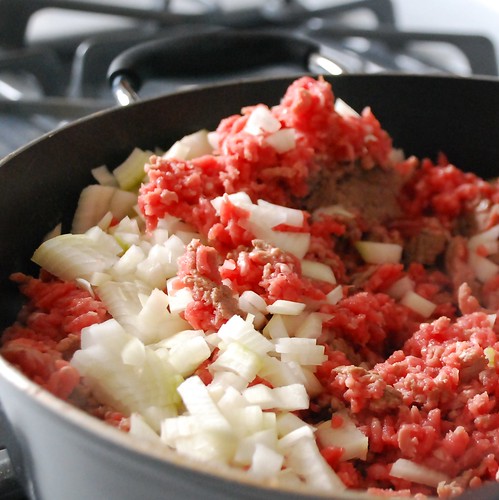
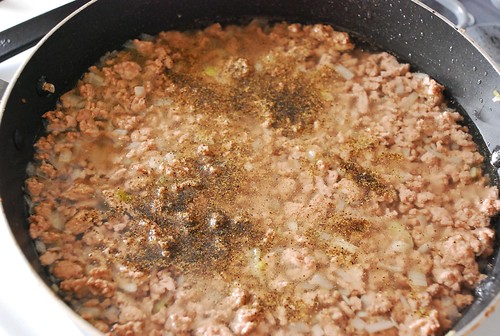
Saute ’em up.

MEAT MOUNTAIN.

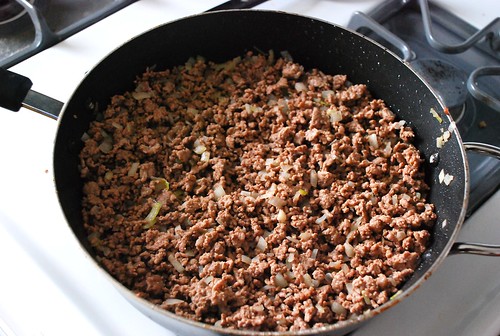
End up with this.

A skillet, a beautiful thing.

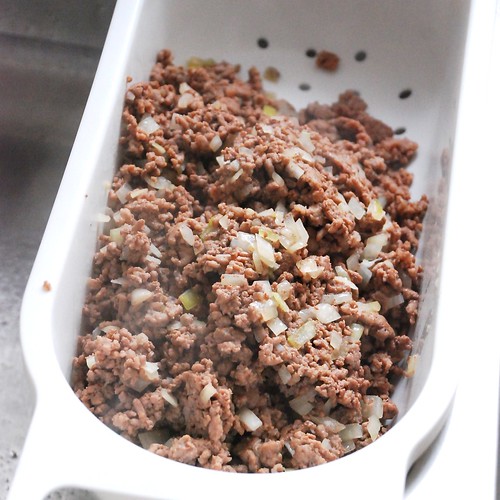
Drain off the grease. Since I won’t be saving the fat for the War Production Board effort, the easiest method I’ve found is using a sieve—it is MUCH more convenient than spooning the stuff out one teaspoon at a time. I have this convenient sieve that sits in my sink.

That misty stuff is steam.

Hhokay, so. Here we hev our meat now covered by ze water.

Wading.

And then you simmer that business for an hour, mixing it up frequently to try to break up all the meat wads. If you change your mind and want to make goetta instead (which is German but somehow Memere Dubois grew up on the stuff), you can boil for an additional hour. No word on when you add the oatmeal, however.

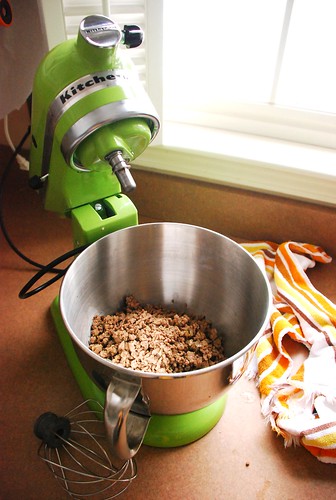
Another strain and now we’re going to use your treasured stand mixer. This will accomplish three things:

  1. It will break up the meat into uniform little granules.
  2. It will mix up the spices and milk with the pork.
  3. It will cool the mix much more quickly than letting it sit out.

Best use of my stand mixer yet.It's not frosting.

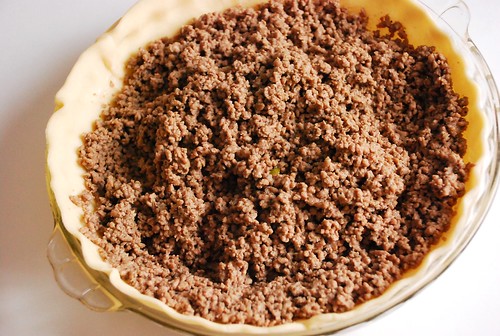
Finally, after like, an hour and a half, you’re ready to start assembling a pie! Go you! I’ve discovered that refrigerated pre-made pie crust comes out tasting just as good as homemade and also doesn’t make me want to shoot myself in the face, so I’m pretty much never making a pie crust by hand ever again. Just sayin is all.

Finally, we're getting to the pie part.

For some reason, pork pies are always topped the same way: a crust with about a 1″ hole in the middle to allow venting. Knowing that I wasn’t going to be able to pull it off freehand, I found a trick for cutting the hole.
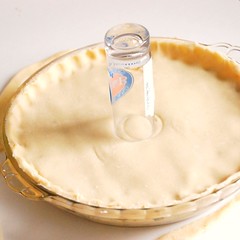
A hole trick.Done and done, my friend.
(you’ll notice I can’t even position a glass in the middle of the pie on my first try, which is exactly the reason why freehanding it was such a terrible idea)

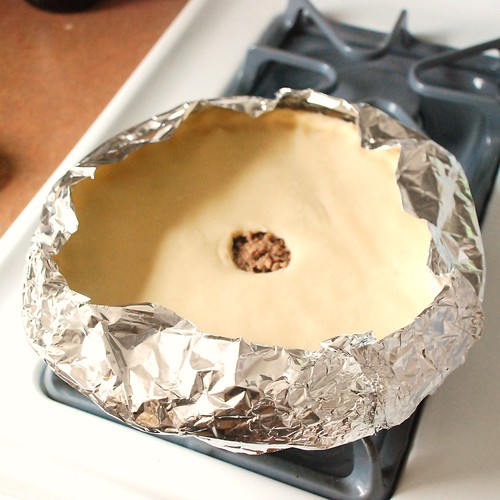
Then I attempted to protect the edges of the crust with aluminum foil.

Yeah, it got too toasty anyway.

It got a little toastier than I would have liked anyway. But at least the edges weren’t burnt, those are the best part!

Pork Pie!

And of course, as any Charbonneau, Levesque or Savoie will shout at you, you have to at least try it with ketchup. Even if you don’t think you’ll like it, that’s the right way to eat it.

With ketchup. The right way.

French Canadian Pork Pie
Coming to you straight from Memere LeBlanc’s memory

2 lbs pork butts, ground twice (plain old ground pork seems to work as well)
1 small onion, finely diced
1 tsp salt
1 tsp ground black pepper
2-3.5 c water
1/2 tsp sage powder
1/4 c milk
pinch nutmeg
pinch allspice
another 1/2 tsp ground black pepper
pie crust for a covered pie (refrigerated, frozen or your own—you decide!)

Brown pork and onions in a large skillet, breaking up meat as much as possible as it cooks. Drain grease, return to pan, and add just enough water to cover the top of the pork (this has varied for me from 2 c to 3.5 c). Simmer, uncovered, 1 hour, making sure to stir regularly (keep on breaking up the meat with your spatula). Do not let the meat dry out, though it does not need to be covered in water the whole time.

Preheat oven to 400o. Drain meat and onions again, toss into a bowl and beat with remaining ingredients (don’t forget the extra 1/2 tsp pepper!) until almost cooled. This will take the 5-10 minutes you’ll need to prepare your double pie crust, so if you happen to have a stand mixer, it’ll come in handy.

Bake for almost an hour, or until the top looks done. Let cool 5-10 minutes before serving with a side of ketchup.

The end!

Done et up.

nutrition summary: 180 calories, 11g fat, 0g fiber; ~7 weight watchers points

ENLIGHTENING FEEDBACK


mizike agrees with me, which is enough to be edited in, BUT he also gave me the name of this pie.

Nothing says christmas in Quebec like Tourtiere. Serve it with a side of poutine and a bowl of split pea soup for the maximum french-canadianness possible in one meal.

The Wiki on Tourtière is enlightening and dead-on, we just always called it pork pie. My family never did the poutine thing, but split pea soup is ALWAYS on the stove just after Mom and Dad have made a ham. I salute you, mizike, fellow Franco!


Also, I totally earned some cool points from Adam, and just wanted to point out that I am always accepting cool points. Not that I need them or anything. I may even give them to charity.

So by now we all know that milk (after a little cooking and straining) becomes yogurt, and strained yogurt becomes Greek yogurt, but if you keep straining for a little longer, you get yogurt cheese. Think fat-free cream cheese, except without weird ingredients like structuring proteins, and you can make it at home. I have no problem with chemicals, but I am a fan of simplicity, and if I can eat the same thing with less stuff in it, I’d rather.

So as it turns out yogurt cheese is called different things in different places. This foodstuff came to my attention at a Middle-Eastern restaurant where it was called “labneh,” alternately spelled “labaneh,” its Lebanese name. Indians call it “dahi,” and for some reason Wikipedia seems to think it’s the same thing as Greek yogurt. Since I do operate under the assumption that Wikipedia knows better than I, so I’m guessing that Greek yogurt is technically a particularly loosely-textured yogurt cheese. Given its recent commercialization, I will refer to Greek yogurt as the stuff you get in the store and yogurt cheese as the stuff with a texture like cream cheese.

At this point, I can’t imagine I’m spoiling anything by pointing out that this post could be alternately titled “how to make labaneh,” “how to make labneh,” “how to make dahi,” or “how to make yoghurt cheese.”

For the last few weeks I’ve been experimenting on how to get this right. Since yogurt is cheaper to get in large quantities, I’d been straining it extensively, if effort put into leaving something there for awhile can accurately be described as “extensive.” Seemed easiest to do it with a strainer.

Extensive leaving-it-there-for-awhile.

And uh, I ended up with Greek yogurt. With a strange sort of texture.

Greek yogurt that was supposed to be labneh.

I tried a few variations on this: in the fridge and on the counter, each checked every 12 hours or so and I never really got any further than Greek yogurt (for the record, on the counter is quicker). Which is all well and good, except that I can buy Greek yogurt at the store, and the quality is better, and given the yield per cup of yogurt, it costs about the same too, so as far as I’m concerned there’s no convincing argument to make Greek yogurt at home, other than maybe to try it out and get some indie cred from your more-tattooed friends.

And besides, I wanted labneh, which I can’t buy at the store, and wtf is up with the yogurt that refuses to cooperate? The entire internet agreed it only takes 24 hours to make this shit!

Just then, a little piece of my childhood reached out with a warm, knowing smile.

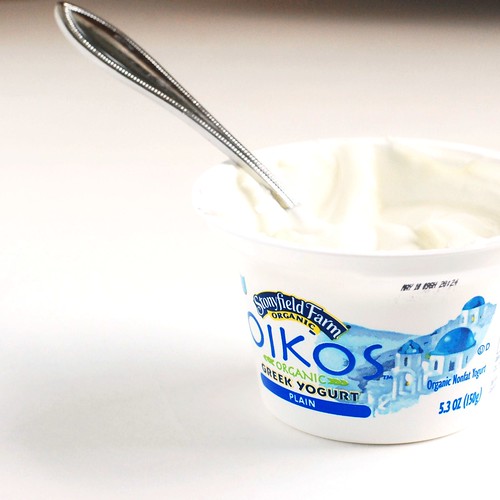
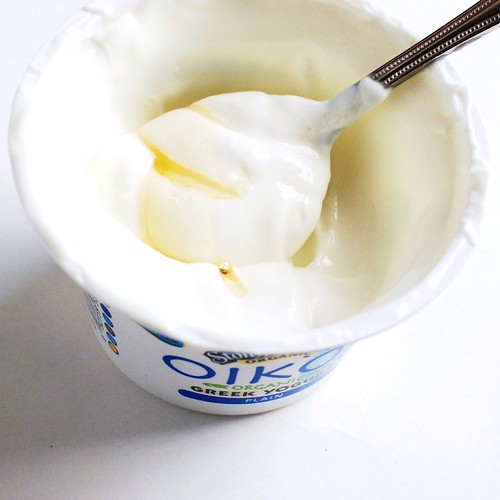
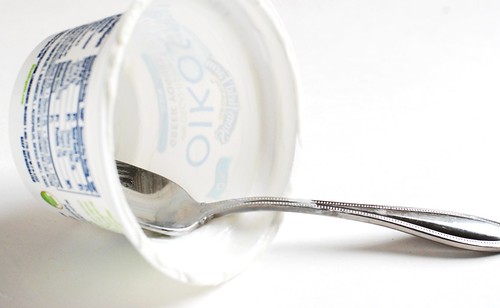
Stonyfield Farm's Oikos.

Alright, I lied, it was an email from someone I’ve never met who may have been smiling, but I wouldn’t know. What I do know, however, is that she works for Stonyfield Farm. I grew up going on field trips to Stonyfield Farm, as their headquarters are situated a few towns over from my hometown. I’m pretty sure that their organic yogurt was the first time I’d ever even seen the word “organic” on a foodstuff, because that trend took a little while to make it to New Hampshire. These people are trendsetters.

So Stonyfield wants to create some food blog buzz about their new organic, fat free, low cal, totally delicious Greek yogurt, affectionately called “Oikos” by sending along some “get it free” coupons. I was happy to accommodate for a few reasons. Excellent opportunity for a list.

  1. Food blog perks. Yay!
  2. What a convenient coincidence, I have been buying lots of yogurt lately for this labneh thing and could use the discount.
  3. I’m definitely not an organic foodie, but I am a HUGE proponent of buying local. Stonyfield Farm is a scant 50 miles from my home, which in food-source terms is my backyard.
  4. I figured out some food science.

So what do you do with Greek yogurt, other than just substitute it for regular yogurt in stuff? Well, there’s the boring but tasty “stir in some vanilla and honey” thing.

Yogurt + honey.
But I wouldn’t really call that a recipe. So I strained it, figuring that starting out at the Greek yogurt stage would cut my work in half and I could do a little product placement and maybe it would even work this time.
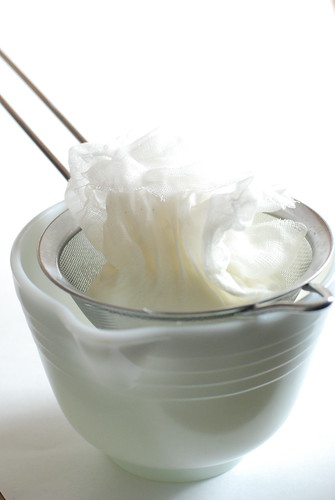
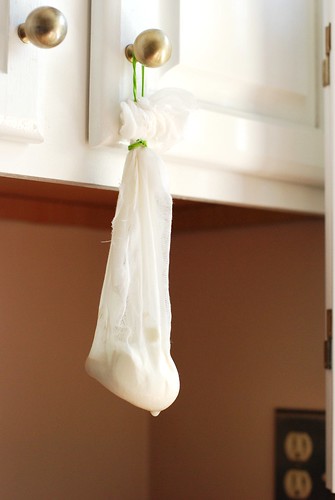
Making labneh.

This reminds me of the stork’s creepy baby-in-a-bag thing! I do this at room temperature because it seems to work more quickly and because it’s kind of a pain in the ass to work around a big bowl in my fridge. And I mean, we’re effectively just breeding bacteria here anyway, so this method doesn’t make me all that squeamish.

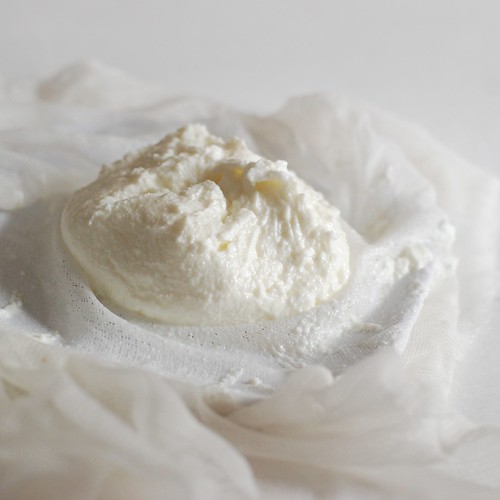
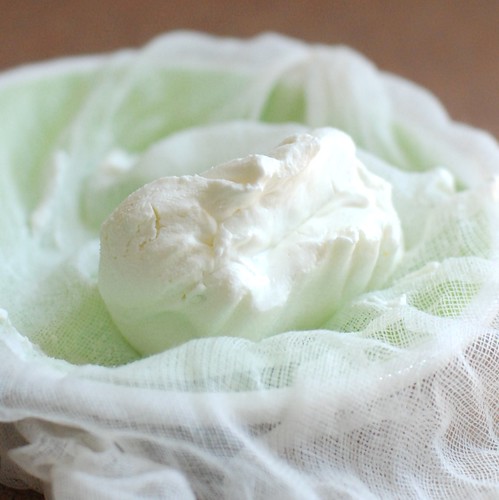
After just an overnight stint in the suggestive sling *ahem* I awoke to sheer delight. LABNEH! My quest, it was ended.

Results!

A perfect cream cheese texture . . . smooth, none of the weird pebbliness of previous attempts. I refused to believe this was just because organic is better, and compared Stonyfield’s ingredient list to that of other fat free yogurts. Turns out that Stonyfield has only milk + bacteria, whereas the other three cartons I examined included pectin or milk solids as thickeners. Now in terms of eating yogurt straight up, I don’t care if it’s thick because of milk solids or gelatin or inferior bacteria, but for my purposes here, Stonyfield worked out pretty well.

So here’s what you came for:

How to Make Yogurt Cheese

1 5.3 oz cup Greek yogurt (ingredients should be just milk + bacteria—no milk solids, pectin nor gelatin allowed!)
1 pinch salt
a piece of cheesecloth or muslin or even a very strong paper towel if you are daring
some place to suspend a leaky bag of yogurt overnight

Mix the yogurt & salt, make a bag out of the cheesecloth, then suspend it at room temperature for 8-12 hours with a bowl underneath to collect the whey as it drains off.

That’s pretty much it. Notes:

  • I use a rubber band to hang the parcel from a cabinet knob.
  • You can try this in the fridge, it will take a little bit longer.
  • And you can use regular yogurt too, but it too will take longer. Regular, non-Greek yogurt will yield about 1/3 c for every cup you use.
  • 3.5 oz of Stonyfield Farm Oikos yielded about 1/3 c yogurt cheese as well. Amount will vary depending on how long you strain and what brand of Greek yogurt you use.

Serve in one of the manners below.

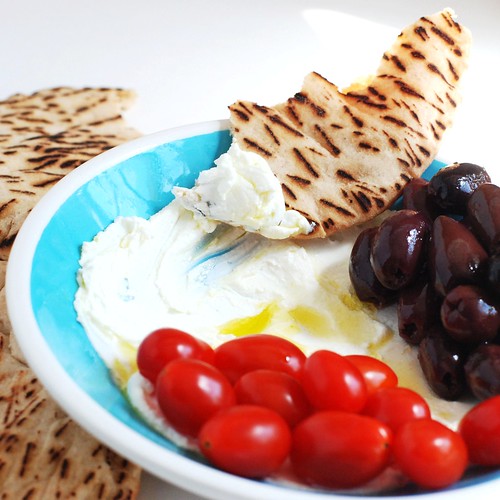
Traditional labneh.

Traditional Labneh
like how I had it at that restaurant that time

Spread some of the yogurt cheese on a plate, drizzle some olive oil atop, serve with any combination of the following: pita, olives, tomatoes, chickpeas, cucumbers, hummus, bruised mint, sprinkles of other herbs or spices. Simple but the best application I’ve found to date.

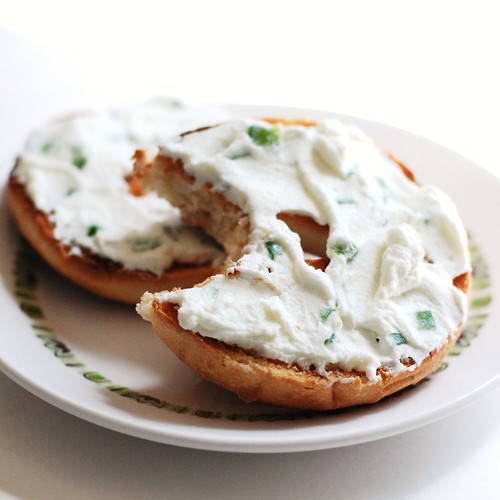
Jalapeno yogurt cheese!

Jalapeno Yogurt Cream Cheese

1/3 c yogurt cheese (this recipe also works just fine for cream cheese if you omit the olive oil)
a drop or two of olive oil (brings out flavour)
pinch garlic powder
1/4 jalapeno, seeded and finely diced

Mix. Let mingle in fridge for a good while. Overnight would be ideal. Serve. Let me know if you try this one, I think it could use some work, but the idea is solid.

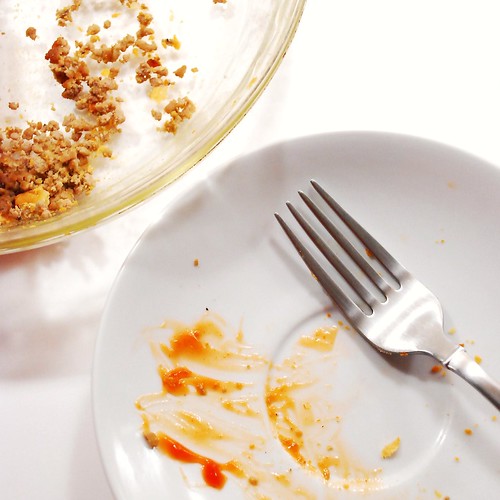
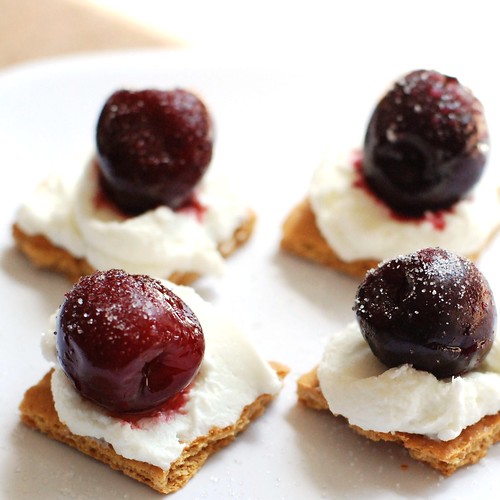
Imitation cherry cheesecake.
Cheaty-Pants Light Cherry Cheesecake Bites
makes just a few—eat alone or share with 1 other friend

1/3 c yogurt cheese
2-3 graham crackers (before you snap at perforation)
2 tsp sugar
2 drops vanilla extract
frozen cherries, thawed

Mix the yogurt cheese with the sugar and vanilla. Okay, NOW snap the graham crackers at the perforation, then slice each baby rectangle in half to make little squares. Spread a little cheesecake mixture onto each square, then top with a cherry and a little extra sprinkle of sugar. The graham crackers will get soggy very quickly, so these are not make-ahead nor party friendly. Think of it as a special private little treat to enjoy as you make them.

The end.

Every winter when I feel like I’m particularly broke and miserable and I just want it to end, I head to the local fishmonger and blow a bunch of money on a lobster that is completely out of season. This entire practice is just so indicative of someone who is a complete New Englander, what with our long snowy winters and delicious lobsters.

Lobsters aren’t seasonal per se, but they are much cheaper between Memorial Day and the Fourth of July. The truth is, however, that hard shell lobsters are most easily found in the Spring. There is lots of information all over the internet as to why this is, but all you need to know is that a hard shell lobster feels firm when you squeeze slightly and makes for less chewy meat. Armed with this information, I figured that making these in early March isn’t the worst time.

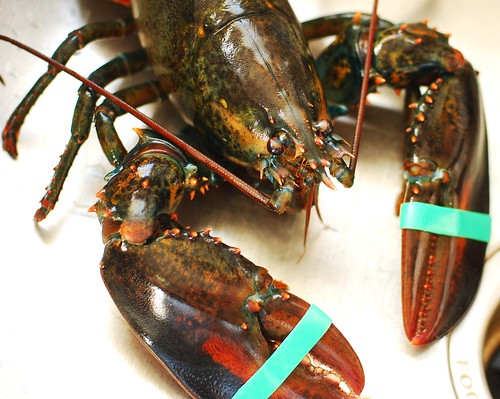
The only fresh lobsters are live lobsters, and the best ones are spritely and healthy with an ardent will to break as you steam them alive. So let’s meet the couple we’re having for dinner, bwahaha. And yes, I mean that in a creepy Vincent Price sort of way.

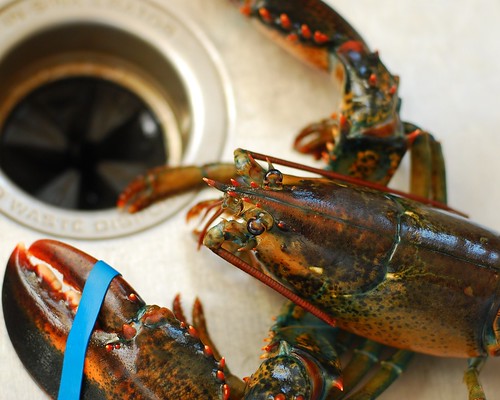
This is Roberta.

Roberta, (aka Bobster)

We nicknamed her Bobster.

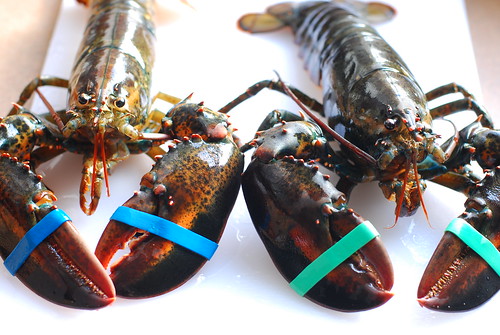
This is Shelly, for obvious reasons.

Shelly.

They became great friends when they were roommates in that tank.

Best buds.

Alright ladies, get comfortable in that strainer.

Lobstahs!

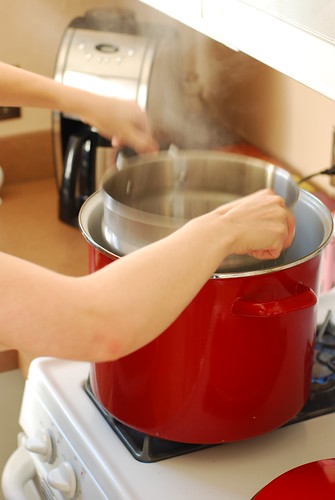
We don’t boil lobsters around here, we steam them, because boiling a huge pot of water takes for-freakin-ever, and steaming results in a less water-logged shell. Just an inch of water in a huge pot does the trick. Then steam for awhile depending on the pounds of lobster—for two 1.25 lb lobsters this amounts to about 12 minutes. You’ll need an unnaturally large pot.

Big pot.Top the pot.

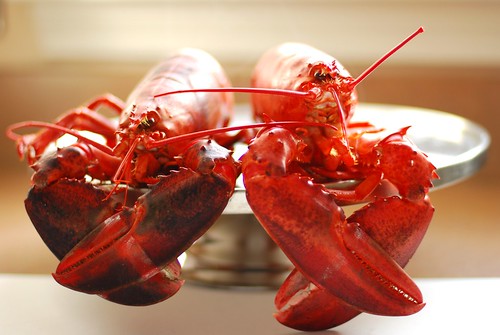
And look! One of the prettiest colours in New England.

Lobstahs!

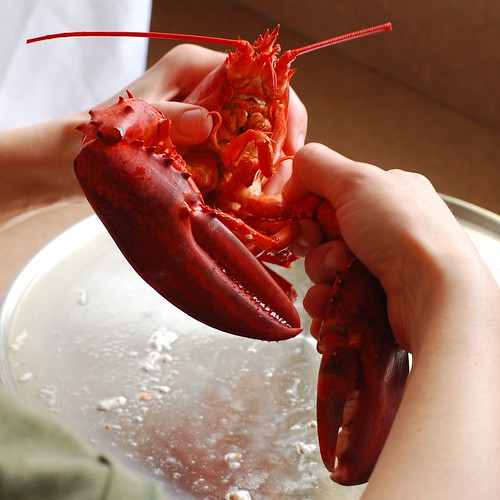
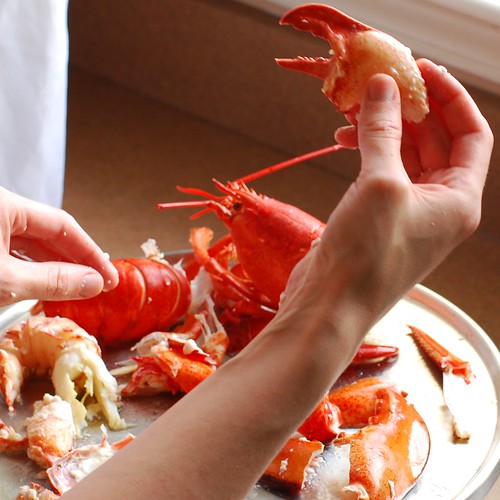
As with all delicacies, there is a catch. If you aren’t disgusted by the spiderlike appearance of these ocean bottom dwellers, you probably still understand that disassembling a lobster can be quite the undertaking without a good plan of attack, but it’s actually easier than it would seem with some handy instructions. First, twist off both claws.

Claw twist
Ta da!

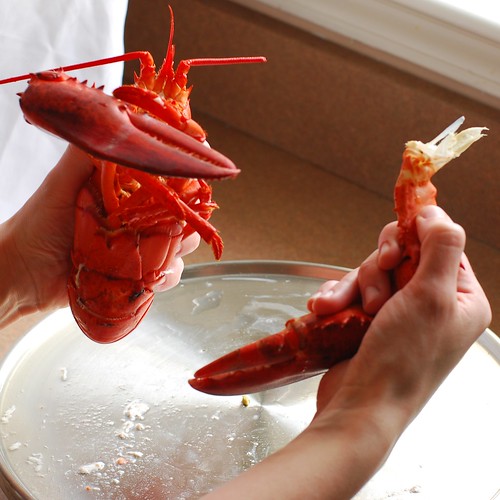
Now twist off the tail.

What a twist!
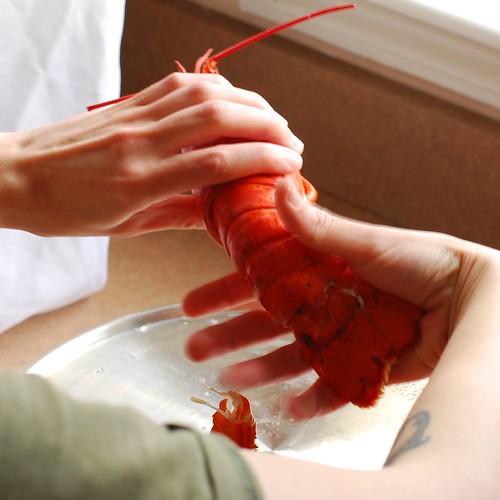
Ignore the gross part.

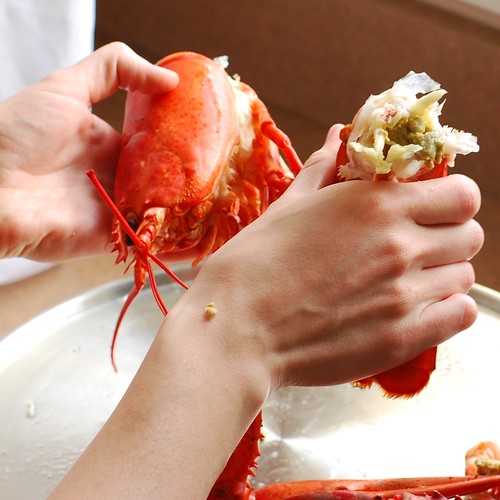
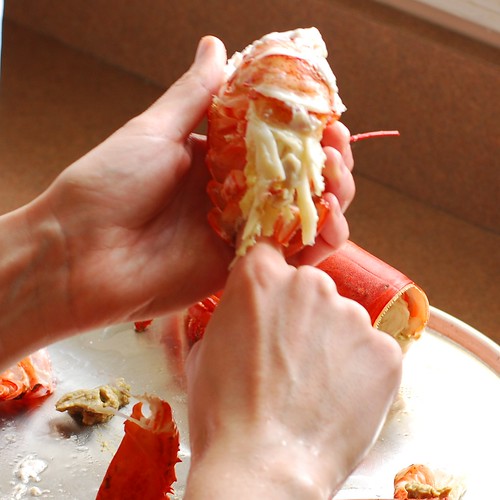
Tail meat is a cinch, you just pull off the flippers at the end of the tail and insert your finger there to push out the meat from the top. This picture doesn’t illustrate it very well, but that’s the deal.

Lobstahs!

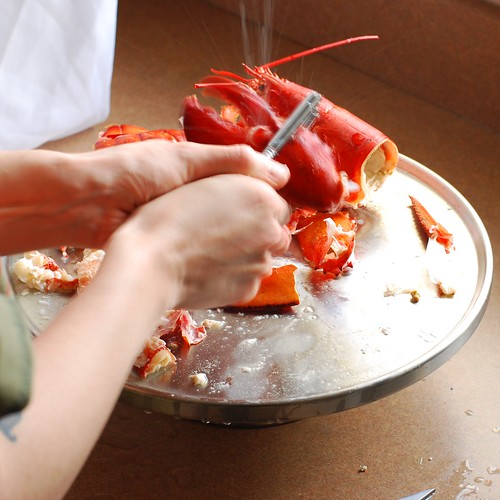
The claws are the real tough part here. They require a lobster cracker and I use a pair of kitchen scissors (ones I don’t mind putting in the dishwasher after the fact) to help myself out.

Action shot!
Lobstahs!

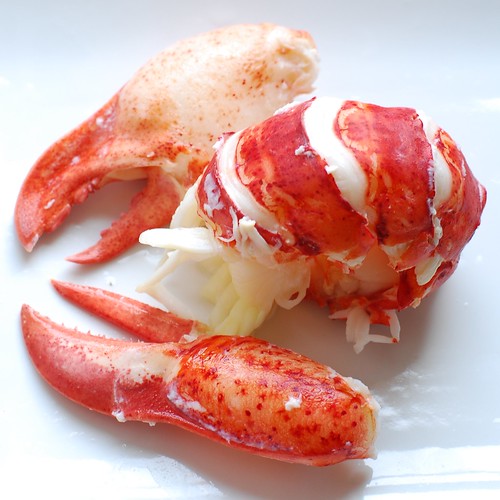
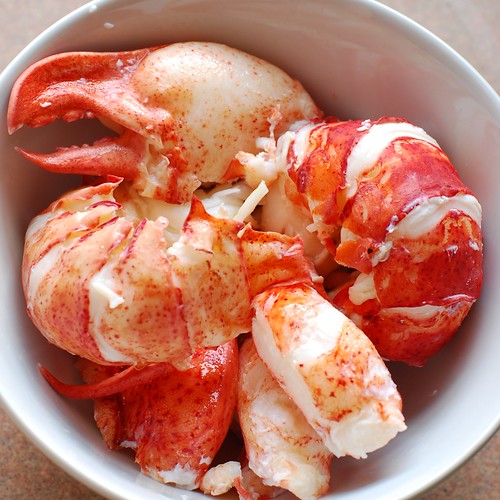
Lobster meat is much more lovely away from all that mess, and after being rinsed in room-temperature water.

Red meat.

Lobstahs!

Every time I’ve had lobster at home I’ve pulled it apart and tossed the meat into a bowl of melted butter as I went. By the time I was done the corn on the cob had cooled and soon my chin was dripping with butter as I sighed satisfied with eyes closed and a crustacean appendage entering my mouth. I understand that this scenario is only appealing to people who have experienced it, and I apologize for grossing out everyone else.

This time around I thought I’d actually *make* something with my lobster and treat it like the delicacy it is. Turns out that a particularly delicious use is Lobster Newburg, which is essentially a sherry-cream sauce that elegantly replaces the traditional serving suggestion of “float all this shit in bowl of melted butter.”

Here we go.

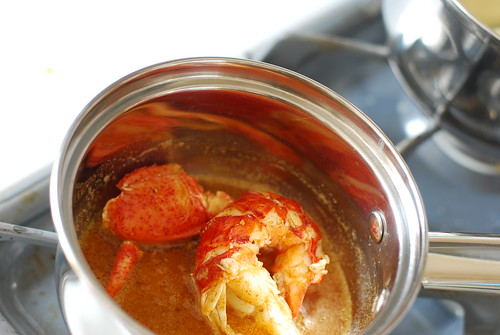
The beginnings of the newburg part.

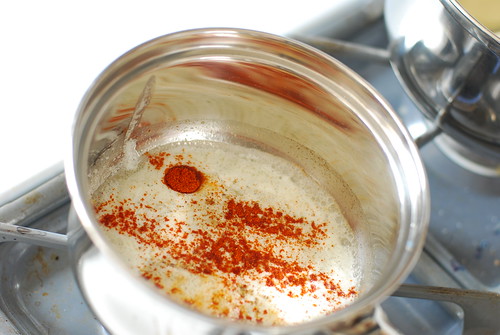
Before the cream is added, we coat our lobster bits with spices and butter.

Buttering with paprika.

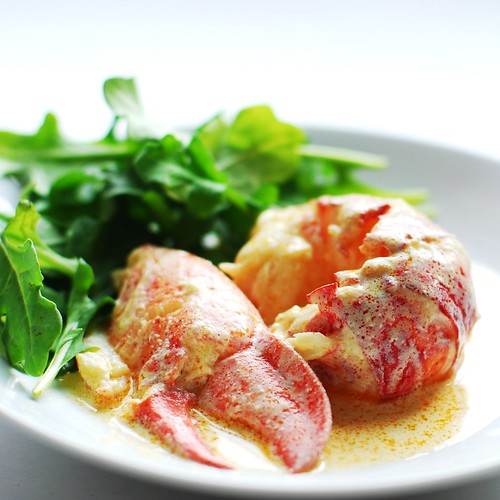
Finally, the cream part comes into play and we serve the Lobster Newburg with arugula, which has a peppery taste that complements the sauce SO WELL. In fact, I ate this a lot like a salad. But the traditional garnish is watercress and baby spinach would work as well.

Lobster newburg. Done.

Lobster Newburg

The meat from 2 x 1-1.5 lb lobsters, rinsed with lukewarm water (about 6 oz)
1 c light cream, half and half, or fat free half and half
2 egg yolks
1/4 tsp salt
1/3 c dry sherry
3 tbsp butter
1/4 tsp ground black or white pepper
1/4 tsp paprika
Arugula for garnish and eating (my highest preference, but watercress is more traditional and even baby spinach makes a nice substitute)

To steam the lobsters
Fill your largest pot with about an inch of water and bring to a boil. Using either a rack that fits in over the water line or a steaming basket, place the lobsters in the pot, tail down first, and lid immediately. Continue to boil over high heat for 12-15 minutes.

If you don’t have a rack or steam basket, you can put the lobster right in the water, but keep an eye on those claws and make sure they don’t get black, which means they’re overcooked (yes, one of my lobsters in the picture was overcooked, it was the one on the bottom).

To make the newburg part
Heat the half and half in pan over medium heat, making sure not to scald it. Meanwhile, whisk the egg yolks with salt and sherry. Add the egged-sherry to the half and half, whisk, and cook over low heat until thickened enough to coat a spoon. This should take 6-8 minutes.

In another saucepan, melt the butter over low heat and add paprika and pepper. Add lobster meat to coat, then pour the cream/sherry mixture and heat thoroughly.

Serve with arugula, watercress or baby spinach. Melt into a puddle of satisfaction.

I’m back! Did you miss me? I was all sickly and working a bunch all last week, and therefore far too lazy to even clean my house, let alone post blogs. But no worries, I have a treat.

Who doesn’t love chai tea? Hint: it is not me who does not love chai tea. I had never enjoyed this delicacy until I had a meal card in college with a chai tea machine in the food court. And it was love.

Over the summer this supply dried up, so I went to Campus Convenience (aka Campco) and inquired as to whether one might find chai tea somewhere in the store. The new owner, who was incidentally Indian, directed me to a shelf with some black tea on it. “No no, like . . . chai . . . it’s got milk and honey in it?”

“But, this is chai”

“Um, well, what I’m looking for comes in a carton?”

“Chai is an Indian word that means ‘tea.'”

“OH.”

And thus ended one of many cultural lessons that naturally befall a white middle-class suburban girl from New Hampshire sooner or later.

And look! Just five years later, here I am, so culturally learned that I not only eat Pho on a regular basis, but am making my own chai tea. There are dozens of recipes out there, so I kind of mashed them all up to create an optimal mix of things. Fortunately, my experiments in Pho leave me with pretty much all the ingredients on hand!

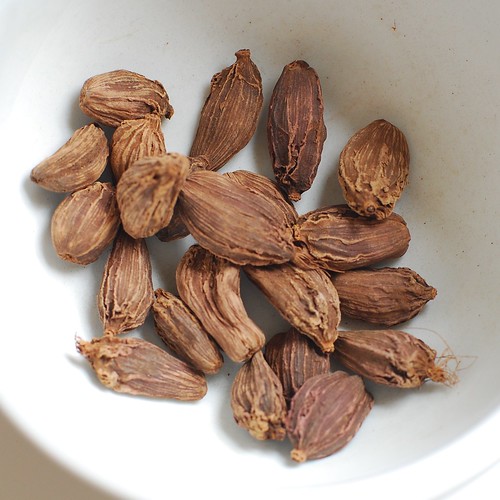
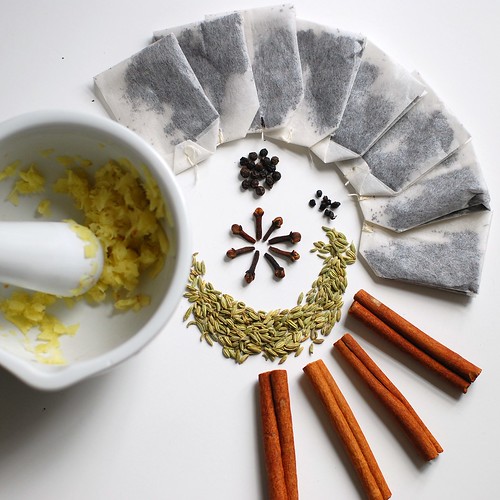
For one, cardamom pods.

Cardamom pods!

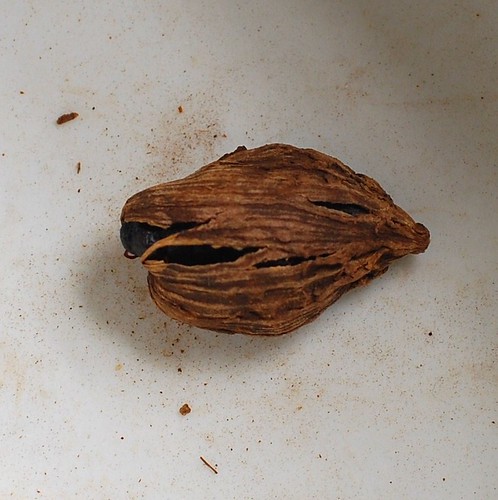
Did you know the best way to get cardamom flavouring is to smash open the pods? It’s true! I read it on the Internet. I guess outside of the pods, the seeds don’t retain their flavour very well.

The pod reveals all.

I assembled the other spices, shying not away from traditionally savoury spices such as fennel and black peppercorns.

These are our spices!

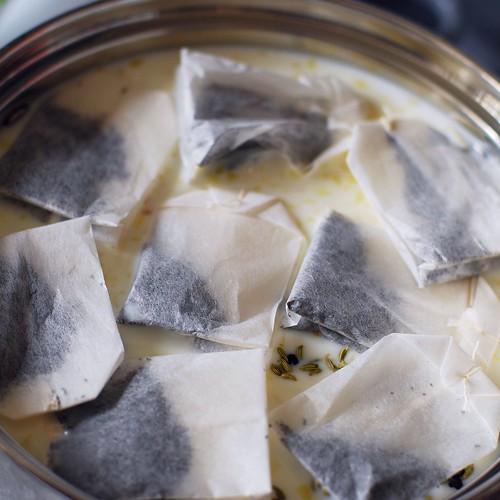
Float your tea bags atop some milk. Many folks like the creaminess of whole milk. I used 1% because the cooking of it thickens it quite a bit, and more importantly, I’m totally on a diet.

Floatin.

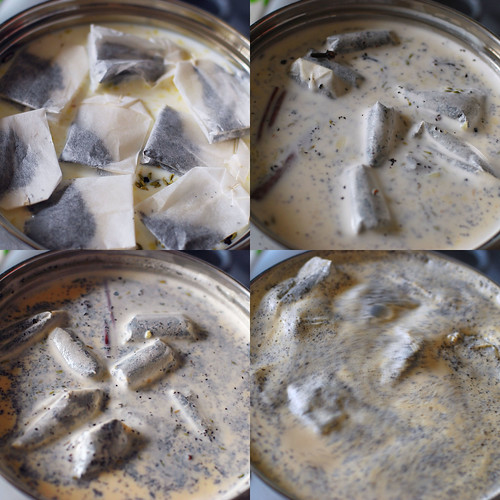
Then you stir continuously while it comes to a boil. Then you simmer. And then you simmer some more. In fact, the longer you simmer, the spicier it becomes. Perhaps less cardamom is better if you’re planning on spicing it to the max.

The phases of brewing this business.

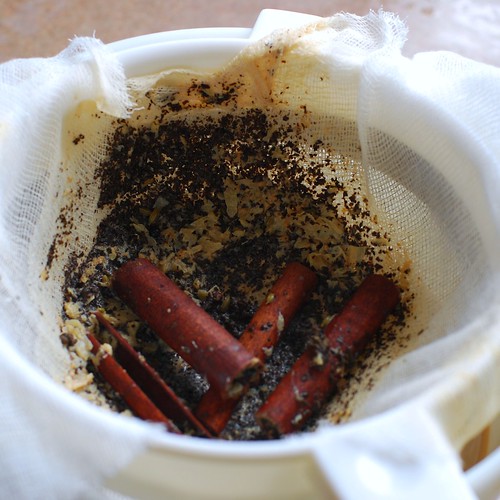
Strain. I doubly strained this because cheesecloth is a pain in the ass sometimes and also, this strainer is not nearly stringent enough to get those itty bitty tea leaves that burst out of those cheap tea bags.

Strained.

After some chilling, I iced that business and enjoyed it with some fine biscuits I found at the Indian store while in search of bulk black peppercorns.

Mmmm . . . chai tea!

And that’s that! I made a half gallon of tea for sharing, but the recipe makes a quart.

Chai Tea

2 tsp fresh ginger, smashed via mortar and pestle or otherwise minced
4 bags of black tea
2 cinnamon sticks
1 tsp fennel seeds
4 whole cloves
8 black peppercorns
4 cardamom seeds
1/4 cup honey
1 quart of milk (your choice of fat content–that’s 4 cups)

Pour milk, spices and honey into a saucepan, float the tea bags on top, and let come to a boil while stirring continuously. Reduce to a simmer (continue to stir) and let simmer for 10-15 minutes. Simmer for longer for a stronger flavour. Turn off heat, let sit a few minutes. The milk will get a skin on top of it; skim and discard. Strain through a fine mesh strainer lined with cheesecloth if you have it. Serve hot, or chill and serve with ice. And delicious sunshine biscuits

This is the next recipe in my Family Cookbook series. This one comes from my little sister Sarah, but is actually one of my all-time favourites. When I got my first apartment in college, I also got my very first cookbook from UNH Health Services, and what do you know, it’s now online. Get the entire thing here: Good Eats! Quick & Easy Food for Busy College Students.

I love this cookbook because it’s very health-conscious in addition to focusing on budget. I would recommend it to anyone who has never really cooked for themselves, and I myself use recipes from it regularly. I’d have to say it’s the only cookbook from which I’ve made most of the recipes.

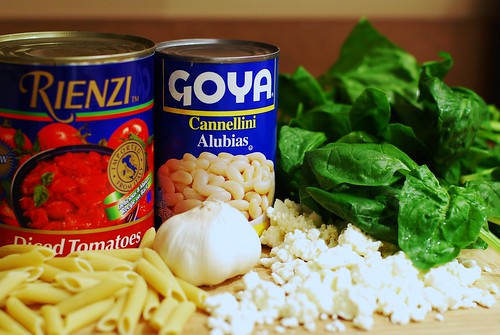
This one in particular is just wonderful. I’m still amazed at how such a simple concoction can bring joy into my life over and over again without making me fat (and oh my god it has so much fiber in it). And it only takes about 20 minutes to make. It is also extremely amendable: you can add chicken, leave out the feta, leave out the pasta, throw in other veggies you have. But really, all you need is a can of tomatoes, a can of cannellini beans, garlic, 10 oz of fresh spinach and some pasta.

Come with me . . .

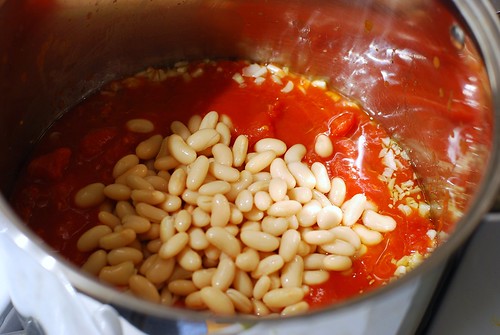
Sautee your garlic on low then throw in your canned stuff. The tomatoes ought not be drained, but the cannellini need to be rinsed.

Beans and maters.

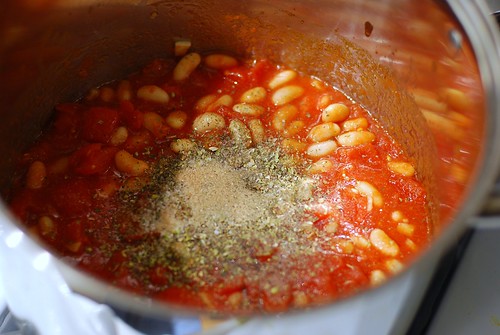
And if you didn’t use the Italian seasoned tomatoes, generously empty your spice cabinet in there (basil, oregano, kosher salt, pepper). Even if you did use the Italian stuff, you’re going to want some salt in there.

Oh heck, throw a whole buncha spices in there!

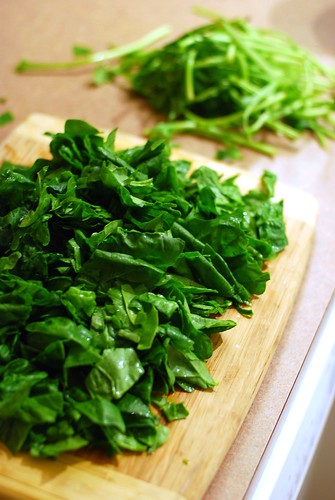
While that’s simmering, you have plenty of time to break the stems off your spinach and rinse it. And unless you used baby spinach, you really want to break off those stems, you’ll thank yourself later on.

Spinach, stemless.

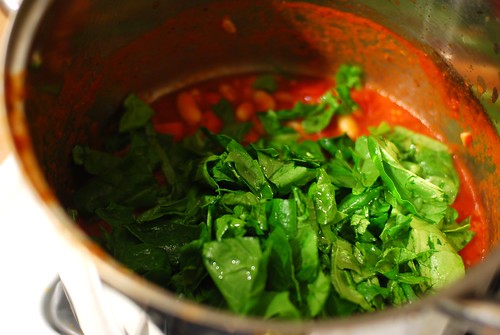
Now it’s been about ten minutes, and you want to throw your spinach in there.

Throw your spinach on.

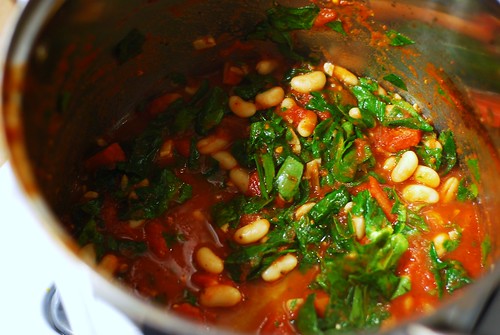
Stir that up just until the spinach wilts. In fact, the less cooked the spinach is, the better this is going to taste, so leave it on low while you stir that in. It should only take a minute or so to be done.

Cook *just* til it wilts.

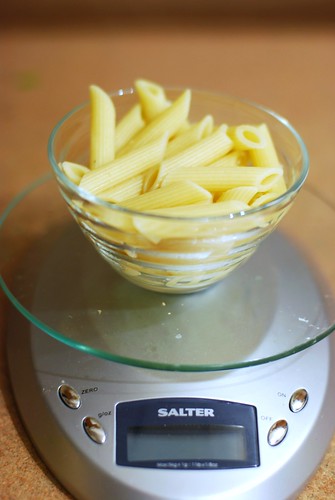
You *were* cooking your pasta all the while, correct? I also include this shot as a measure of what 2 oz of penne (1 serving) looks like cooked. As a frame of reference, that bowl is exactly a cup. Needless to say, it will not be 2 oz once it’s cooked.

1 serving penne, 2 oz.

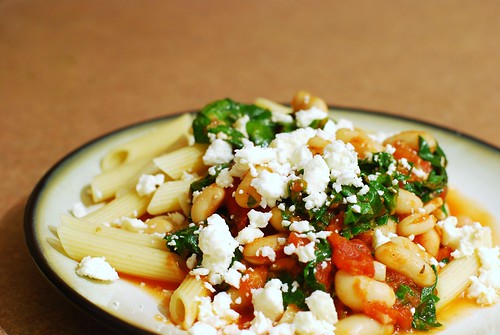
Now top with feta, if you’re doing that, and voila! A twenty-minute dinner that’s incredible in every way. I usually leave out the feta, but since B’Garah loves her cheese, I had to include it for the picture. It also makes the shot a little more attractive.

Money shot!

And that’s all she wrote.

Mediterranean Pasta
Adapted from the UNH Good Eats! Cookbook

1 tbsp olive oil
4 cloves garlic, minced or finely chopped
1-28 oz can diced tomatoes (use whole peeled if you’re leaving out the pasta)
1-14 oz can cannellini (also called white kidney beans and similar to Navy or Great Northern Beans)
1 tbsp dried basil leaves
1 tbsp dried oregano leaves
1 tbsp kosher salt
black pepper to taste
10 oz fresh spinach, stems removed
4-8 oz cooked penne (I like the Smart Taste brand best)

First, set your water to boil, and cook pasta when it’s there (which will be at some point in the middle of all this).

Sautee the garlic in the oil in a nice big pot on low for about a minute. Enter tomatoes, beans and spices. Bring to a boil, then reduce heat and let simmer, uncovered, for ten minutes while you de-stem your spinach. Now throw in the spinach and stir until it’s just wilted.

Serve atop pasta (this is a very small amount of pasta called for, there will be considerably more sauce than pasta), with feta if so desired.

Serves 4.

NOTES:
* Use a big pot because the spinach starts out really fluffy and this will give you space to stir without getting the spinach all over your stove.
* Don’t start heating your oil until the garlic is minced/chopped and ready to go, or you’ll end up with nasty bitter burnt garlic.
* Consider serving sans pasta. In this case, use the whole peeled tomatoes.
* It really doesn’t need the feta and it doesn’t need much pasta either. Honest. The spinach gets this buttery texture to it that eliminates the need for extra fat/flavour.

Sep-3-2008

pho will warm your heart

Posted by aleta under ethnic cuisine

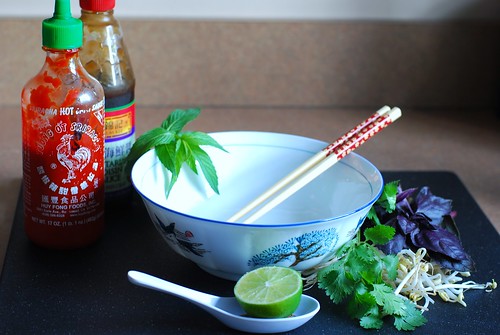
Have I gushed before about Pho? Because I love Pho. Here are some of the prettier parts of making pho.

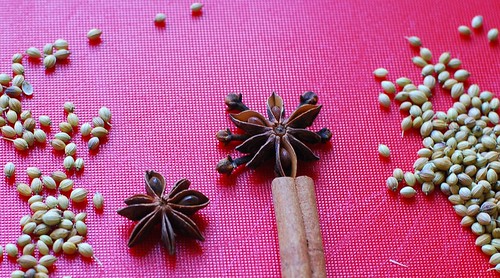
Playing with the spices like a kindergartener.

Spice flower.

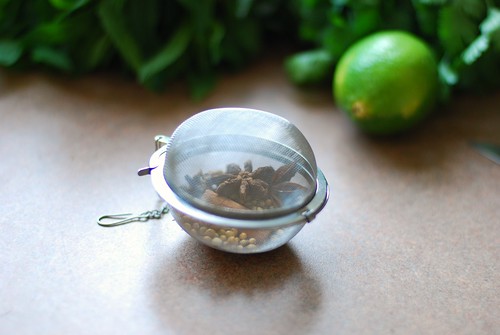
Okay little spices, you sit in your cage and wait to become delicious!

In their little cage.

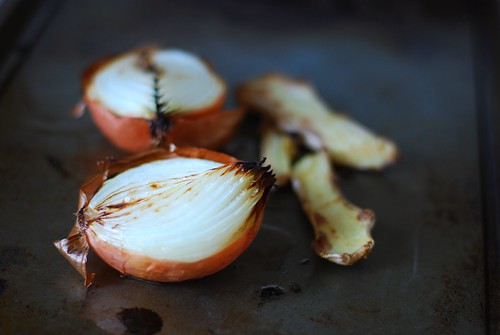
Onions get to be so beautiful when charred.

Onion gets so beautiful when charred.

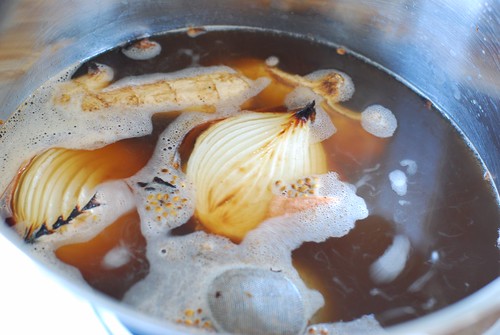
Just . . . bobbin along in there . . .

Swimmin in the pot.

The herbal accessories, being so patient while the noodles cook and the broth broths. That’s some purple basil there on the right if you were wondering.

All dressed up.

You can’t tell me that isn’t the most beautiful soup you’ve ever seen. That’s a double negative, meaning “You have to agree this is the prettiest ever.”

This is probably my favourite dinner. I would eat it thrice weekly if allowed.
Tags:

Bonjour amies et amis!

Guess what I’m making today!

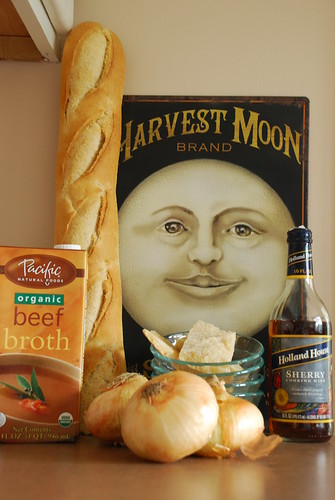
¡Ingredientes!

Why yes, we shall be making le French Onion Soup! Hohoho!

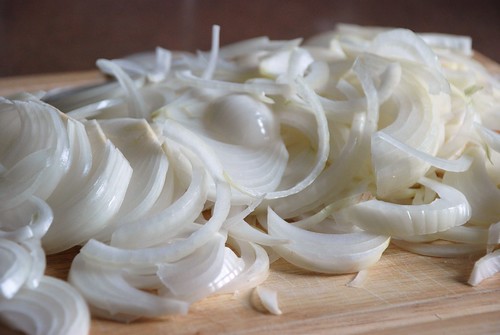
We start with sweet white onions. Oh, Vidalia, why do you always bring me to tears? I just want to love you!

edited - french onion soup

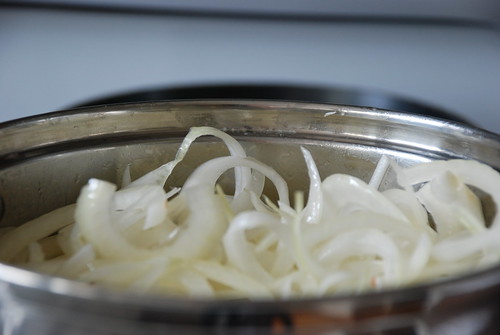
In the pot you go!

And then you put the onions in the pot.
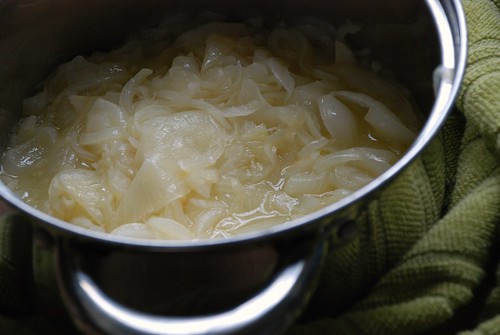
After about 40 minutes your onions will make their own delicious gravy.
Makes its own gravy!
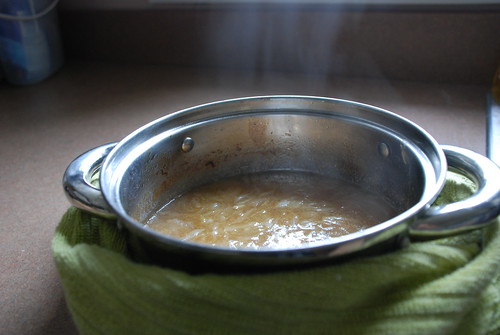
Add your beef stock and it’s starting to look right!
Steamy soup action.
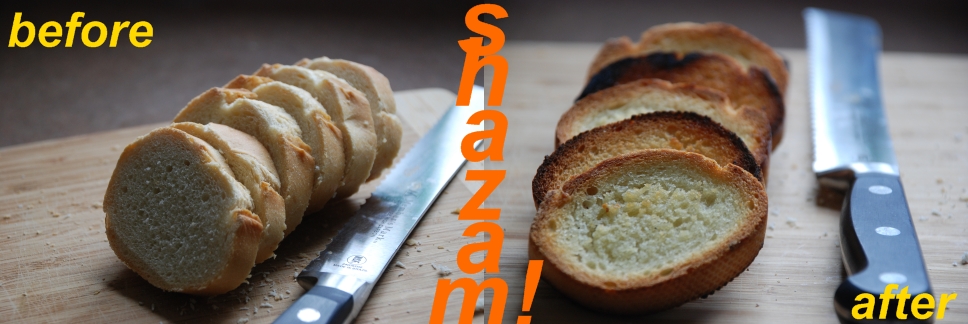
I used my magic [oven] to turn stale Parisian bread into croûtons. Aren’t they lovely?

My magic did it.

We are almost there. These towheaded sweeties are destined for the broiler.
Towheads ready for the broiler.
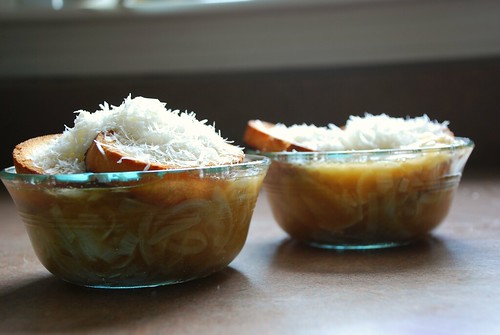
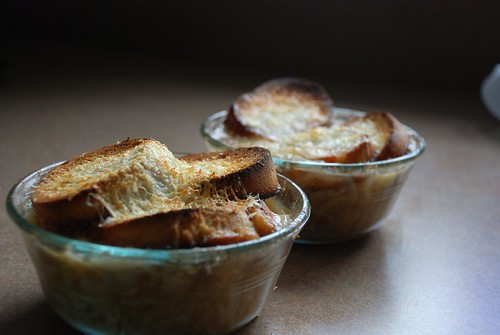
Oooo lala! Look! My creation, it is so complete and beauteous!
Viva mi creacion!
And that is all! I used the traditional JOY recipe to make these, and it came out subtle and sweet and pretty much perfect, and I usually only use JOY for a reference guide. Does anyone here love French Onion Soup too?
Tags: