

recipe: french canadian pork pie
Everyone knows those people who rants and raves about their Italian/German/Czechoslovakian/Whatever grandmother, her incredible cooking, and the totally amazing recipes that have been handed down for generations. Sadly, I have little to counter with. While the French French are celebrated the world over for their epicurean heritage, the French Canadian are not. Case and point: French Canadians eat frog legs, though on second thought, the French French eat snails, but they have the sense to do it with a lot more panache. My family hails (on both sides, originally) from farms outside of Three Rivers, that I cannot imagine were particularly profitable, seeing as my ancestors cascaded down to work long-ass hours for practically nothing in textile mills in New Hampshire and Massachusetts. Our culinary traditions reflect this reality, and we eat pauper food.
I have two Memeres. The differences between the two are easy to list: Memere Dubois grew up on a Quebecois farm, the daughter of mill workers; Memere LeBlanc grew up in Maynard MA, the daughter of a butcher. Memere LeBlanc has replaced her complete Pfaltzgraff set three times; Memere Dubois uses her oven to store boxes of Little Debbie. While they both can, by memory, trace roots back to Quebec, you can see how perhaps maybe their perspective on food might vary. Ever so slightly.
Okay, a lot.
But they, and everyone else in my family for that matter, can agree that Pork Pie is excellent, must be served at Christmas, and is properly consumed only with ketchup.
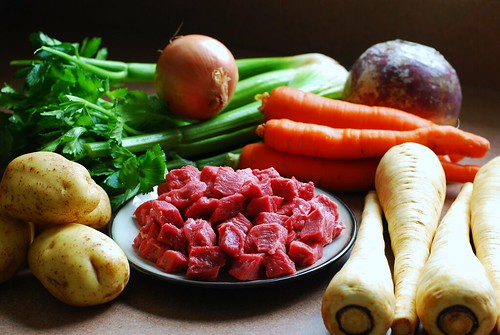
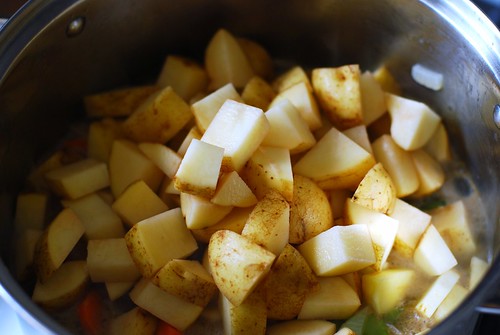
While Memere Dubois is a lot closer to the heritage, Memere LeBlanc is clearly the cook, which made it difficult to determine what recipe to use. Memere Dubois always buys frozen pies from some little old lady in Pinardville, and these have potato in them, which makes sense seeing as it’s a nice cheap filler. But Memere LeBlanc’s preferred recipe, naturally, called for two pounds of unadulterated pork. I decided to go with this version because it is based on an actual family recipe (the potato-pie version was definitely NOT the one Memere LeBlanc knew from memory), and pork is only $2.99 a lb, so really, it is modern-day pauper food, and thereby even more appropriate.
This is the recipe as written, though by the time this was handed to me, I already had the same pie in the oven. Boggle your mind on THAT, (or don’t…Memere gave me the recipe over the phone).
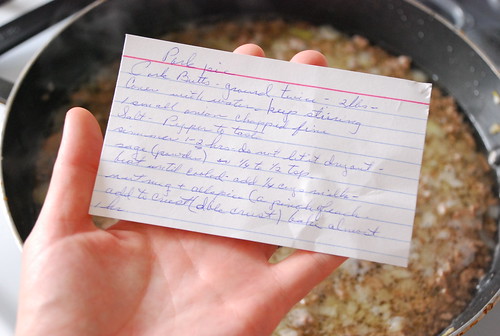
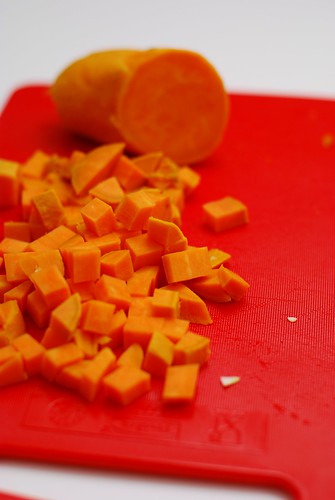
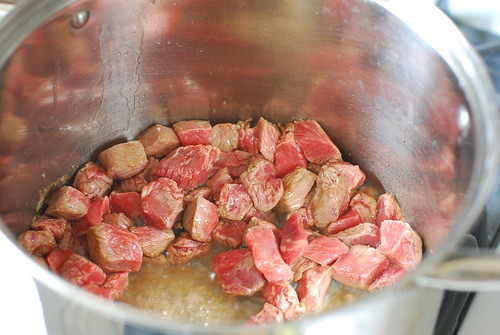
That size is a mite too small to read, but if you had crazy vision, you could see that it calls for pork butts ground twice, which is frankly unsurprising from someone who grew up around lots of meat. The tool I’d procured to follow this exacting direction really didn’t work out, so I had to settle with regular old supermarket ground pork. And the trick, she was done. Along with an onion, that pork is pretty much the only significant ingredient.

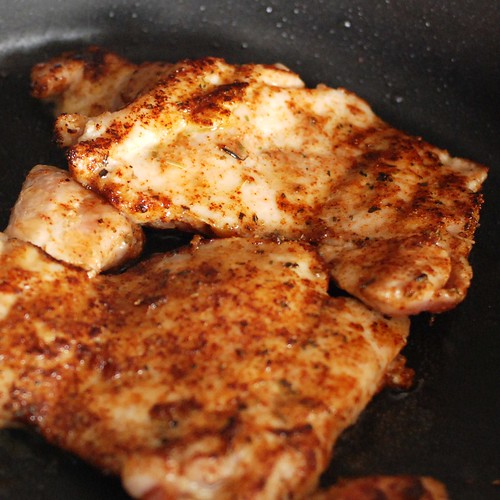
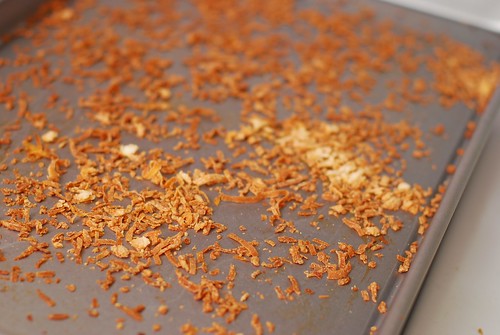
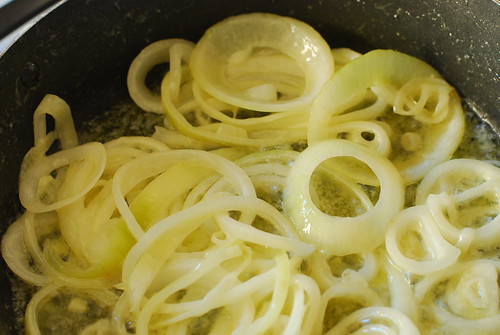
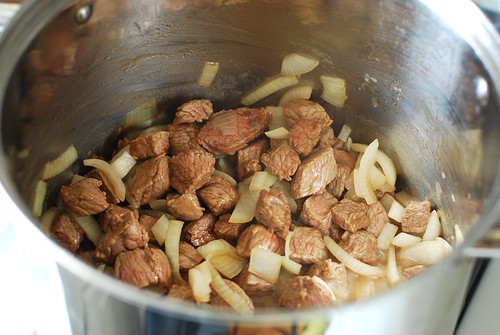
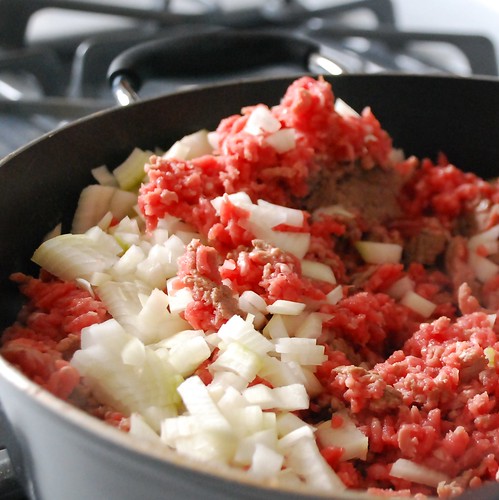
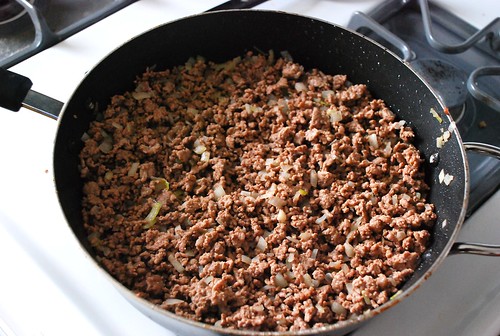
Saute ’em up.
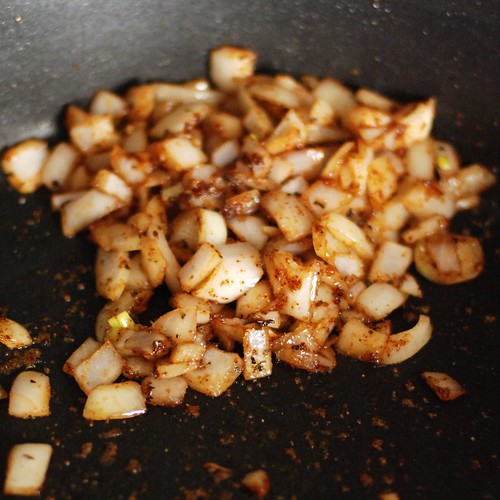
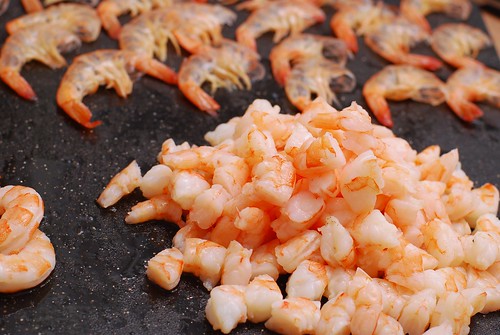
End up with this.
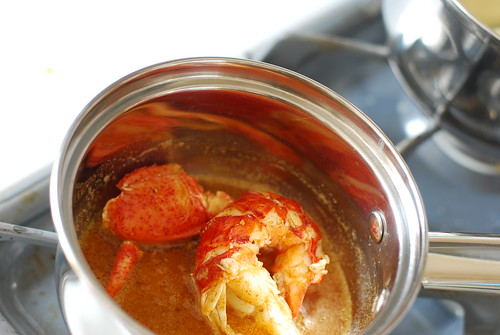
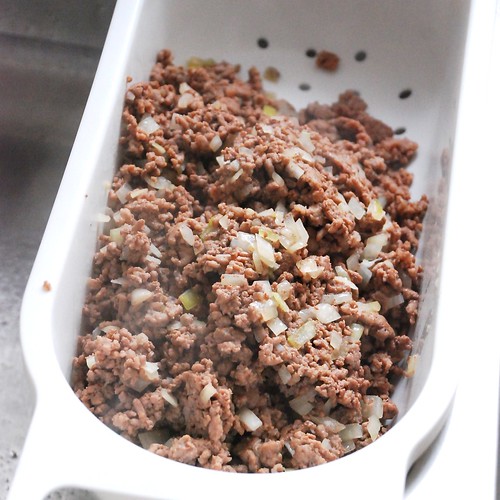
Drain off the grease. Since I won’t be saving the fat for the War Production Board effort, the easiest method I’ve found is using a sieve—it is MUCH more convenient than spooning the stuff out one teaspoon at a time. I have this convenient sieve that sits in my sink.
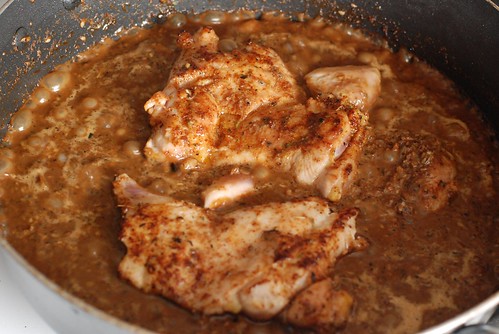
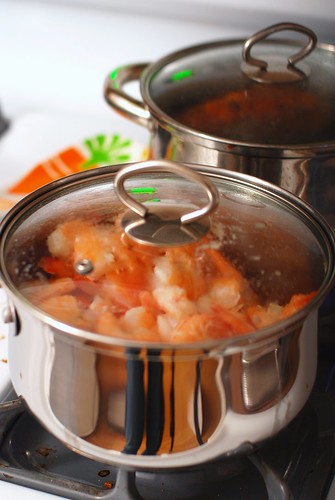
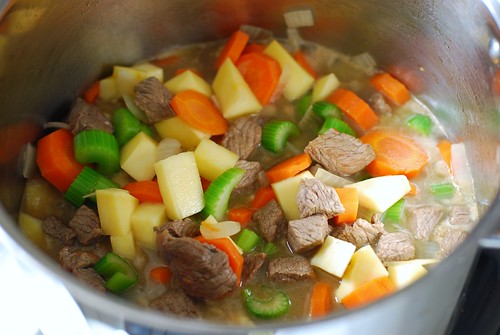
Hhokay, so. Here we hev our meat now covered by ze water.
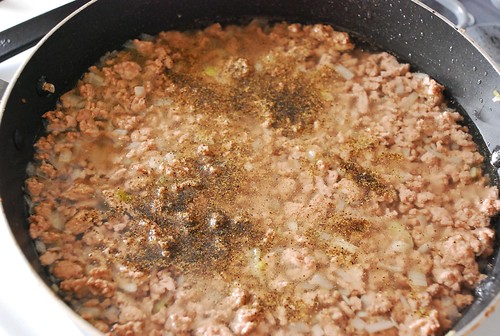
And then you simmer that business for an hour, mixing it up frequently to try to break up all the meat wads. If you change your mind and want to make goetta instead (which is German but somehow Memere Dubois grew up on the stuff), you can boil for an additional hour. No word on when you add the oatmeal, however.
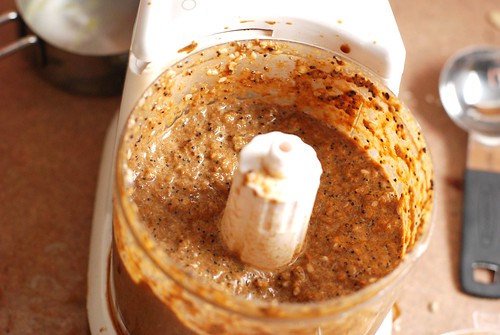
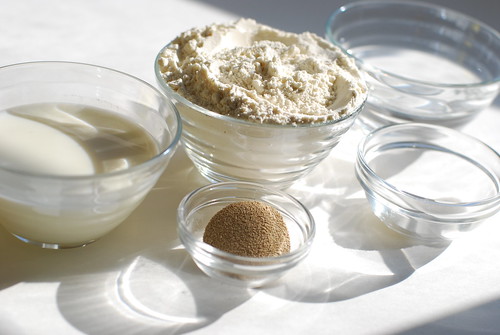
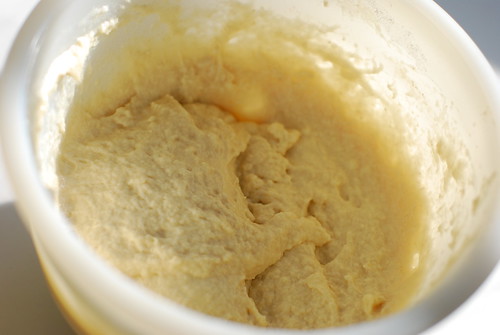
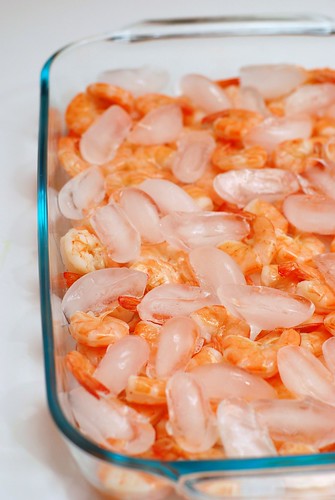
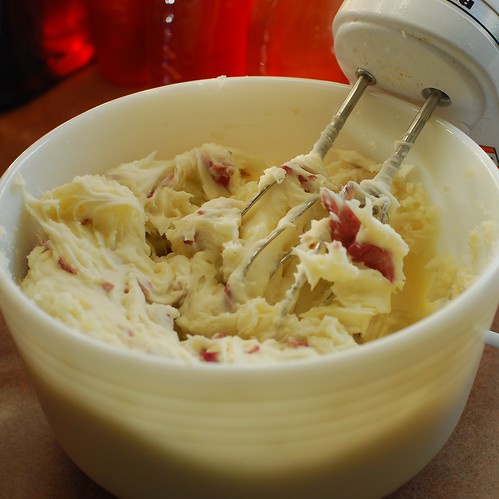
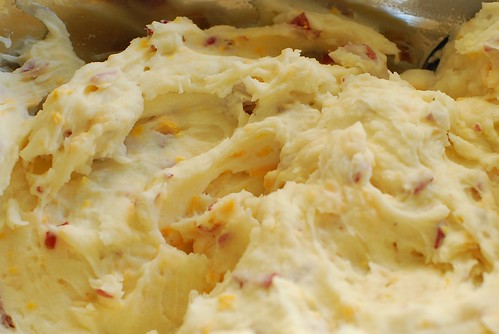
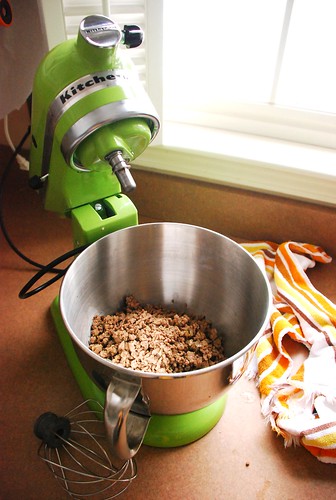
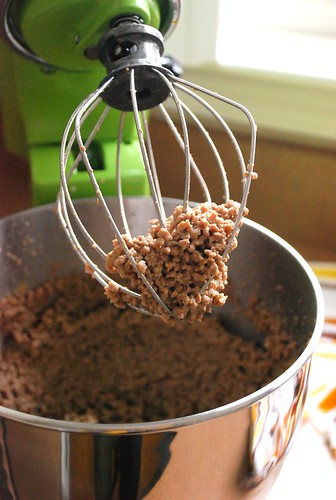
Another strain and now we’re going to use your treasured stand mixer. This will accomplish three things:
- It will break up the meat into uniform little granules.
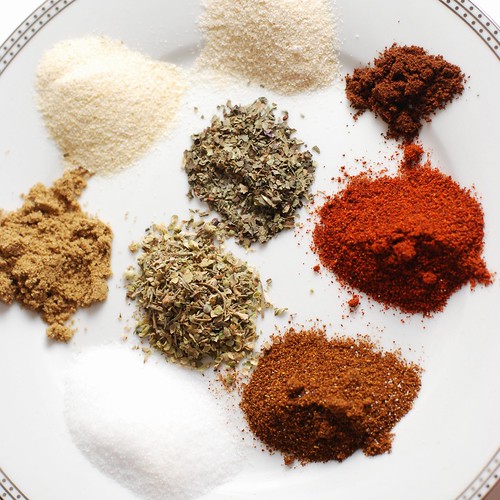
- It will mix up the spices and milk with the pork.
- It will cool the mix much more quickly than letting it sit out.
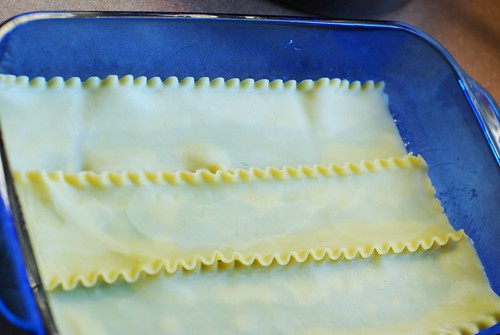
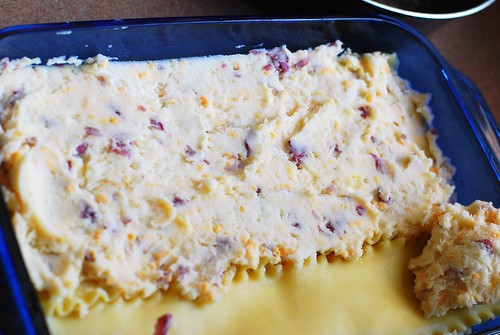
Finally, after like, an hour and a half, you’re ready to start assembling a pie! Go you! I’ve discovered that refrigerated pre-made pie crust comes out tasting just as good as homemade and also doesn’t make me want to shoot myself in the face, so I’m pretty much never making a pie crust by hand ever again. Just sayin is all.

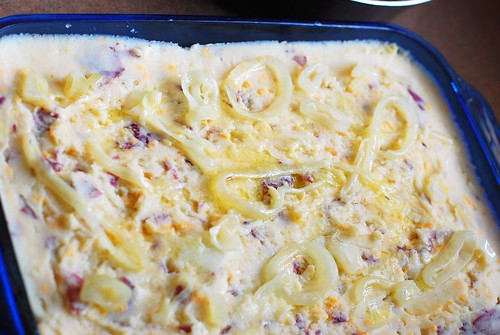
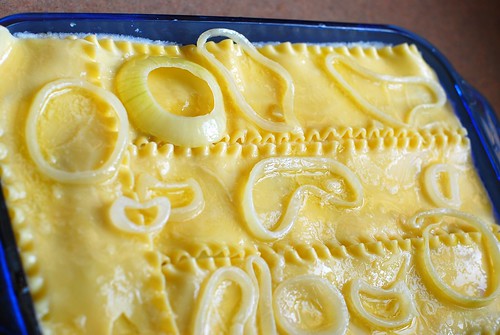
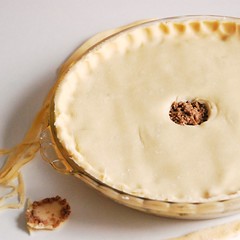
For some reason, pork pies are always topped the same way: a crust with about a 1″ hole in the middle to allow venting. Knowing that I wasn’t going to be able to pull it off freehand, I found a trick for cutting the hole.
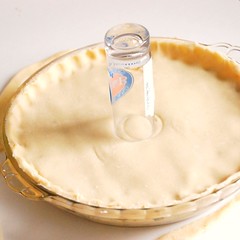
(you’ll notice I can’t even position a glass in the middle of the pie on my first try, which is exactly the reason why freehanding it was such a terrible idea)
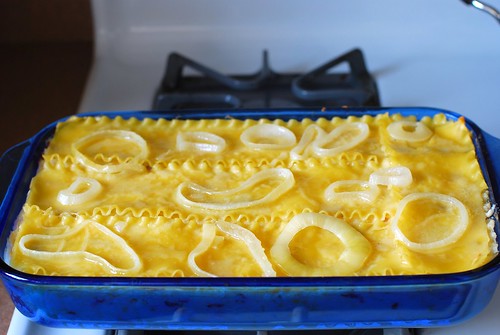
Then I attempted to protect the edges of the crust with aluminum foil.
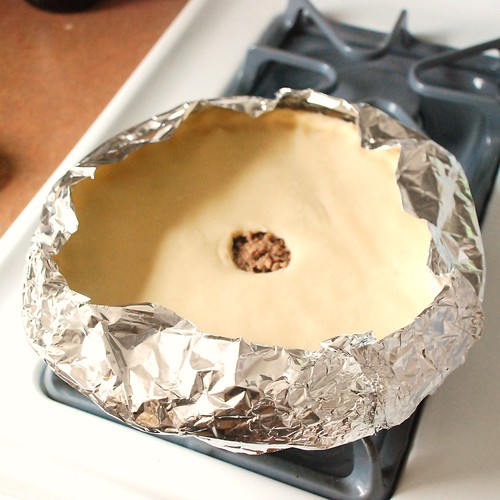
It got a little toastier than I would have liked anyway. But at least the edges weren’t burnt, those are the best part!

And of course, as any Charbonneau, Levesque or Savoie will shout at you, you have to at least try it with ketchup. Even if you don’t think you’ll like it, that’s the right way to eat it.

French Canadian Pork Pie
Coming to you straight from Memere LeBlanc’s memory
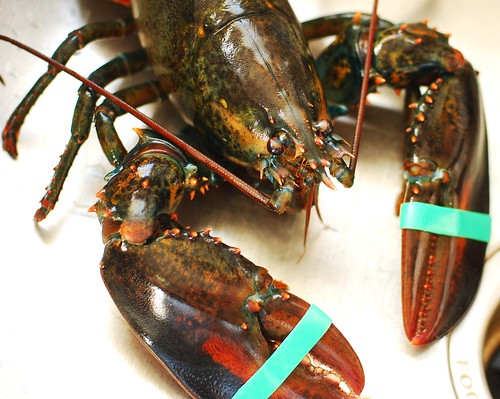
2 lbs pork butts, ground twice (plain old ground pork seems to work as well)
1 small onion, finely diced
1 tsp salt
1 tsp ground black pepper
2-3.5 c water
1/2 tsp sage powder
1/4 c milk
pinch nutmeg
pinch allspice
another 1/2 tsp ground black pepper
pie crust for a covered pie (refrigerated, frozen or your own—you decide!)
Brown pork and onions in a large skillet, breaking up meat as much as possible as it cooks. Drain grease, return to pan, and add just enough water to cover the top of the pork (this has varied for me from 2 c to 3.5 c). Simmer, uncovered, 1 hour, making sure to stir regularly (keep on breaking up the meat with your spatula). Do not let the meat dry out, though it does not need to be covered in water the whole time.
Preheat oven to 400o. Drain meat and onions again, toss into a bowl and beat with remaining ingredients (don’t forget the extra 1/2 tsp pepper!) until almost cooled. This will take the 5-10 minutes you’ll need to prepare your double pie crust, so if you happen to have a stand mixer, it’ll come in handy.
Bake for almost an hour, or until the top looks done. Let cool 5-10 minutes before serving with a side of ketchup.
The end!
nutrition summary: 180 calories, 11g fat, 0g fiber; ~7 weight watchers points
ENLIGHTENING FEEDBACK
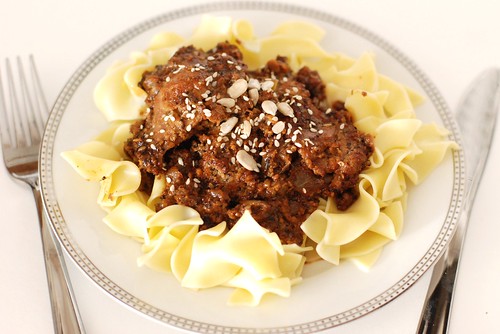
mizike agrees with me, which is enough to be edited in, BUT he also gave me the name of this pie.
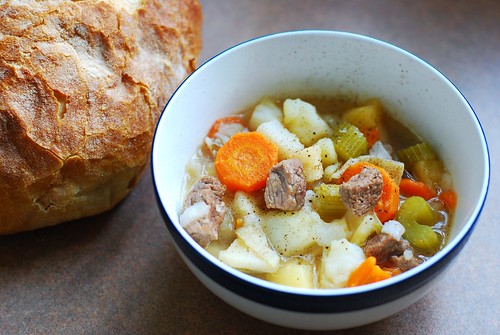
Nothing says christmas in Quebec like Tourtiere. Serve it with a side of poutine and a bowl of split pea soup for the maximum french-canadianness possible in one meal.
The Wiki on Tourtière is enlightening and dead-on, we just always called it pork pie. My family never did the poutine thing, but split pea soup is ALWAYS on the stove just after Mom and Dad have made a ham. I salute you, mizike, fellow Franco!
Also, I totally earned some cool points from Adam, and just wanted to point out that I am always accepting cool points. Not that I need them or anything. I may even give them to charity.