

recipe: daffodil cake
I don’t have much to say about the Daffodil Cake other than it appeared in my What’s Cooking in Massachusetts! 4H cookbook, and a quick Google is telling me that it is an Eastery-Springy-type of cake. So I guess I just missed Easter, which is fine because something in me still resists holiday seasonality. My guess is I still haven’t outgrown that jaded teenager phase, where family stuff is stupid and cheesey.
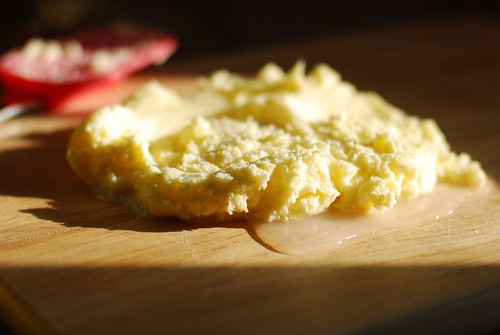
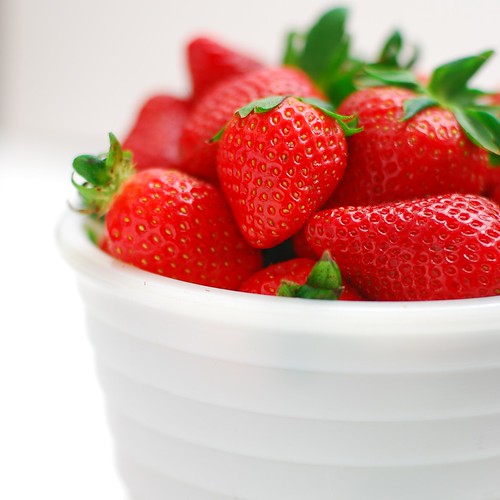
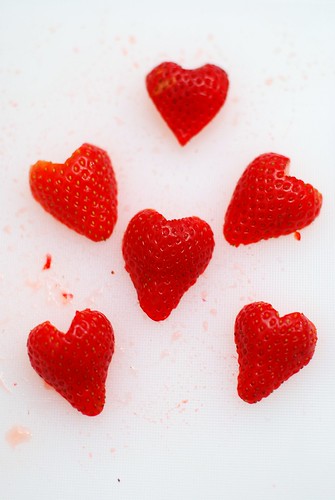
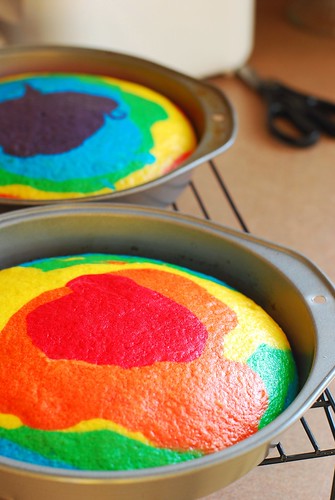
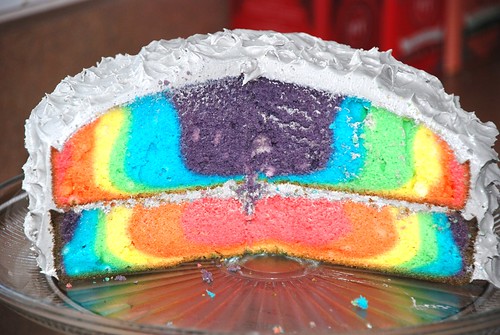
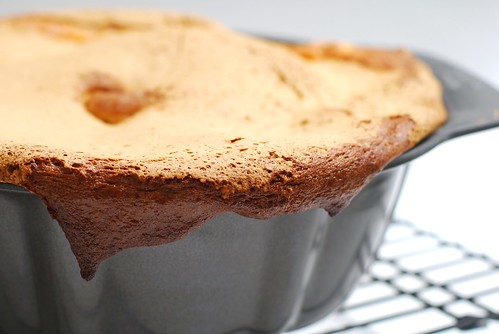
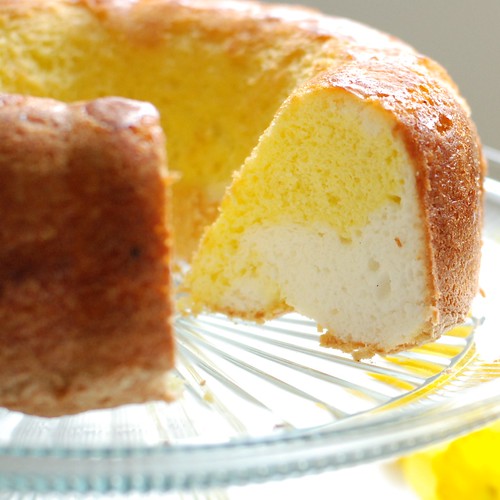
In line with the Spring theme we accidentally have going here, this cake is EXTREMELY light—for cake. It’s similar to an angel food cake, except that you are not left with an inordinate amount of unemployed egg yolks. In this cake, the egg yolks are used to make a second batter, this one all yellow, naturally, and the result is a little two-toned cake that is not as cool a surprise as say, a rainbow cake, but still pretty neat! It can be served in a manner similar to angel food cake, and in that vein would be quite delicious with some strawberries and whipped cream!
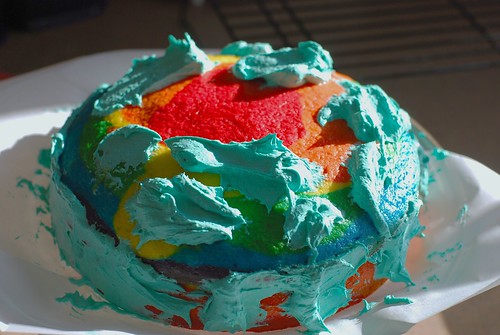
I made this bad lawrence twice in an attempt to fix major problems from the first go at it. I cite as evidence:
You can see how including that particular photo might counter any culinary abilities y’all might have thought I had. The good news is that I only had to try this one more time to get much more satisfying results, and I identified my major issues here. The first:
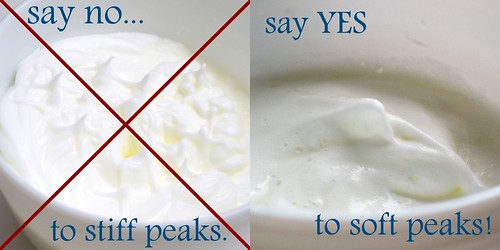
Let me just say up front that is not meant to be a dick joke.
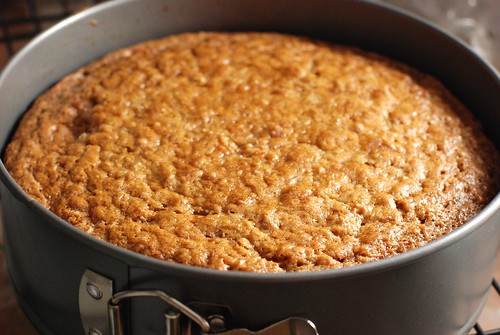
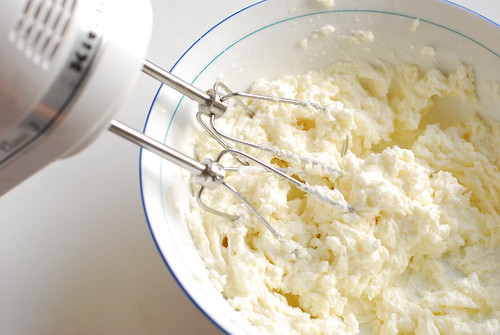
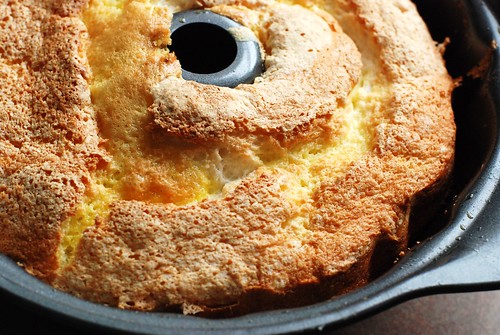
The terminology in the original recipe says “beat until stiff.” Now I’m going to venture that, in this case anyway, stiff does not imply stiff peaks, because the first time around it took me damn near 45 minutes with a handmixer to attain stiff peaks, which even then were passable at best. And then my cake exploded out of my pan and burnt to the bottom of my oven in a smelly mess (see above).
The other big hint that something was wrong was when I tried to remove the cake from the pan and then had to kind of grope it out with my fingers. It was embarrassing.
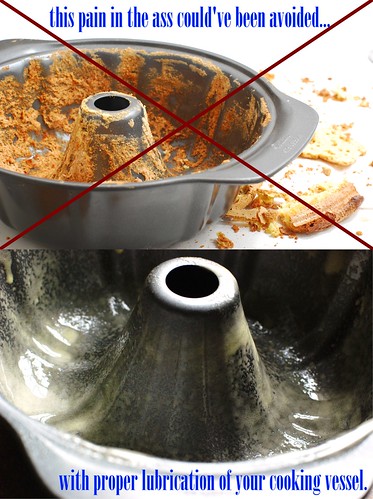
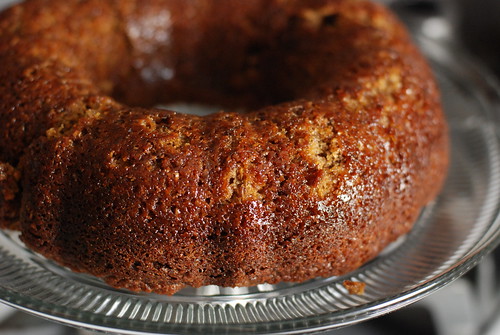
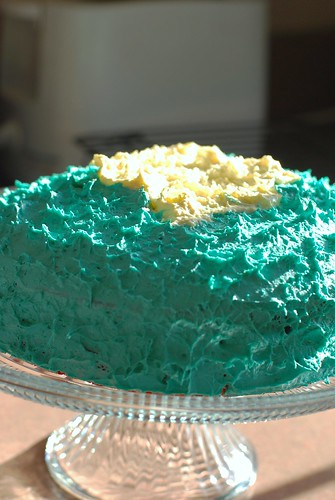
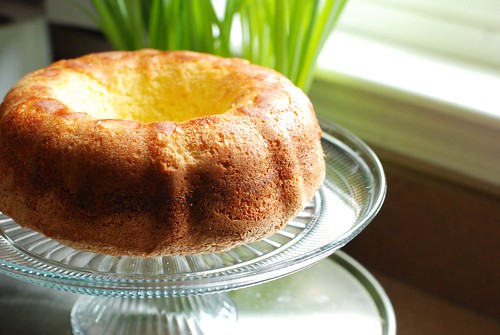
Perhaps in 1962, they had nonstick tube pans they don’t make like they used to, but my nonstick bundt could not handle that baby, and as you can see, this time around I was plenty generous with my cooking spray. That cake might be soggy coming out of the pan, but it’s coming out of that pan on its own, goddammit!
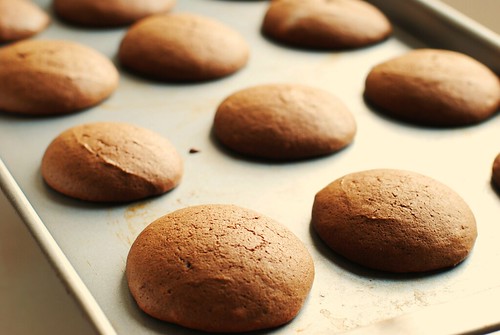
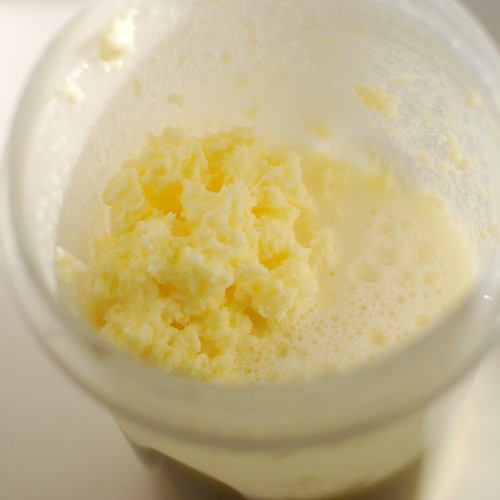
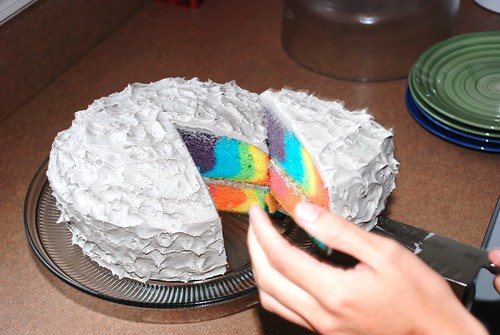
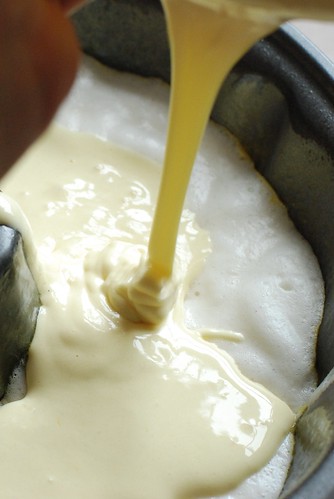
Here’s a rare Omnomicon action shot.
And the bottom was the most delicious part of this. If you aren’t big on presentation, I recommend eating the entire crust off the bottom, because the cake is moist and fluffy and once you flip it onto the bottom and leave it that way for a few hours, the delicious crunchy almost-meringuey texture becomes the texture of just . . . regular cake. Not as magical at all.
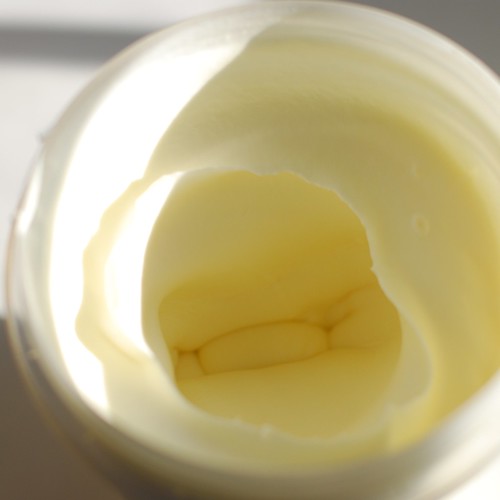
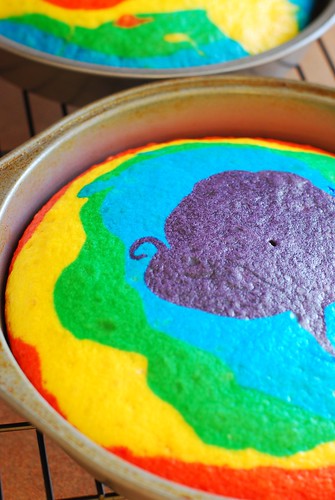
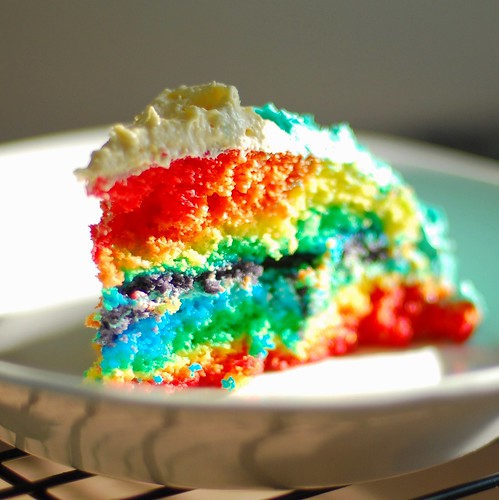
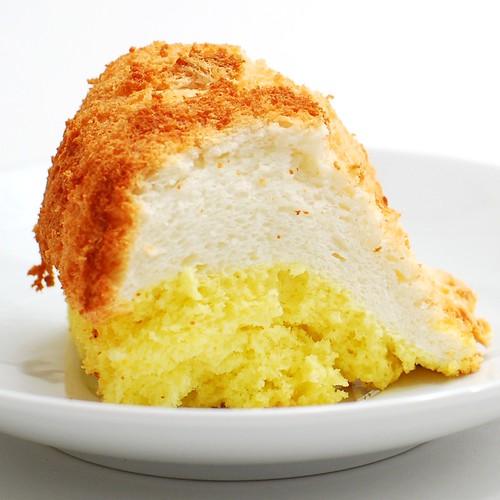
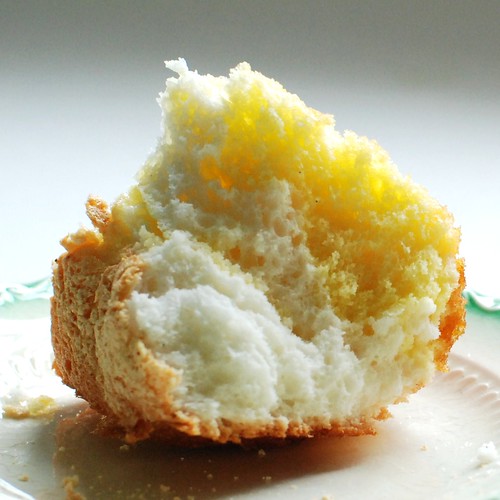
Interestingly, though you pour the yolk mixture on TOP of the whites mixture (which would logically put it on the bottom of the cake once flipped out of the pan), the yolk mix is denser and therefore sinks to the bottom of the pan. In this particular piece, it looks like a funky ying yang.
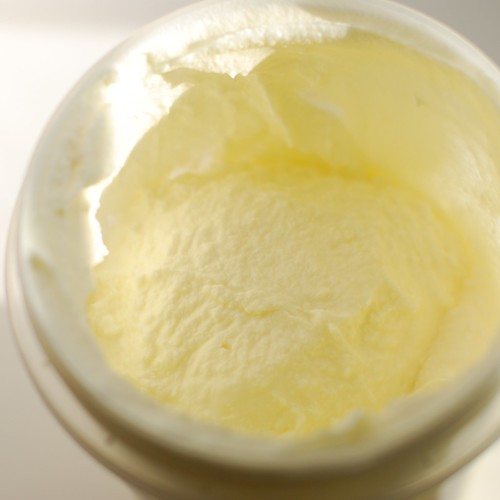
But when I overbeat the white mixture, the yolk stayed right where one would expect it to—to the top of the pan and bottom of the cake. I have to assume this is due to the increased firmness in a longer beat time for the white.
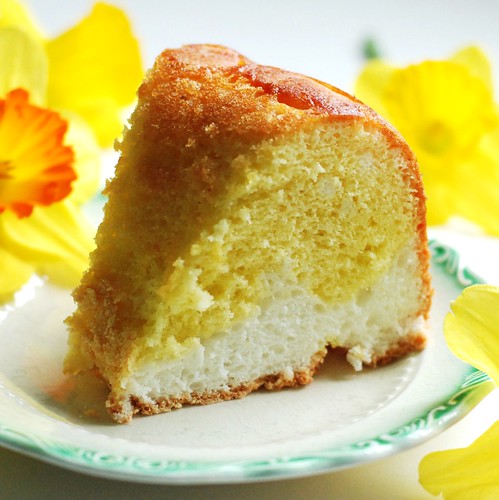
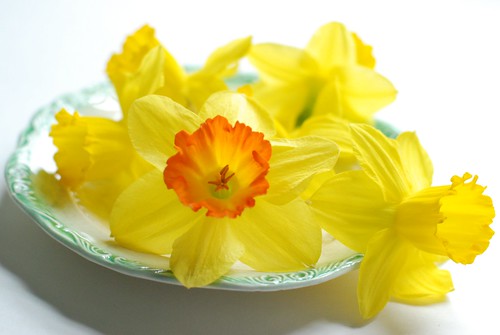
So then I took some literal shots with a daffodil, which really don’t complement the visage of the cake very well, but I bought those flowers and by golly they’re gonna be in my pictures!
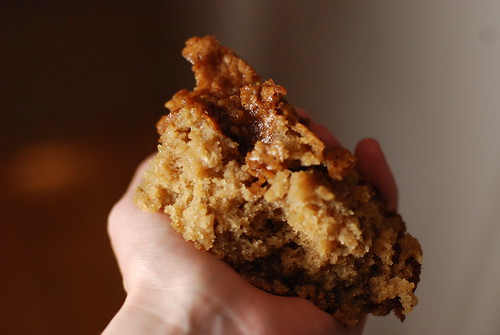
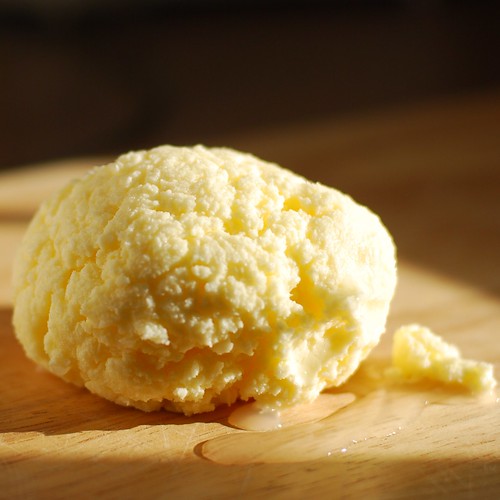
The best way to describe the plush airiness of these, however, is with this shot, wherein I tore a piece of cake in half. Verily, I rent it asunder for the visceral pleasure of it.
And then one more picture of daffodils. Just so I can get my money’s worth.
Daffodil Cake
adapted from a 60s era 4H fundraiser book: What’s Cooking? In Massachusetts
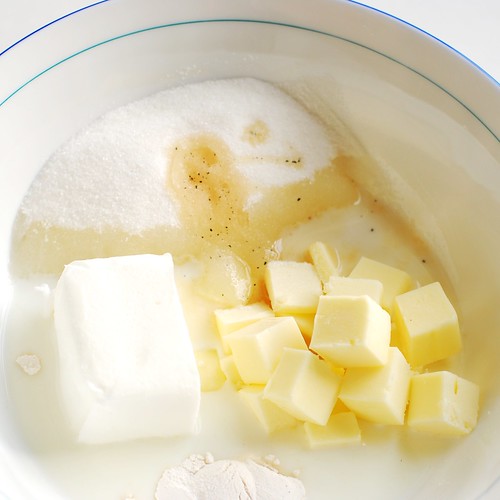
6 egg whites
1/2 tsp cream of tartar
1/2 tsp salt
3/4 c sugar
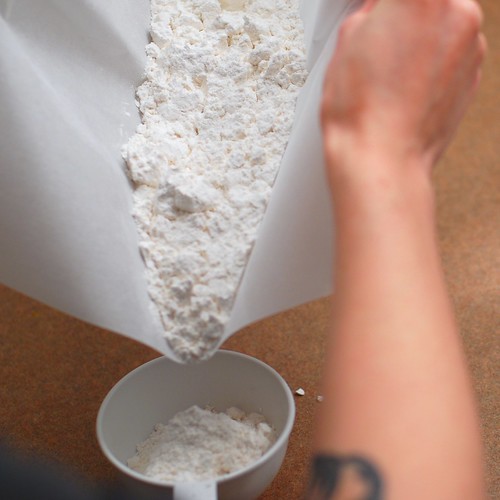
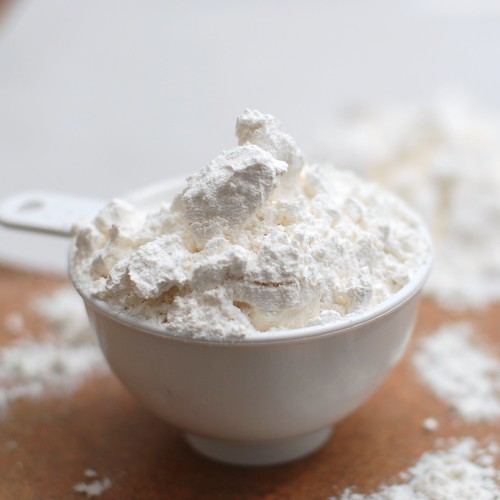
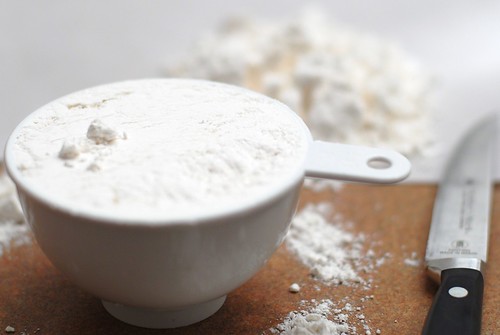
1/2 c cake flour
1 tsp vanilla
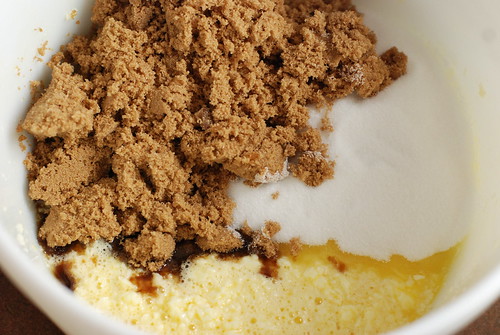
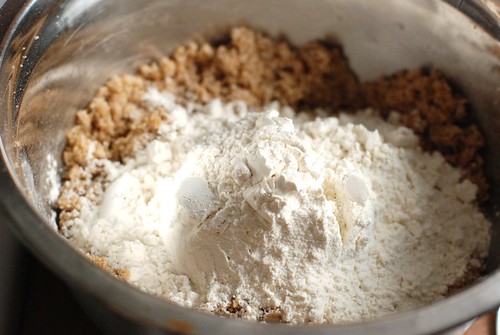
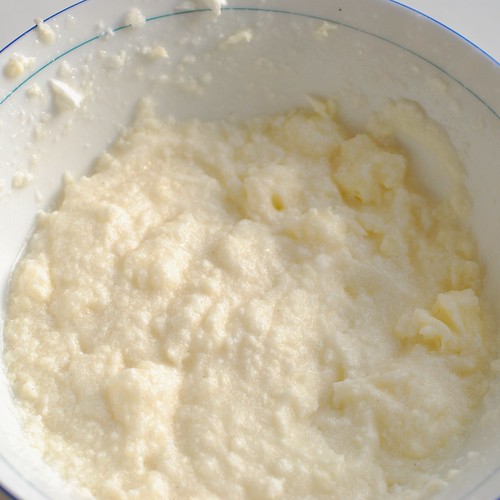
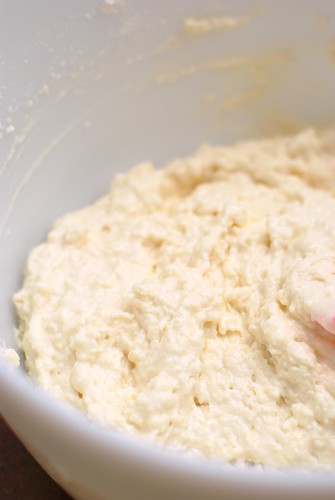
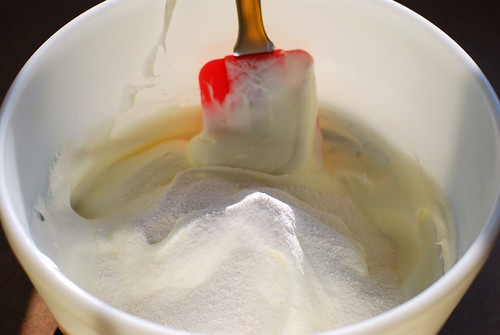
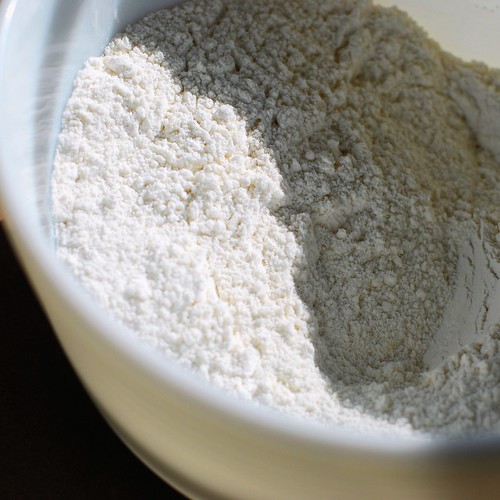
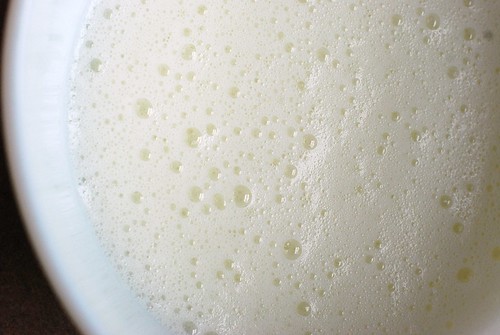
Preheat oven to 325o.Beat egg whites until foamy. Add cream of tartar and salt, and beat until the mixture can hold a little bit of shape, but not until stiff peaks form (it should take you about 5 minutes to reach this consistency with a mixer on medium). Briefly beat in vanilla. Sift sugar and flour four times (seems like overkill to me, but just to be safe I went ahead and did it), then fold into egg white mixture. Pour into well-greased tube or bundt pan and set aside.
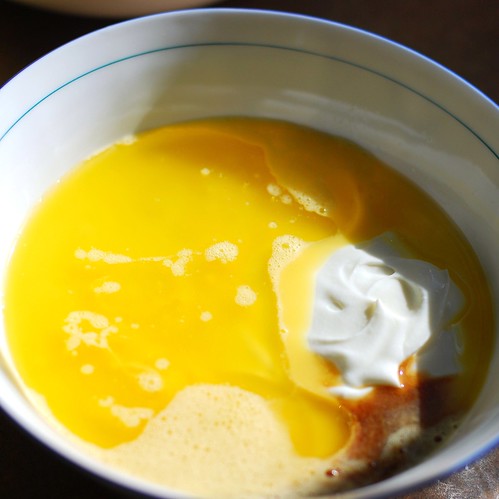
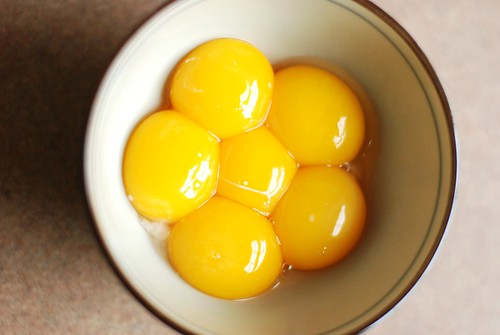
Now it’s time for the egg yolks!
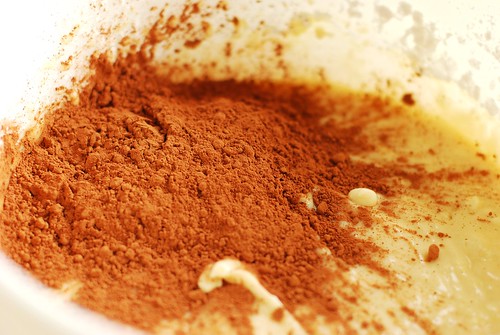
6 egg yolks
1 tsp vanilla
1/4 tsp salt
3/4 c sugar
3/4 c cake flour
1 tsp baking powder
1/4 c boiling water
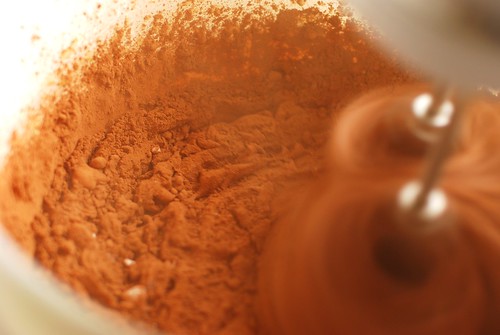
Put about 2 c water on the stove to boil. You’ll want to measure your boiling water after it’s come to a boil instead of before (what with evaporation and what have you). Beat egg yolks 3 minutes, add salt and vanilla, then gradually beat in sugar. Sift the flour and baking powder four times (again, it couldn’t hurt) and add alternately with hot water. Pour atop the white mixture in the pan.
Bake 50 minutes, let cool completely (at least an hour) before removing from pan.
Serve by itself for a cottony delicious treat, or with fruit and the whipped topping of your choice for a more full-blown sort of dessert.
Fun variation:
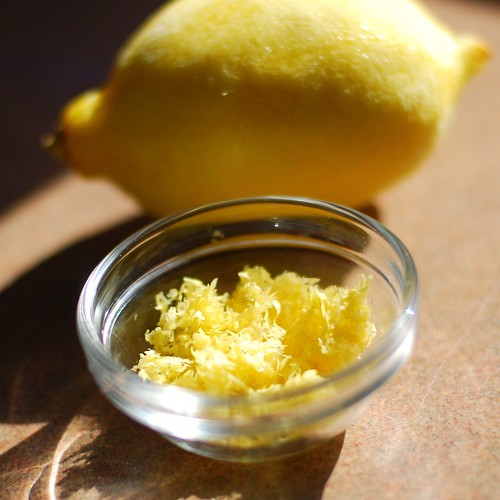
So some versions of the daffodil cake include a lemon icing, and this one in particular calls for either vanilla or lemon extract in the yellow batter. My awesome idea is to dye the white part with lemon extract and the yellow mixture with vanilla. It will taste the same, and 90% of people won’t notice which is which, but it’ll be really funny for that one person with the particularly sharp tastebuds.
nutrition summary (for 1 of 8 servings): 260 calories, 4g fat, 0g fiber; 5 weight watchers points