online poker

Omnomicon

say it with me now, “om nom nom”

Subscribe to Omnomicon

Now I’m going to tell you: my mother’s whoopie pie recipe is SO GOOD that I will often tell people that I don’t like whoopie pies at all, because I have yet to find another recipe that I actually like. Other people’s whoopie pies are too cakey, or too cookie-like, or (as is usually the case) the filling is pure frosting, which is WAY too sweet and totally the wrong texture altogether. My mom’s whoopie pies were famous in our circles, and she generously provided them whenever demanded, particularly when visiting my Uncle and Aunt in Maine for Thanksgiving and Christmas. I ate more whoopie pies in my childhood than cupcakes, brownies or cookies combined; they were a true and strong family tradition.

Antonia, a faithful reader, pointed to a NYTimes article about the Whoopie Pie and well hey, I’m not usually up to snuff on anything topical, and since I have an authentic family recipe on hand, I am suddenly compelled to showcase my (rather specialized) expertise!

A proper whoopie pie is not merely some cloying abomination of sugar and fat. No no, it is delicate in its way, the sweetness ever-present and yet subdued. Please do not compare them to a Devil Dog or Moon Pie. Please do not make them with cake mix and tub frosting. A whoopie pie is a very specific delicacy and there are rules.

The proper texture.

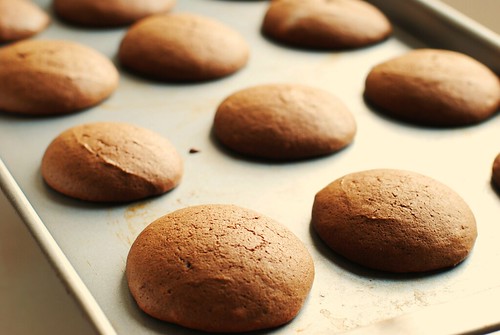
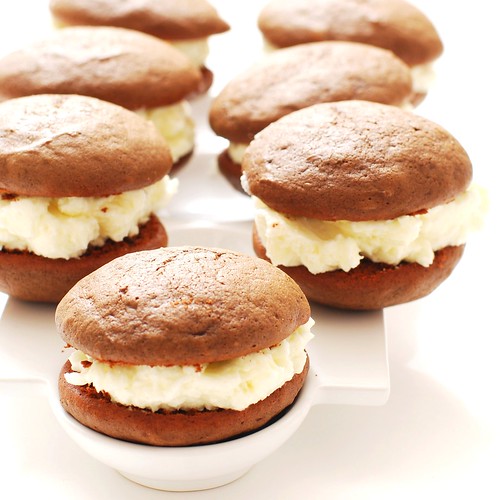
A proper whoopie pie “cookie” is a medium-brown shade, fairly dry (not all oily and moist like a Little Debbie’s snack), but still somewhat densely cakelike, maybe a vein or two where the scoop let go of the batter. They crack ever so slightly, but sometimes they don’t and maybe that has something to do with the barometric pressure. I dunno, they still taste right and seem to have the right texture, so aesthetics aside, it’s fine either way.

Okay, so maybe the filling is an abomination of fat and sugar.

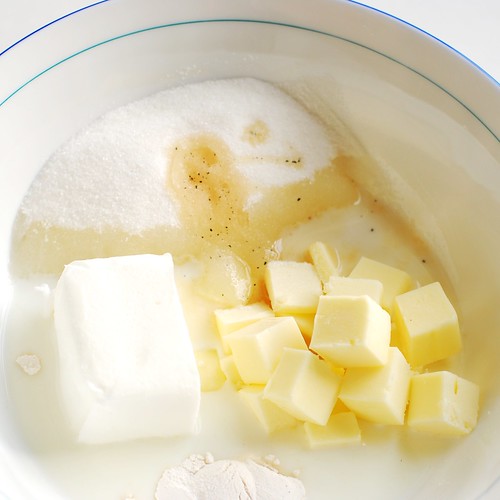
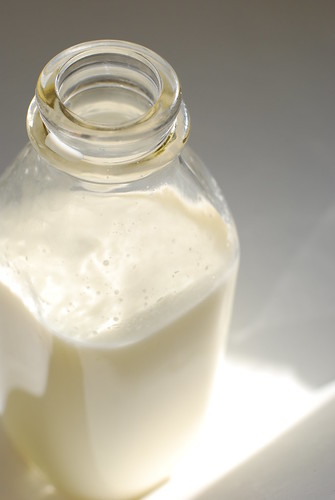
The proper whoopie pie filling is made with Crisco (which, apparently, no longer contains trans fats), butter, whole milk, sugar, a tiny smidge of flour and a regular portion of vanilla. Did you notice that it has no Fluff in it? That’s because Fluff is for fluffernutters, not whoopie pies. You will also notice that the filling is not a frosting, but a creme. While eating, one will lose all the filling out the sides and must open the pie, collect up the creme that has splooshed out back onto the bottom piece, then recreate the sandwich, only to do it all again in the next bite or two. This is the proper way to eat a whoopie pie.

This process presented many lovely photo ops. Let’s take a look!

Where the chocolate comes in.

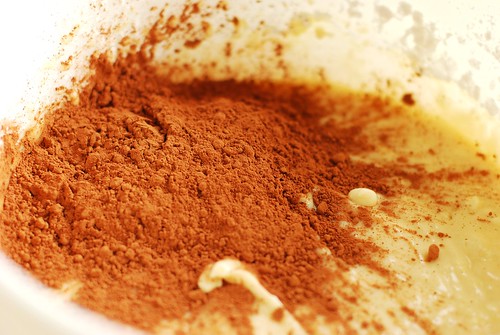
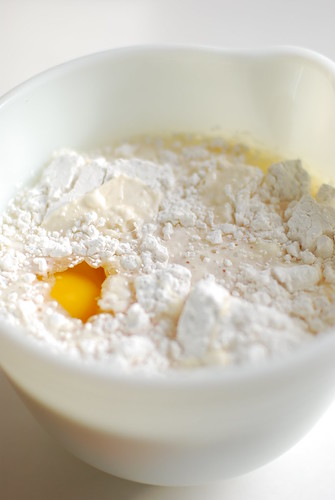
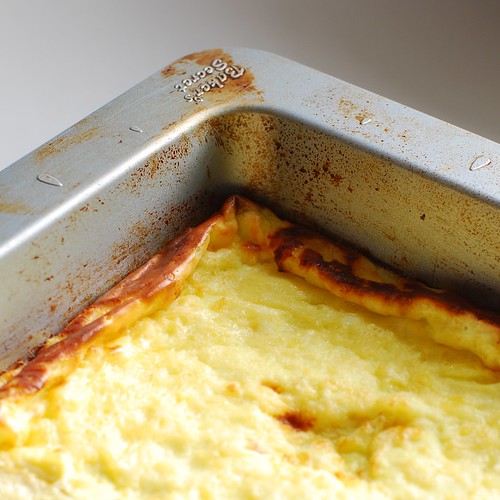
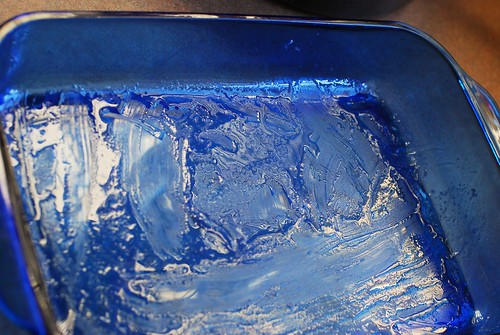
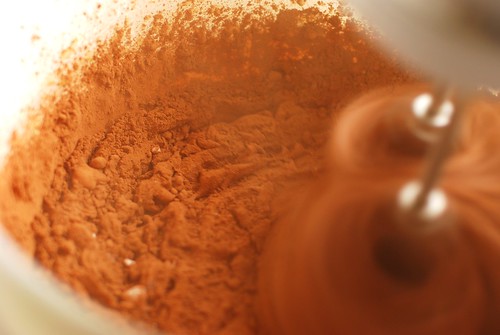
This one reminds me of a dusty construction site.

Cocoa construction site.

Ungreased cookie sheet...

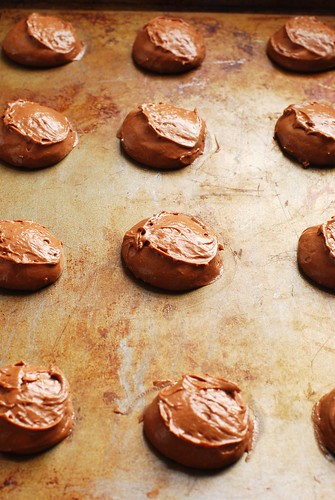
The cookies can be removed from the cookie sheet almost immediately, but you really need to use a metal spatula and carefully scrap them off. I like the texture underneath, it gets a little crispy as it cools and it is so so satisfying to snack on the odd unmatched whoopie pie cookie before they’re frosted.

The underside.

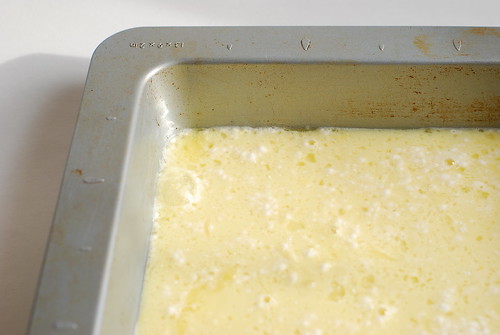
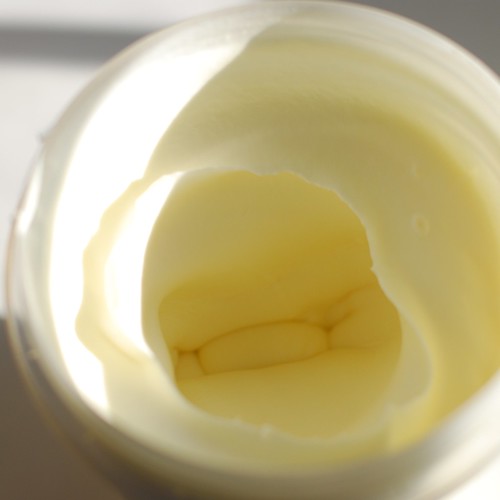
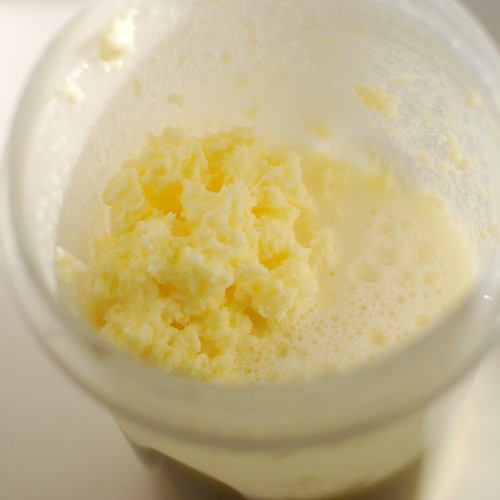
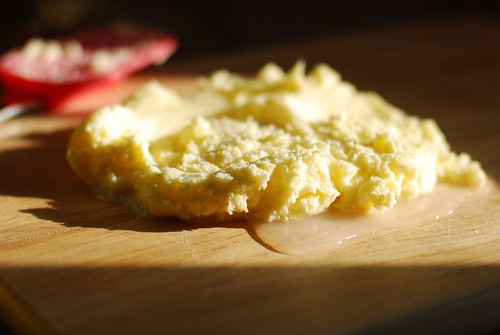
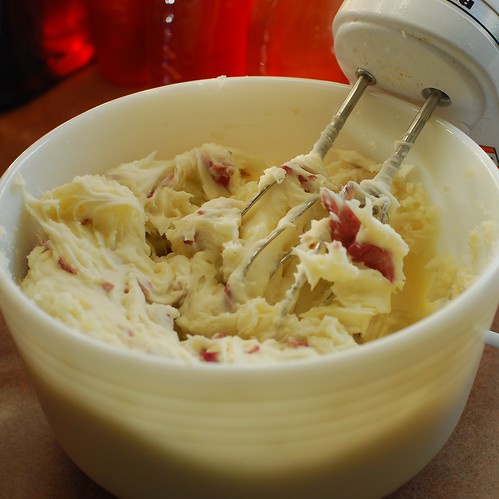
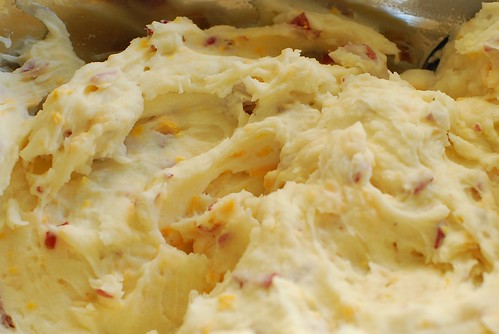
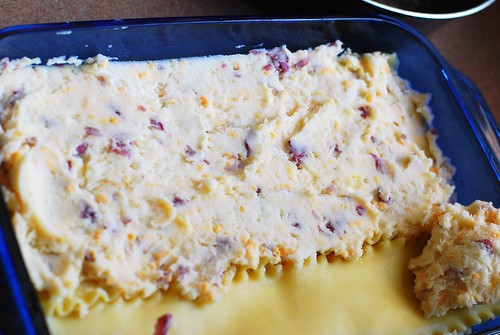
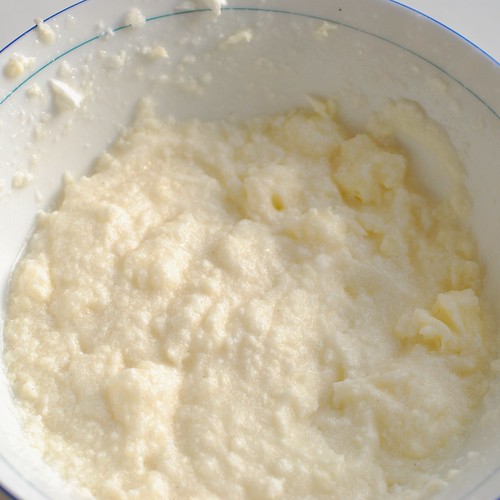
The creme takes a convenient 10 minutes to make, which you can most likely complete between the time the first batch of cookies goes into and comes out of the oven. I’ve found it nearly impossible to make the creme without an electric mixer (stand or hand, your choice), and sometimes it takes longer than others. For the first several minutes of mixing, your creme will look like this: kinda gross.

Porridge?

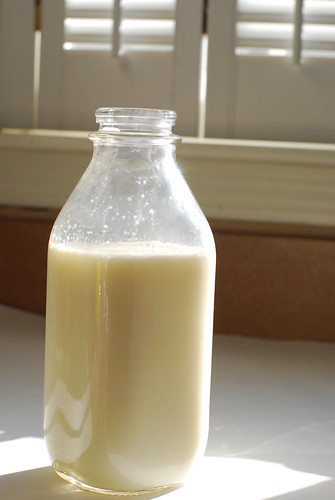
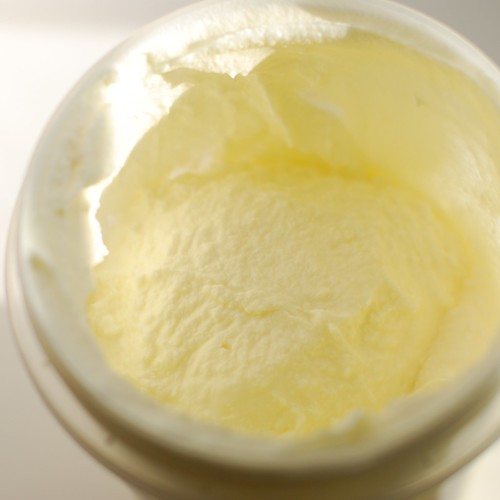
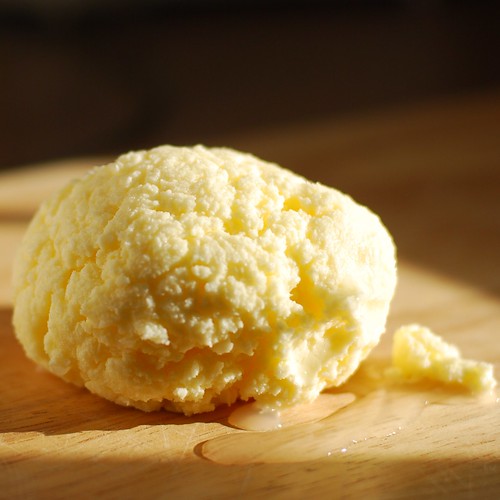
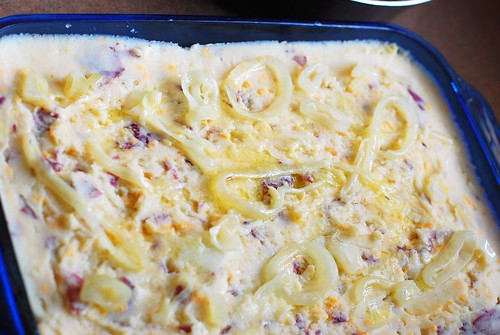
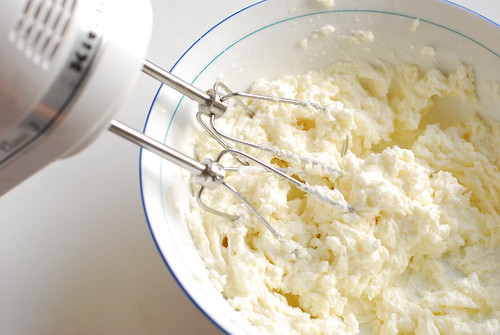
And then you’ll hear a cherub giggle, and an angel wing will brush against your shoulder as suddenly the creme whips up into this glorious appearance. The texture is extremely creamy, but still looks like this.

As if by magic.

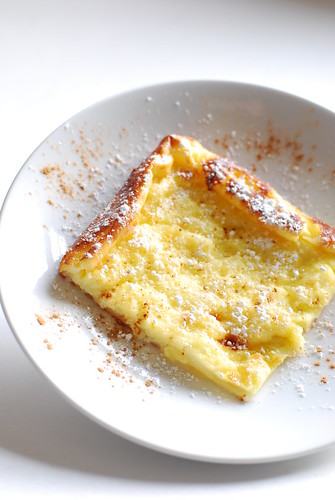
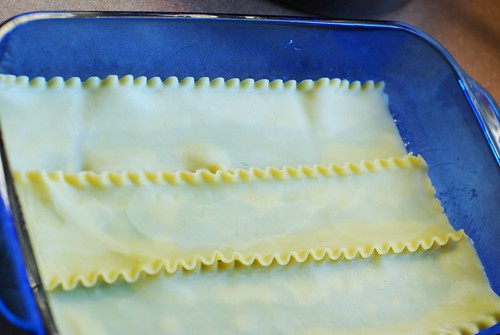
After a little assembly . . .
Mom's perfect whoopie pies.

Since I started making my own food, I’ve lived on these for days at a time. Not particularly healthy nor affluent days, but certainly enjoyable ones.

Well of COURSE I ate some as I went along.


Mom’s Famous Whoopie Pies
makes about 14 after batter & cookie sampling
brought to you by very fortunate family ties.

Blend Add
1/4 c Crisco 2 c flour
1 c milk 1/4 c + 1 tbsp cocoa
1 c sugar 1.5 tsp baking soda
1 egg 1 tsp salt
1 tsp vanilla  

Drop by the small tablespoonful onto an ungreased cookie sheet—a tablespoon-sized bakery scoop works best. Bake exactly 8 minutes at 375o, see if a toothpick comes out clean, and if it doesn’t, bake another 2 minutes (10 total). Upon extraction from the oven, remove from pan immediately to wire rack to cool.


And now the creme filling (reminder: it’s not frosting, guys)

1/2 c margarine or butter (room temp is best)
1/2 c Crisco (my mother is insistent that this MUST be Crisco and CANNOT be generic shortening, nor substituted in any way . . . but if you do get it to work with a substitution, please let me know!)
1 c sugar
1 tbsp  flour
1 tsp vanilla
1/2 c warm whole milk (20 seconds in the microwave should do it)

Beat with a mixer (stand or hand, your choice) for-freakin-ever. It will start out just like, well, lumps of Crisco floating in milk, then bits will get smaller and smaller, then it’ll slosh around for a little bit, and, much like the butter making process, you’ll be wondering if this will ever become anything or if you maybe messed it up somehow. Suddenly, about five minutes later, your mix will look weird for a second, and within moments your slushy mess will turn into a glorious white creme, smooth and perfect in a way rarely seen outside the confines of uber-processed food with chemicals you can’t pronounce that are not even available to the consumer in their pure form.


Assembly

As soon as the whoopie cookies are cool, match each whoopie with its closest brother in size—even if yours didn’t all come out the same size, evenly matched whoopies will look much much nicer. Spread some filling on the flat side of one, then place the second on top. Repeat. This does not need to be done immediately before serving, as the filling tends to maintain its consistency surprisingly well, and some (like my mom) would argue that a day-old whoopie pie is even better than fresh. I like them all.

No need to refrigerate, sealed plastic or plastic wrap will keep them fresh.

. . . and that’s it. Congratulations! You just made the best whoopie pies known to man.


Not like it’s diet food or anything, but these are not quite as totally terrible as I thought they’d be!
Nutrition Summary (for 1 whoopie pie of yield 15): 330 calories, 17g fat, 1g fiber; 8 Weight Watchers Points

Hola! Como esta? Bueno!

My Spanish isn’t what it never used to be, but guess who has two thumbs and just celebrated a 25th birthday.

->this gal<-, that’s who!

I received so many wonderful gifts from my closest pals, and I include among them the gift of everyone’s presence at my karaoke bash, which is all I really wanted anyway. But SOME people (yes, I am talking about you, Erin) are apparently way the hell too cool and just had to go out and make my birthday extra-special—and I guess I can’t complain because you guys,

Check

This

Out.

Absurdly awesome birthday gift.Absurdly awesome birthday gift.

Are you frickin kidding?! Totally adorable, funky, completely vintage and all mine. So I prefer family items because what’s vintage really without a good story, right? OH WELL HEY IT CAME WITH ONE OF THOSE TOO.

Absurdly awesome birthday gift.

This lovely oven proof cassarole [sic] was a Christmas gift from Billy to his Nana Mary Nicotera in 1971. Nana cherished it and never used it except to display on the kitchen counter. A lovely family heirloom which could be used as a cookie jar.

Billy purchased it at a fine quality gift shop in Marblehead. Unfortunately the ID card of the manufacturer went astray but it is of fine quality.
Bea Cannata
Billy’s mom 4/15/78

I can’t even believe that I have come to own a 40-year-old piece that may or may not have ever been used, but if it has, it certainly doesn’t show. So until I find a suitable cherry-popping recipe, I will cherish it and admire the class it brings to my kitchen counter.

Thank you, Erin, for sharing the most fantastic taste of anyone I know.

So this is completely unrelated to my birthday, other than I made it the morning of receiving The Great Gift. Finnish pancakes! There’s not too much in the way of ingredients, but they all pull their weight in a crescendo of souffle-like tastiness.

finnish pancakes

Man, that ingredient set is as white as Rhode Island.

In the mix.

I love the egg yolk peeking out from under there. Hello, little egg yolk!

What makes pancakes Finnish is, apparently, that they are pancaked in the oven rather than the stove top. This is a great way to serve a large number of people piping hot pancakes all at once.

PSA: Finnish pancakes are baked, not pan-fried.

Nice edges, *catcall*

Serving suggestions (2).

Elevation.

Sugar high.

Serve with love.

Finnish Pancakes
Courtesy of Massachusetts Poultry Association, Inc.
Buy lots of eggs!!!

4 tbsp butter, melted
4 eggs
2 c milk
1/2 c flour
2 tbsp sugar
1/2 tsp salt

Preheat oven to 450o, and pour the melted butter into a 9″x16″ baking pan.

Beat eggs until foamy but not whippy, until well-blended. Beat with milk, flour, sugar and salt. Pour into pan with butter and bake 20-23 minutes.

Serve any way you like! Serving suggestions pictured include powdered sugar & cinnamon and real Massachusetts maple syrup.


nutrition summary: (for 1 of 8 servings, made with fat free egg substitute & skim milk) 115 calories, 6g fat, <1g fiber; 3 weight watchers points

Feb-23-2009

how to make butter

Posted by aleta under how to make...

butter

Homemade butter is easy, relatively quick to make and amazingly delicious. If it cost less than buying butter at the grocery store, it would be too good to be true, which is why this is not the case. All things considered, though, I still think it’s well worth it.

This stuff is precious, so I think the best use of it is not in baking, but rather, on top of freshly baked, still warm, bread, muffins or crumpets.

Are you ready for this? It’s intense.

buttercream on the edge

We begin with cream. I used superfresh local stuff, but the carton at the grocery store will do just as well. The important thing is to use cream at room temperature. The difference between doing this with cold cream and room temperature cream is the difference between an hour of churning and ten minutes.

Next, get a container with a tight-fitting screw-on lid that will not spurt cream all over your kitchen when you shake it vigorously. It also needs to hold at least twice the volume of the amount of cream you’re using.

butter

Begin shaking the container up and down in a rhythmic pattern. After 3 minutes, it’ll start feeling less like you’re shaking a jar of liquid and more like you’re shaking a jar of whipped cream, because essentially, you are.

3 minutes.

The next 3 minutes will feel like you’re shaking a brick. This is the hardest part. You will wonder “is this doing anything?” Just keep at it.

6 minutes.

All of a sudden, within just a few shakes, the jar will begin going “shuk shuk shuk” and you’ll be able to feel the butter separating from the buttermilk. Keep doing that for about four minutes until you have lots of buttermilk in there.

10 minutes.

Next (not pictured), cover the top of the jar with cheesecloth and pour off the buttermilk, which can be used for a great many delicious items, but most notably, all the best pancake recipes call for buttermilk. It’s a truth.

After that, let the faucet water get as cold as it gets, then fill the jar to just under the top of the butter. The water needs to be very cold, or else the butter will melt as you replace the cheesecloth and pour the water out into the sink. Repeat 7-10 times until the water drains completely clear. This cleans the butter and keeps it from going rancid as quickly as it will otherwise.

Also important is to drain the butter. I have pictures of this part.

the birth of butter.

All that water puddling under the butter needs to come out. The best way is with a marble cutting board, but since I don’t have one of those, I used a wooden one. Simply squeeze the water out of the butter with a wooden spoon or spatula. The latter will double as a scraper to regroup between squeezings. To do away with the drained water, tilt the cutting board and/or use paper towels to absorb it.

butter

If you feel like the butter is getting melty at all, just stick it in the fridge for a few minutes before going back at it.

If you want to salt your butter, add about 1/4 tsp salt and stir into your finished butter. I think the reason to do this last is that it doesn’t interfere with the draining process by absorbing water and embedding it in the butter.

And that’s it! Beautiful, beautiful butter.

butter

Notes
I used one pint of cream to make just under 6.5 oz of butter and almost a cup of buttermilk. These amounts will vary from batch to batch, but is a decent estimate.

Tags: ,

Just like your half-Polish, half-Italian grandmother used to make!

Everyone who’s ever had pierogies loves them. Unless they don’t like potato, cheese, pasta or butter, in which case they are clearly mad. I have yet to make pierogies, but I have a little ace up my sleeve called pierogi lasagna. It’s very easy, if time consuming.

Recovering carbophiles may wish to avert their eyes, lest they become entangled in the enticing mesh of potatoes and pasta. On the other hand, this dish is relatively low fat (remember, the butter is being distributed among 12 servings, and I found that fat free cheddar did the trick quite adequately), and they sit like a brick in your stomach, so you’re not likely to want more than one piece of the stuff.

We begin, predictably, with potatoes. These are some of the most beautiful reds I’ve seen in a long time.

Red potatoes.

The skin was so lovely, in fact, that I left it on. That’s my usual preference anyway, though.

Red potatoes: mashed.

Stir in some cheddar and sour cream. I left out the butter, for now.

Red potatoes: with cheddar.

Sautee a sliced onion in a 1.5 sticks of butter. This is why there was no butter in the potatoes.

Onion: sauteed.

Now we begin the lasagna part of all this. Spread a little onion-butter on the bottom of a 9×13 baking dish.

9x13 baking dish: buttered.

Lay down some noodles.

Noodles.

Spread potatoes little by little. It helps to drop a dollop, then spoon it out, working row by row along the noodles.

Potatoes.

And then some onions and butter on top of that.

Onions.

Repeat that a few times, then top with noodles and the rest of the butter and onions. There should be more of this stuff on top than in any of the layers.

The top!

Bake for 20 minutes and you get this.

Pierogi casserole, baked.

Use your baking time as an opportunity to fry up some kielbasa. Enjoy the hell out of it.

Mmmmmm.

Pierogi Lasagna

1 lb lasagna noodles
4 lbs red or white potatoes
1/4 c sour cream (optional)
1/2 c milk
2 c shredded cheddar cheese
3/4 c butter (1.5 sticks)
1 onion, sliced in rings

Cook the noodles. Chop potatoes into 1″ cubes, place in pot of cold water (enough to cover), and allow to come to a boil. Continue boil until potatoes are soft enough to yield to a fork stab. Drain, mash, blend with a mixer. Toss in the optional sour cream and milk, mix some more. Add salt to taste. Stir in cheddar.

Melt all the butter over medium-high heat, then sautee onion until the rings no longer hold their shape.

Preheat oven to 375. Grease the bottom of a 9×13 baking dish with some of the onion-butter. Lay noodles on the bottom of the dish, then spread the potatoes, a dollop at a time, along the length of each noodle. Once done, smooth the potatoes, then spread about a quarter of the onion on top, and drizzle a small amount of butter as well. Repeat this twice (or more if your dish can accommodate), then top with noodles and the remainder of the onions and butter.

Pop in the oven for 20 minutes. Allow to cool 10 minutes before cutting and serving.