online poker

Omnomicon

say it with me now, “om nom nom”

Subscribe to Omnomicon

Archive for the ‘sweets for sharing’ Category

I’m back! Did you miss me? I was all sickly and working a bunch all last week, and therefore far too lazy to even clean my house, let alone post blogs. But no worries, I have a treat.

Who doesn’t love chai tea? Hint: it is not me who does not love chai tea. I had never enjoyed this delicacy until I had a meal card in college with a chai tea machine in the food court. And it was love.

Over the summer this supply dried up, so I went to Campus Convenience (aka Campco) and inquired as to whether one might find chai tea somewhere in the store. The new owner, who was incidentally Indian, directed me to a shelf with some black tea on it. “No no, like . . . chai . . . it’s got milk and honey in it?”

“But, this is chai”

“Um, well, what I’m looking for comes in a carton?”

“Chai is an Indian word that means ‘tea.'”

“OH.”

And thus ended one of many cultural lessons that naturally befall a white middle-class suburban girl from New Hampshire sooner or later.

And look! Just five years later, here I am, so culturally learned that I not only eat Pho on a regular basis, but am making my own chai tea. There are dozens of recipes out there, so I kind of mashed them all up to create an optimal mix of things. Fortunately, my experiments in Pho leave me with pretty much all the ingredients on hand!

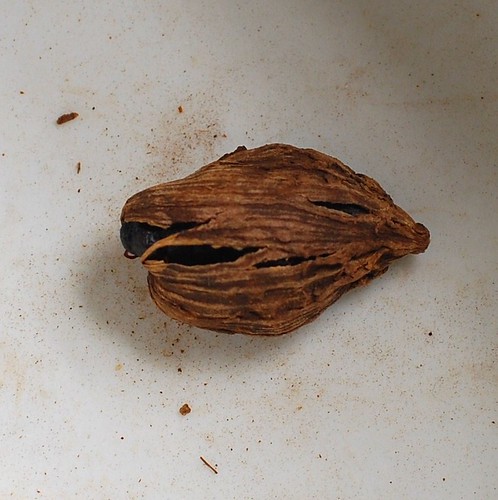
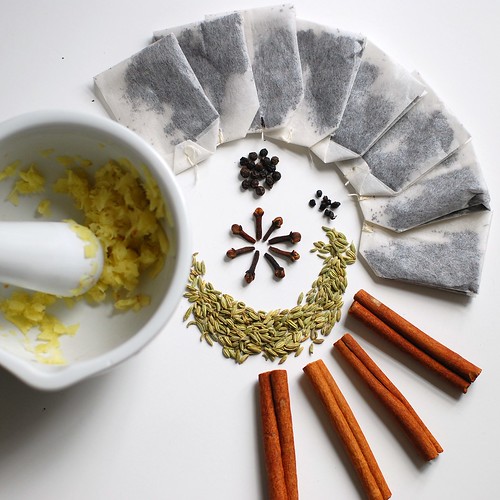
For one, cardamom pods.

Cardamom pods!

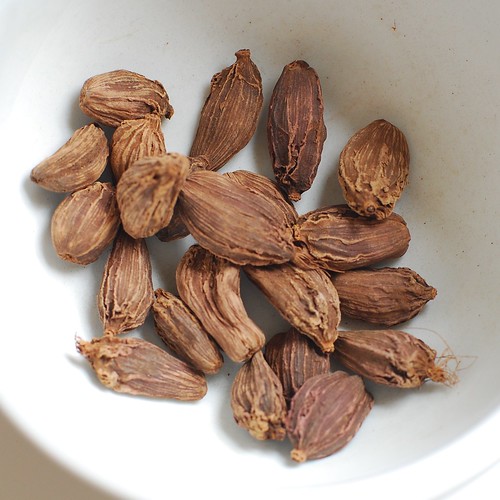
Did you know the best way to get cardamom flavouring is to smash open the pods? It’s true! I read it on the Internet. I guess outside of the pods, the seeds don’t retain their flavour very well.

The pod reveals all.

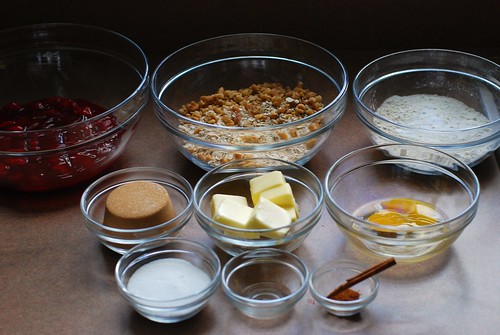
I assembled the other spices, shying not away from traditionally savoury spices such as fennel and black peppercorns.

These are our spices!

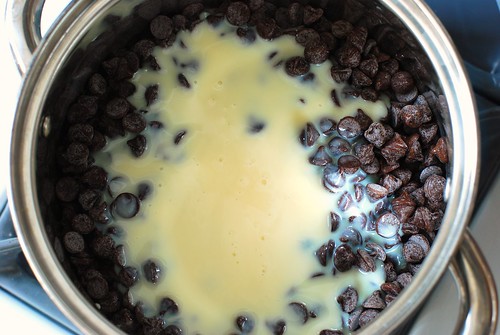
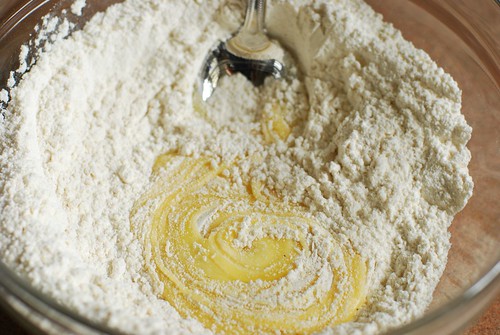
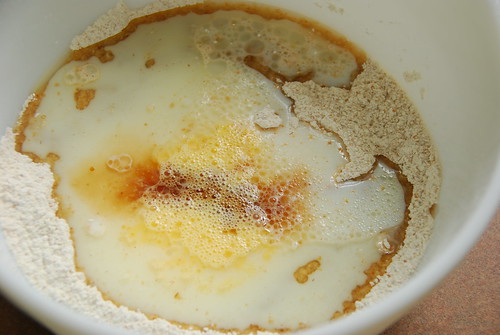
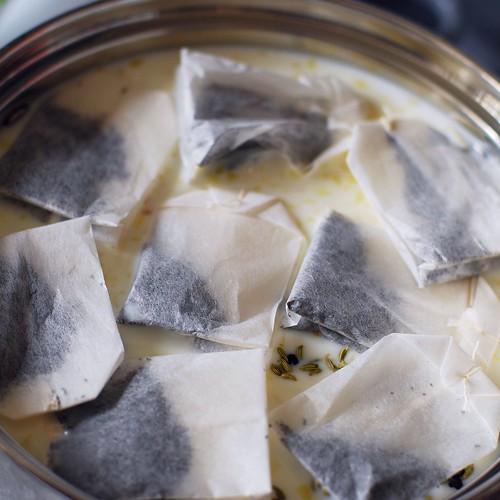
Float your tea bags atop some milk. Many folks like the creaminess of whole milk. I used 1% because the cooking of it thickens it quite a bit, and more importantly, I’m totally on a diet.

Floatin.

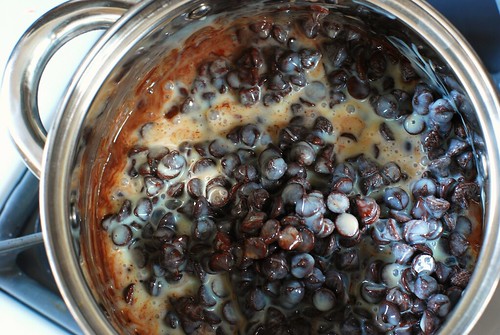
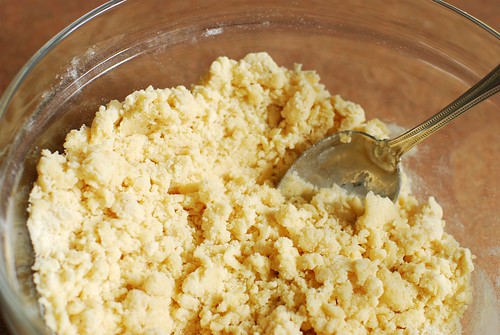
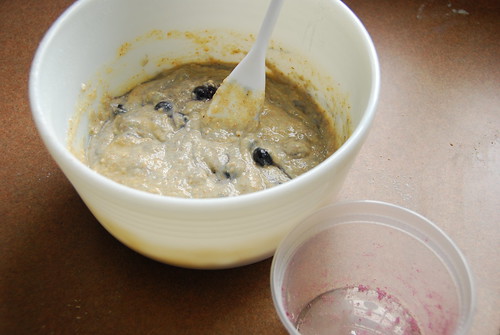
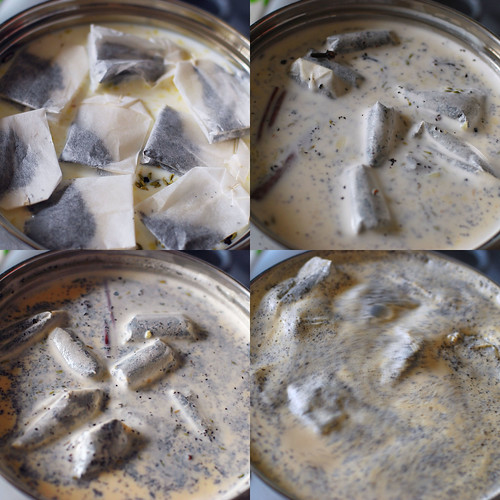
Then you stir continuously while it comes to a boil. Then you simmer. And then you simmer some more. In fact, the longer you simmer, the spicier it becomes. Perhaps less cardamom is better if you’re planning on spicing it to the max.

The phases of brewing this business.

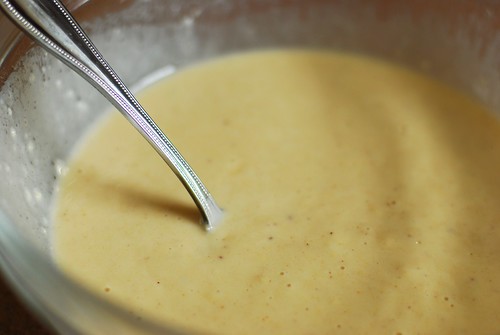
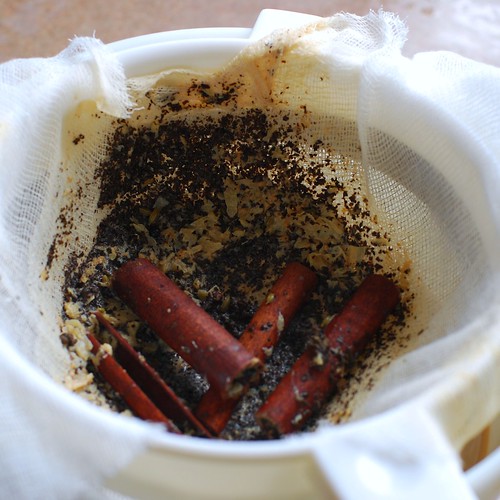
Strain. I doubly strained this because cheesecloth is a pain in the ass sometimes and also, this strainer is not nearly stringent enough to get those itty bitty tea leaves that burst out of those cheap tea bags.

Strained.

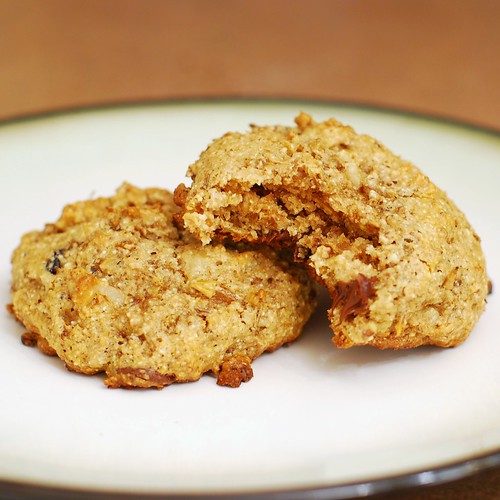
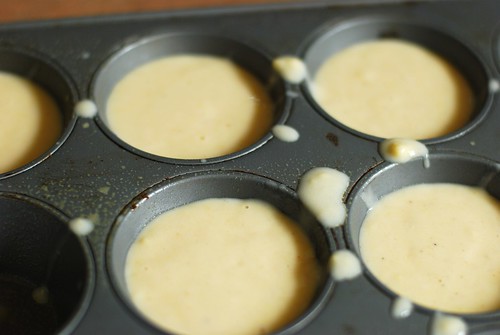
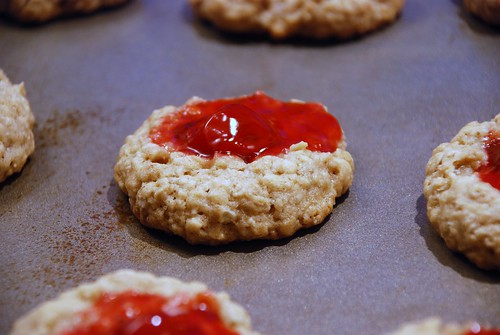
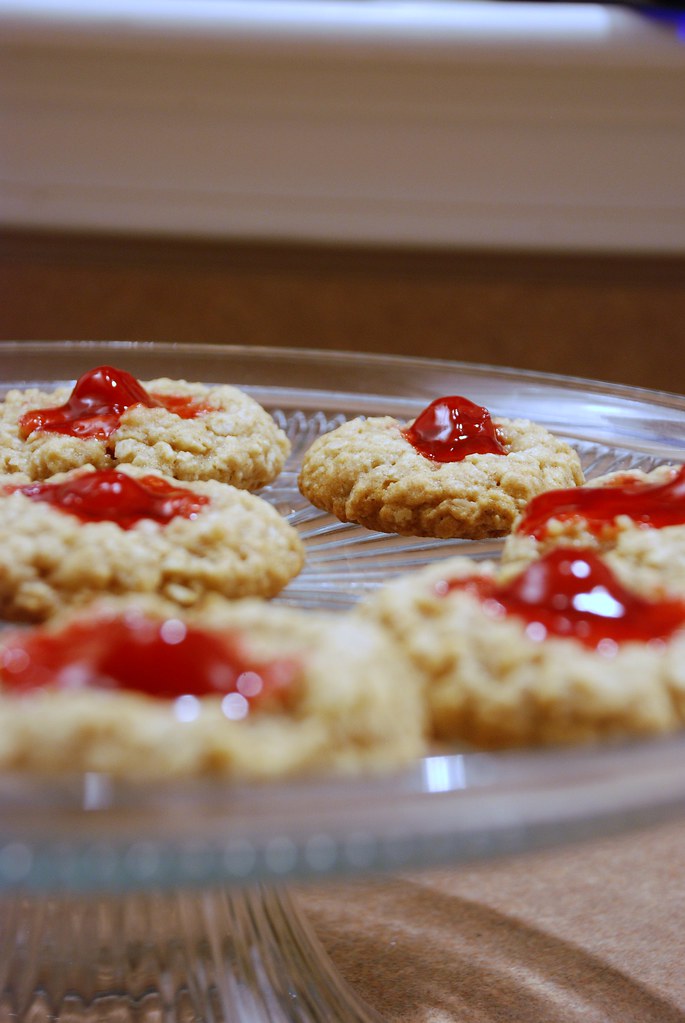
After some chilling, I iced that business and enjoyed it with some fine biscuits I found at the Indian store while in search of bulk black peppercorns.

Mmmm . . . chai tea!

And that’s that! I made a half gallon of tea for sharing, but the recipe makes a quart.

Chai Tea

2 tsp fresh ginger, smashed via mortar and pestle or otherwise minced
4 bags of black tea
2 cinnamon sticks
1 tsp fennel seeds
4 whole cloves
8 black peppercorns
4 cardamom seeds
1/4 cup honey
1 quart of milk (your choice of fat content–that’s 4 cups)

Pour milk, spices and honey into a saucepan, float the tea bags on top, and let come to a boil while stirring continuously. Reduce to a simmer (continue to stir) and let simmer for 10-15 minutes. Simmer for longer for a stronger flavour. Turn off heat, let sit a few minutes. The milk will get a skin on top of it; skim and discard. Strain through a fine mesh strainer lined with cheesecloth if you have it. Serve hot, or chill and serve with ice. And delicious sunshine biscuits

You guys, you guys. Have you ever been to a music festival? In addition to beats, good company, crappy camping and hippies, they also feature food vendors. And this is how I discovered The Skinny Pancake, a Burlington VT original. I haven’t yet made a pilgrimage to their restaurant (Vermont is kind of a hike from Massachusetts), but they have some incredible crepes that you can recreate at home without tie-dye bedecked strangers eyeing your breakfast.

First, we have The Heartbreaker.

Nutella, you are amazing.

I think you can see where we’re going with this. My crepes are not like those served by the Skinny Pancake, but they still benefit from nutella, strawberries and bananas. And apples too . . .

Like an umami commercial.

. . . but we’re getting to that. Now mix up your favourite crepe batter.

The only acceptable use of a whisk.

And let it stand, covered with plastic wrap, for 30 mins before go time. On a side note, I fucking hate whisks, but crepes are the one food item they serve well instead of becoming a clumpy hard-to-clean nuisance. When the time is right, heat up 1/2 tsp of butter in your largest skillet, and pour enough batter to cover the bottom without the batter on top being runny.

Ooozy.

Do a little swishy swishy with your pan, and pour back to the bowl whatever isn’t stuck to the pan. When your crepe starts to bubble and the bottom of it is browned, give it a flip. This will happen a minute or two after liftoff.

Hungry yet?

Now immediately, I reiterate, immediately get about half a tablespoon of Nutella on there. You want this to get melty, and the longer it’s on your crepe, the meltier it’ll get.

Just a little bit of nutella . . .

And then toss on your strawberries and banana. You don’t want a lot of these, and you’ll see why, looks like I used about 2 strawberries and one third of a banana.

Now bananas and strawberries.

Now give that side a minute or two to cook, then begin the folding process.

Ice cream cone fold.
Triangle hat.

You want a tri-cornered hat looking thing reminiscent of colonial America. And this is the reason you want to go light on your fruits, it won’t fold up right if you aren’t conservative. Now flip that monster over for about thirty seconds to let the oozy coat the other side of the crepe.

Flip for just a moment.

Serve to your favourite breakfast guests.

DONE!

We’re almost done! The Green Mountain crepe was a big hit festivalwise as well, so I did that one too.

Apples & cheese.

Your story starts out the same, and, as with the Nutella, you wanna get your sharp cheddar slices on there immediately after flipping and for the same melty reasons.

Now the savory crepe.

Now the apples.

Tart apples and sharp cheddar. Classic.

Do your foldy bit.

Foldy fold.

And you know the rest.

DONE AGAIN!

Do you put anything cool in your crepes? Do you have an excellent crepe recipe to share? Please do! I have a feeling these are going to be a Saturday morning tradition for some time to come, and will try anything that sounds reasonably delicious.

As a wee lass, my mother would, from time to time, break out the box of lemon poppy seed muffin mix and proceed to make muffins on a Saturday morning. I never really understood *why* this was a big deal, other than it had these weird black things in them. At the same time, I ate these with some relish and with two visitors arriving Saturday afternoon (including Dano’s banjo teacher), I got the bug to make some muffins. These popped into my head, though I wouldn’t be doing it with a mix.

I got the recipe from eat me, delicious, and it’s her take on Dorie Greenspan’s recipe. I agree with her preference for sour cream (density) and personally, I like butter in muffins instead of oil–the latter seem to end up soggy.

Armed with a lemon, some poppy seeds and fat free sour cream from Stop & Shop, I set out to create heavenly lemony delight. This is a really beautiful recipe, start to finish.

Zesty!

Fun step #1: blending the zest with the sugar with little pinches.

Finger the zest into the sugar.

Add some flour and leaven (this isn’t the pretty part yet, we’re getting there).

Flour and zest.

Wet stuff (shout out to fat free sour cream: Lookin good lady!).

Wet stuff.

Oh man, by now I’m impatient for the licking of the bowl ritual.

Mmmmm.

Enter poppy.

Enter seeds.

I bet you’re totally into this by now. I told you, heavenly! Like, when I think of heaven, this is what the clouds we’re all walking on look like.

Oh batter! I can't wait to lick you off the spoon!

Now I’ve always wondered what’s truly better: buttered muffin pan or muffin cups? I like the muffin cups at this stage . . .

Paper.

. . . but the boys and I agreed that for eating, for eating specifically these muffins? They need to be au natural.

Butter.

eat me, delicious’s adaptation of Dori Greenspans’s Lemon Poppy Seed Muffins

Oct-16-2008

spent grain chocolate chip cookies

Posted by aleta under sweets for sharing

Lookit what I got!

Spent grain.

In case you aren’t a homebrewer, that there is spent grain. This is what’s left after you brew the beer (but before it ferments), and it’s often used as fertilizer, mulch or animal feed. But it’s just grains, full of fiber and totally good for you, so my pal Heather filled up a nice big bag for me to play with. What a doll!

I found this recipe and tried a couple batches. The first was the recipe as written (which includes peanut butter—not my favourite), and the second was my little take, sans peanut butter and nuts. And the winner is . . . definitely the recipe as written. Mine came out dense and I daresay even fudgy, but not the good kind like you want. Also, the peanut butter doesn’t shine, it just adds to the nuttiness of the grains, and though I could probably work out some butter in its place, I would make this with peanut butter again. I did replace the oil with butter because I think it makes things a little fluffier and I felt these ran the risk of being too dense. But these tasted like super-earthy oatmeal cookies. I used only whole wheat flour and it didn’t even taste like dirt!

And hey if you don’t have access to these, no worries! I would imagine this recipe would work well for any grain mixture you might prefer. I’m thinking of bulgur in particular, but I’m not big on grain cereals. Since these grains are wet when they go in the recipe, make sure yours are cooked (and wet) before you measure them and toss them in.

Let’s take a look!

It begins.

Say what you want about the taste and calorie content, peanut butter is beautiful. Onto the dry ingredients.

Now the dry stuff.

At this point, I felt like it was time to spread these on a pinecone, and was a little skeptical about the recipe.

Batter.

These are generous tablespoons smushed down just a little bit so they’ll have a nice cookie shape.

Plop down generous tablespoons.

My MY aren’t you all so lovely.

Hey kid, cool it!

Enjoy!

Tender, cakey, delicious, healthy.

Nutty Spent Grain Chocolate Chip Cookies
Adapted from a recipe featured by Seven Bridges Cooperative.

1/3 cup peanut butter
2 tbsp melted butter
1 cup sugar
1/3 cup milk
1 tsp vanilla
1.5 cups spent grains (or alternatively, 1.5 cups of your favourite grain meal, prepared and still wet)
2 cups whole wheat flour
1 tsp baking soda
1/2 tsp salt
1/2 cup chocolate chips
1/2 cup chopped nuts

Mix in the peanut butter, regular butter, sugar, milk and vanilla. Then add the flour, baking soda and salt. Once that’s all mixed, stir in the nuts and chips.

Bake on a greased cookie sheet at 425F for 8-10 minutes until the tops are just getting golden, but before the bottoms burn. Let sit on the pan for about five minutes before transferring to wire rack to cool. Serve with love.

Makes about 2 dozen cookies after batter sampling.

One time I tried to make fudge. From scratch. I followed my Memere’s advice and selected a dry, beautiful, sunny day (apparently fudge is THAT sensitive to moisture), and I even invested in a candy thermometer. I ended up with a grainy, lumpy, nasty mess. The next day my roommate made fudge in the microwave with a lump of marshmallow Fluff. Of course hers was perfect.

I don’t use the Never Fail recipe, but Five Minute Fudge is another workaround that comes out great every time. I’m not a big fan of chocolate, and I will eat just enough to make sure it came out, so I haven’t tried to do this from scratch. But I did get a marvelous idea last night as I drifted off to sleep.

Have you ever had one of these?

The inspiration.

If you have, you know that it is the best way to eat chocolate. I set out to recreate it in fudge form. It is necessary to chop the almonds in half, but leave the raisins whole. This seems to preserve the consistency the chocolate possesses.

Preparations underway.

Then we melt our ingredients. First, three cups of chocolate chips.

It begins.

Now ooze your condensed milk and vanilla extract in there.

DSC_0744

Melting . . .

Melting . . .

. . . and in just a few minutes of stirring, you have fudge!

Ready for additions.

Now we make like Cadbury.

Stirring in.

And voila! Lumpy fudge. I like to lightly spray the foil so the fudge releases easily when it comes time.

Lumpy!

Hmm . . . now this is the texture we’d expect, but it’s a little . . . unrefined-looking. Fortunately, while the main feature was doing its melting thang, I was also melting some vanilla chips with a little bit of the condensed milk, with more condensed milk than the fudge so that it’ll be more cooperative. And since Halloween’s upcoming, let’s make it a theme.

Meanwhile, in another pot . . .

Oh man, that reminds me of a joke. Why did Snoop Dogg carry an umbrella?

Fo’ drizzle.

Oooo!

Let that chill, harden, and cut with a nice sharp warm knife.

And now, fudge!

Cadbury’s Fruit & Nut Fudge
built on the premise of Nikki’s Five Minute Fudge

1 – 14oz can of sweetened condensed milk
3 cups milk chocolate chips (since the Fruit & Nut bar is a very milky chocolate)
1.5 tsp vanilla
Dash salt
1/2 c almonds, chopped in half
1/2 c raisins

Fo’ drizzle (optional):
1/4 c white chocolate chips
1/4 c more sweetened condensed milk

Foiled line an 8×8 pan, and spray lightly with cooking spray.

Melt your milk, your chips and vanilla in a pot on stove top. Remove from heat, stir in nuts and raisins, then pour into foil-lined pan.

If you’re drizzling, let the pan cool on your counter for a few moments while you mix the white chocolate chips with your extra condensed milk. Let cool just a minute, then pour into a plastic bag, cut a hole in the bottom, and drizzle from foil to foil.

Chill 2 to 3 hours. Put your longest non-serated cuttin’ knife in a glass of warm water, wipe dry, then slice. Re-heat your knife via the water whenever the going gets less smooth.

Let’s make cheesecake! This one is considerably better than the Failed Pesto Cheesecake of yore. I followed a recipe from Cooking Light, and I gotta say, it’s just alright. It’s neither amazing cheesecake nor super diety, but it’s light for a cheesecake, and if you’re serious about a diet, it might be worth a shot. They used a mix of Neufchatel and fat free cream cheese, which makes it a sight more palatable than five blocks of fat free!

The cherry port sauce is what really shines. Besides the impressiveness of it being home-made, it really does beat a can of cherry pie filling in terms of richness, without being TOO rich, since it is, after all, topping a cheesecake for crying out loud. Halve your favourite cheesecake recipe to make five ramekins this size and top with ruby beauty.

It all begins with graham cracker crumbs.

After throwing in some sugar and butter, we have the makings of a crust. These ramekins are a very generous size (yours might be more modest) and don’t need to be greased because they’ll be the serving receptacle.

While that’s baking, we get going on the cheese part of this cake.

Make your own dessert sand art!

Onto the cherry topping. This is my favourite part. It’s just sugar, tawny port and two bags of cherries.

Besides making your kitchen smell lovely, if you’re anything like me, you’ll have so much fun admiring the syrup that comes of this.

After your cakes have cooled and your cherries have chilled, you, my friend, have lovely cheesecakes for your efforts. Bravo! A good idea might be to serve with the leftover port, as you’ll have almost an entire bottle left, it’s a dessert wine, and you know for sure it will complement the dessert.

Now go ahead, dig right on in.

For all interested, the recipe can be found here.

So I generally stay away from baking recipes as they are very tempting and I can’t eat much of them, but I continually read Baking Bites as a vicarious way of enjoying baking. Nicole posted a recipe yesterday that I really couldn’t pull myself back from, and as my self control has improved to the point where I can enjoy one of something, I decided to replicate her recipe for Sugar Donut Muffins.

These are lighter than making doughnuts at home, as they are not deep fried, but they do have nutrition information that’s just barely lower fat than a Dunkie’s Sugar Raised Donut, so they’re not exactly health food. At the same time, these are delicate and divine, and will appeal to the snobbiest of food snobs (like me). They remind me of nothing so much as the sugar donuts you find in Chinese buffets. Classy, I know!

I followed the recipe to the letter for once, and the only change I recommend is waiting to brush the tops with butter until five minutes later, or leaving it out altogether. When it came time to eat these, the tops were a little soggy.

It’s go time! Check out this sugar and egg sludge I made! The texture was really cool, but unfortunately difficult to capture in photo form. So you’ll just have to make ’em to see.

Egg + sugar

The tiniest amount of nutmeg goes a long way with these.

Some dry stuff.

Swirl.

The batter starts as a dough . . .

Crumbles.

. . . then quickly goes back to being a batter.

More wet stuff.

Sloppily fill your clean, greased muffin pan that looks dirty no matter how many times you scrub it. Remember, no liners! These things still need an outside treatment.

Splats!

After baking, these babies are so smooth, they almost look more like cupcakes than muffins. But they’re neither, they’re really doughnuts, promise.

Soft little pillows.

Now take the muffins into your veiny old lady hands and roll them in sugar.

Dab dab.

It’s a satisfying part of the process. Perhaps the most.

Ta da!

The one advantage here as opposed to hitting up the Dunkie’s drive-through is that you can enjoy these with a fresh cup of unburnt coffee.

Serve with coffee, of course!

Many thanks to Nicole at Baking Bites for posting a recipe I couldn’t resist. And I find myself resisting temptations CONSTANTLY, so it’s high praise.

Heya cats and kittens! Remember when I said I was doing that family cookbook? Well, I finally got crackin, kicking it off with a recipe from my first cousin Nikki. And hey, while I’m at it I’m going to share my secret for making blueberries more pronounced in my recipes.

Nikki is maybe 6-7 years older than me (like all my cousins, my parents are both the youngest of four), and was there the day that I smashed all of my front teeth on the bike. I was 6 and have had to have lots of dental surgery since, so it’s not the fondest memory, but definitely the most memorable! She’s a very sweet gal, and I’m sad I haven’t seen her in several years owing to some missionary work she’s doing in some other country to which I’ve never been.

One of the first steps is to make a well in the middle of the dry ingredients.

Make a well in the center.

As you can see here, my "make a well in the middle of the dry ingredients" skills are wanting.

Moving right along, I decided to use frozen blueberries for my muffins, as blueberry season is over and I’m kinda broke at the moment.

Berrays.

And now, folks, is the moment in which I share my super secret blueberry method. Put your blueberries in a container for which you have a tight-fitting lid, and scoop about 2 tsp of sugar on there (per cup of blueberries).

Sugar.

Now put your lid on and shake it, shake it good. You want to coat the blueberries with the sugar. If you’re using fresh berries, I recommend shaking them with a tiny amount of water first so the sugar can stick. You’ll be left with beautiful crystallized-lookin blueberries.

Crystallizin.

Look how pretty! I feel like recipes that call for berries are always really sweet, but the berries themselves are actually pretty tart. While this is refreshing when eating them fresh by the handful, in the context of the recipes they feel, to me, a little bit like an interruption in the flavour. While the sugar-shake method doesn’t eradicate this entirely, it seems to help with a smoother flavour transition. Yes, I just made up that phrase.

Next! Gently stir ingredients and remember, just until moist. Lumpy batter will always be lighter. Then fold in the berries.

Hey batter batter.

Now the recipe says to use paper liners, but I only caught the part about liners (general category), and I don’t like liners for my muffins at all because it gives the bottoms an excuse to get soggy as they cool. The result is a pan of batter, some of which is in foil wrappers, the rest of which are in none. I wanted to be able to present the muffins as written, and though I failed, the liners attest to my best intentions. Also, note how I got my grubby little fingers in the bowl before I even took the shot. Mmmmm, batter!

Oh oh and I almost forgot! I read a really good idea somewhere (that I forgot while making the muffins): save some blueberries to put right on top of the muffins just before you put them in the oven. This will better distribute the berries all around (instead of just sunk at the bottom).

Licked clean.

Now for the last shot. I took like a bajillion trying to show the muffins as appetizingly as possible, and survey seems to say that this shot is best. And of course I like it because I’m a slave to low f-stops.

Muffin invasion.

But since I had to crop to a square, this one ended up in the book.

Torn.

So there you have it! The first of my paternal family’s recipe collection.

Nikki’s Low Sugar Berry Muffins

1 3/4 cups sifted flour
1/4 cup sugar
2 1/2 tsp baking power
3/4 tsp salt
1 well-beaten egg
1 tsp vanilla
1/3 cup vegetable oil or melted shortening
3/4 cup milk
1 cup berries

Preheat oven 400 degrees.

Directions:

Sift dry ingredients in bowl and make a well in center. Add in wet ingredients and stir until moist. Fold in fruit and nuts, if desired, to taste.

Fill paper lined muffin pan 3/4 full. Bake 35 minutes.

Yield: 12 Muffins

Aug-12-2008

cherry cordial cookie

Posted by aleta under sweets for sharing, the comfort foodie

Jose Fritz, he got a new place, so I thought I’d send off a housewarming gift. This coincided with a deep desire to bake. I had this long fantasy that began with banana bread, traversed through shortbread spiral cookies and ended with a fully-from-scratch German chocolate cake. Unfortunately none of that stuff will travel well, so I looked up an oatmeal cookie recipe. Since I didn’t have any raisins on hand, I came up with something of an unusual substitution. I modified Miss Amy Sedaris’ recipe as featured in I Like You.

Here goes!

We begin.

When you mix everything in the manner suggested below, you are left with an enticing dough.

The mix.

Now chill out for an hour.

Next, pull out this jaunty little fellow.

The jaunty little fellow.

And make some dough balls.

Ball phase.

Then you’re going to put your forefinger in the middle of those and carve out a little nest. Do this pretty deeply as it will get less shallow as it bakes. And please forgive the cheesiness of this animation, but it was too dumb an idea to resist.

Cherry madness!!!

Repeat as necessary.

Repeat as necessary.

Introduce your babies to the 375 degree oven and you get this.

Fresh from oven.

Arrange artfully on your fanciest cookie presenter.

The arrangement.

Check it out! I also made my own brand specifically for these!

Pretty Decent Cookies (brand)

Cherry Almond Oatmeal Cookies
Makes about 2 dozen cookies

1 stick of unsalted butter
1/2 c brown sugar
1/4 c white sugar
1 egg
1 tsp almond extract
3/4 c white flour
1/2 tsp baking soda
1/2 tsp freshly grated cinnamon (my special touch–you can just use the powdered cinnamon you already have)
1/4 tsp salt
1.5 c oatmeal
1/2 can cherry pie filling

Cream butter and sugars together. Add vanilla and eggs. Mix dry ingredients together.

Marry your wet and dry ingredients in a tasteful ceremony in your mixing bowl. Chill 1 hour in fridge.

Form balls, then pinch them into little nests for your cherries. See notes above for details on this process. Then spoon a cherry with enough cherry goop to fill your hole. Bake on an ungreased cookie sheet at 375 for 10-12 minutes.

Tags: